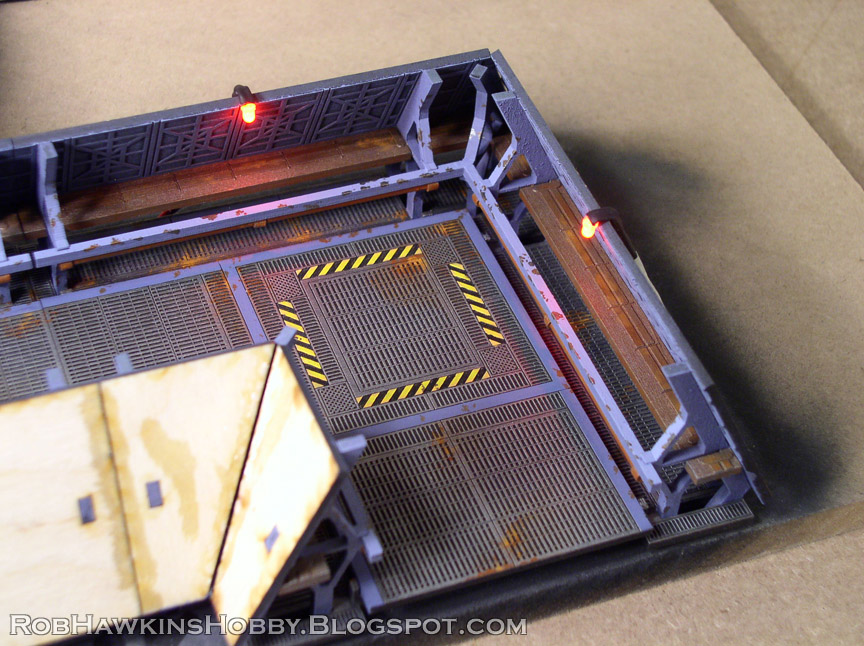
Cool Mini Or Not commissioned me to build some lighted display boards for Sedition Wars. The task was to use Fantasy Arc's laser-cut Bug Hunt Corridors. We settled on 4 2'x2' boards that could be used as one large 4'x4' table, two 2'x4' displays, or four separate 2'x2's.
The Layout
I received a box full of Bug Hunt Corridor kits, and came up with the following layout:
I then got to work. Because of the intricacy of each corridor section, they needed to be painted in parts because there's no way to fit a brush in there once everything was glued together. The floors were laid in first, and the wall segments were assembled separately so they could be plugged into the finished floor grating.
Here's how everything fit together– the interior girders and the outer wall sections that go overtop.
The rooms were given a more cream-colored appearance using Model Masters Desert Sand and white sprays The rust chips were painted on by hand and the blood spatters added once everything was assembled.
A Note on Vallejo Game Colors:
I tried out a few new paints on this project. Vallejo Game Color Shadow Grey, Wolf Grey, and Ghost Grey. I must say, wasn't terribly impressed with the performance of the paint. It went on well enough and had some nice opacity, but it doesn't dry the same color it comes out of the bottle. For example, the Shadow Grey was much more purple when painted on, but dried more blue-grey. The Ghost Grey lived up to its name, because I'd paint it on and see a nice bright highlight line. Once it had dried, the highlight was barely visible.
The Vallejo color worked out well enough for this terrain project since I was mainly basecoating and drybrushing, but I can't imagine using these paints to blend color on a miniature because the end result wouldn't look at all like what you had painted on. Has anyone else noticed this, and does the entire Vallejo line suffer from this problem, or just the greys?
The Lighting
Each board section has about 20 LEDs to illuminate the corridors and rooms. The wiring was installed under the flooring, with the lights coming up over the outer walls to shine down inside.
These two shots show the finished assembly. The naked wood exteriors of the corridors needed to be covered.
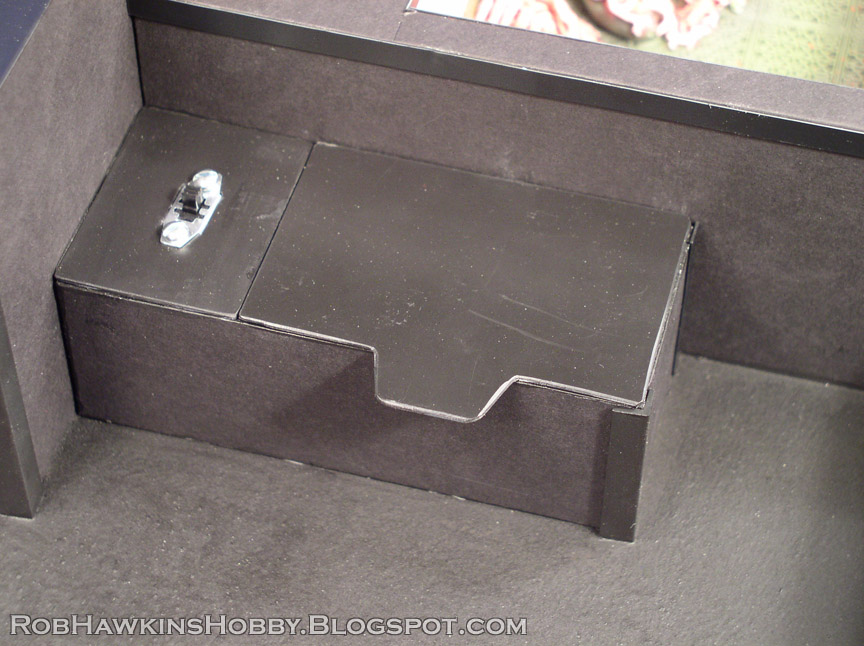
I came up with a solution using black foam core that would provide a clean outer shell and cover the lights.
Here's the board section with its outer shell. It just needs some corner strip covering and the base blackened.
Each board section has its own power source and switch. They run off a simple 9-volt battery.
The Strain Infection
CMON wanted one of the board sections to be overrun with the Strain infection– a bio-organic virus that converts matter to its own horrific designs. To accomplish this I used Aves Apoxie® Sculpt to create tendrils and cables that snake around the corridors like it's reconfiguring the station into some unholy vessel.
To paint the tendrils, after priming the board I sprayed the infected areas with Model Masters Medium Green. P3 Pig Iron was drybrushed overtop to create a metallic green.
The deck grating was painted normally with the Shadow Grey trim and rust. All of the grey trim and yellow caution lines shift toward the green spectrum the closer they are to the Strain infection.
In these shots you can see some of the green tint on the walls and caution stripes.
Coming up, I'll show off the finished board sections with their lighting. For now, here's a little peek:
Looking through the corridors with the red lighting always reminds me of that scene in Event Horizon. You know the one.
'Til next time!
The Reports of my Death Have Been Greatly Exaggerated
The run up to convention season is always busy. I have been spending so much time hunched over my work table that I haven't had time to write about anything. I'll be making up for it in the coming weeks with some really cool terrain to show you. My goal is to hit 50 posts each year, so I'll have to sneak in some semiweekly posts to make up for the missed weeks.
In addition to the new terrain, I'll have some other things I've been meaning to share, such as what I listen to while I work, and reviews of some different washes I've tried in my never-ending search for a classic GW Brown Ink replacement. And my Terrorgheist is still eying me angrily from its perch on the work-in-progress shelf...
First, I want to show off some conversions that I did for No Quarter Magazine #49. Now that it's finally in stores (and I have a moment to breathe), I can put up the pictures. Check out the magazine for the full step-by-step tutorials.
Ogrun Intellectual Bounty Hunter/ Ranger
The term "intellectual bounty hunter" always makes me chuckle; I picture Dengar in a smoking jacket with a masters degree framed on the wall behind him. Gudrun has the appearance of a ranger, and with some spare parts he fits the bounty hunter bill quite nicely. A little sculpting was necessary to transform his chain mail tunic into a jeather jerkin, but the rest of the conversion utilizes simple weapon swaps.
Parts List:
Gudrun the Wanderer
Trollkin Mercs Trooper #1 Axe Haft
Revenant Crew Pirate Arms/ Cutlass
Yuri the Axe Traps
Yuri the Axe Axe
Ogrun Skilled Pistoleer/ Soldier
The Ogrun Bokur makes the perfect model for a soldier. I imagine this guy fighting alongside Cygnaran Trenchers to earn a living. On the weekend he meets up with his buddies in town to haggle over the price of magic bullets, monocles, and +1 broadswords. Then, if there's still time before the session ends for the night, they might take on a quest.
Parts List:
x2 Farrow Brigands Right Arm/ Pig Iron #2
Okoru Hargrosh Right Arm/ Pistol
Bokur Body
Ogrun Assault Corps Head (Monocle)
Ogrun Assault Corps #3 Arm
Bokur Shoulder Pad Sprue
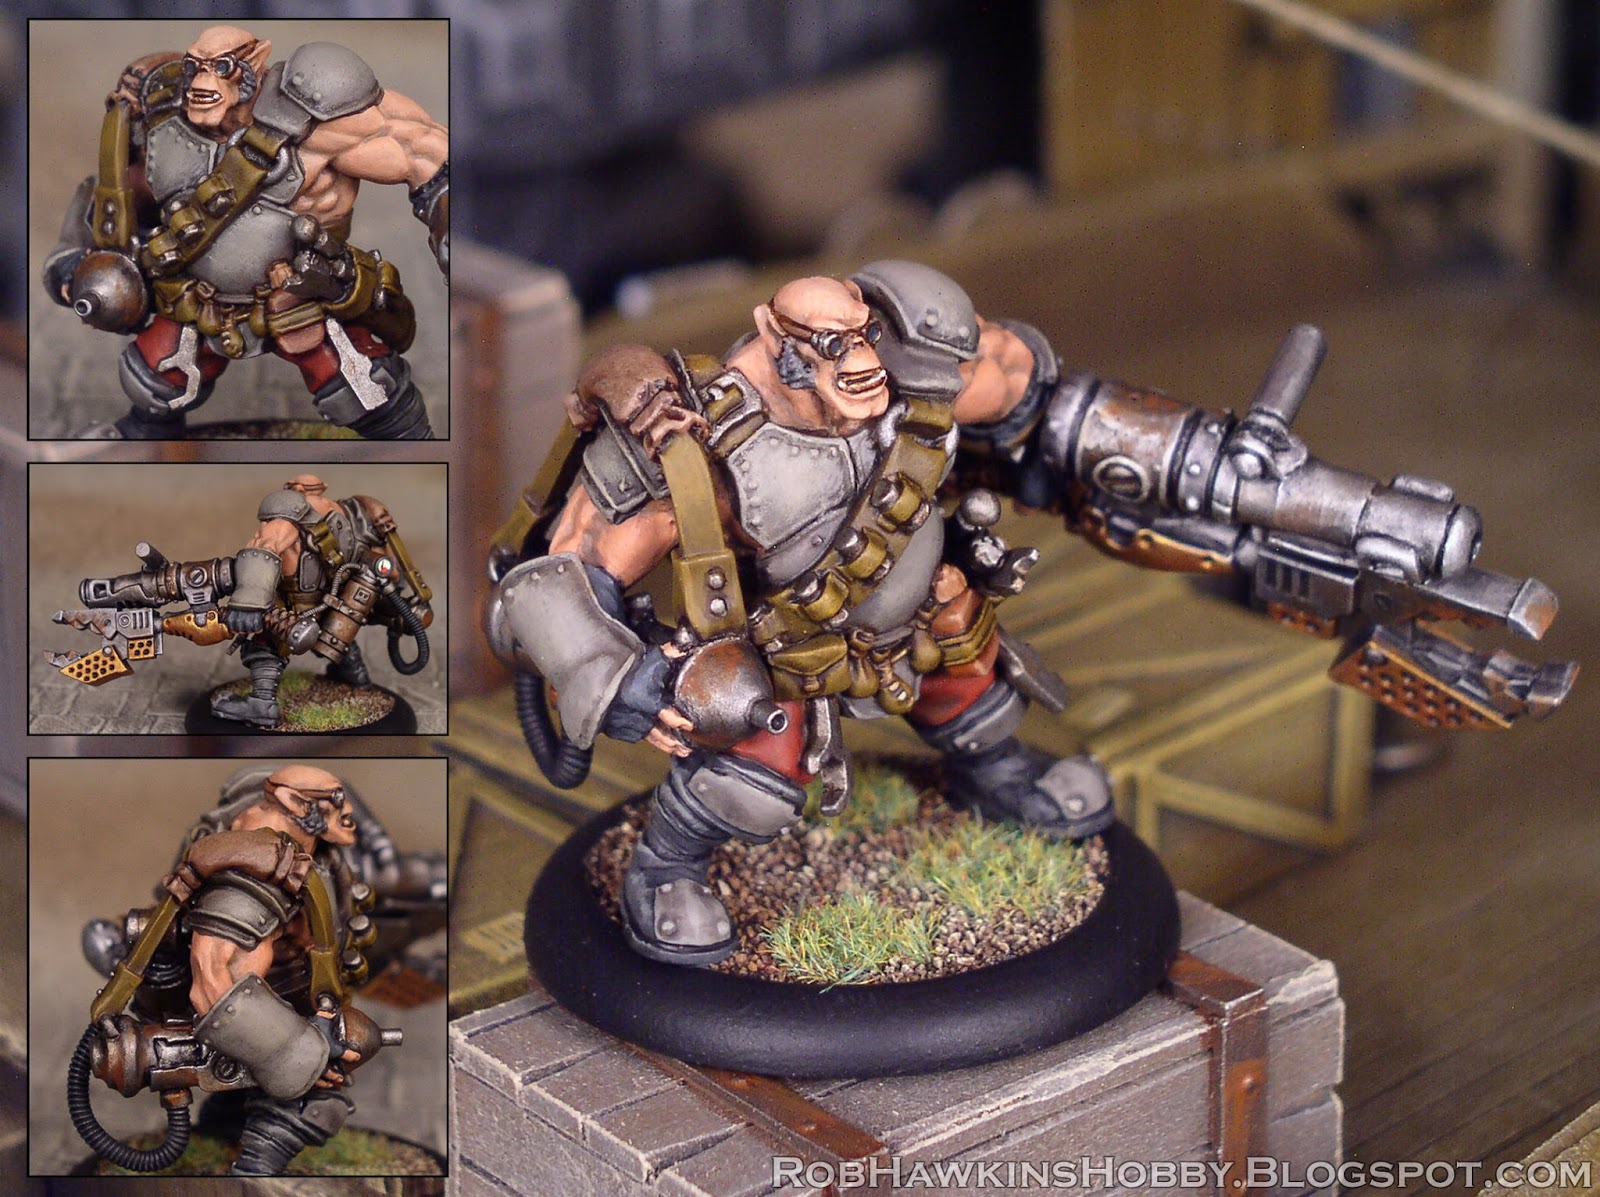
Ogrun Mighty Labor Korune/ Field Mechanik
This turned out to be my favorite of the bunch. Very minimal sculpting on this guy, just mixing and matching a lot of different parts to create something new, which is what I love most about conversions.
Parts List:
Ogrun Assault Corps#2 Body
Ogrun Assault Corps #2 Axe
Ogrun Assault Corps Head (Goggles On)
Ogrun Assault Corps #2 Gun
Road Hog Backpack
Thunderhead Tube #2
Man-O-War Kovnik Axe Cannon
Battle Mechanik Officer Tools
Battle Mechanik Officer Left Arm
'Til next time!
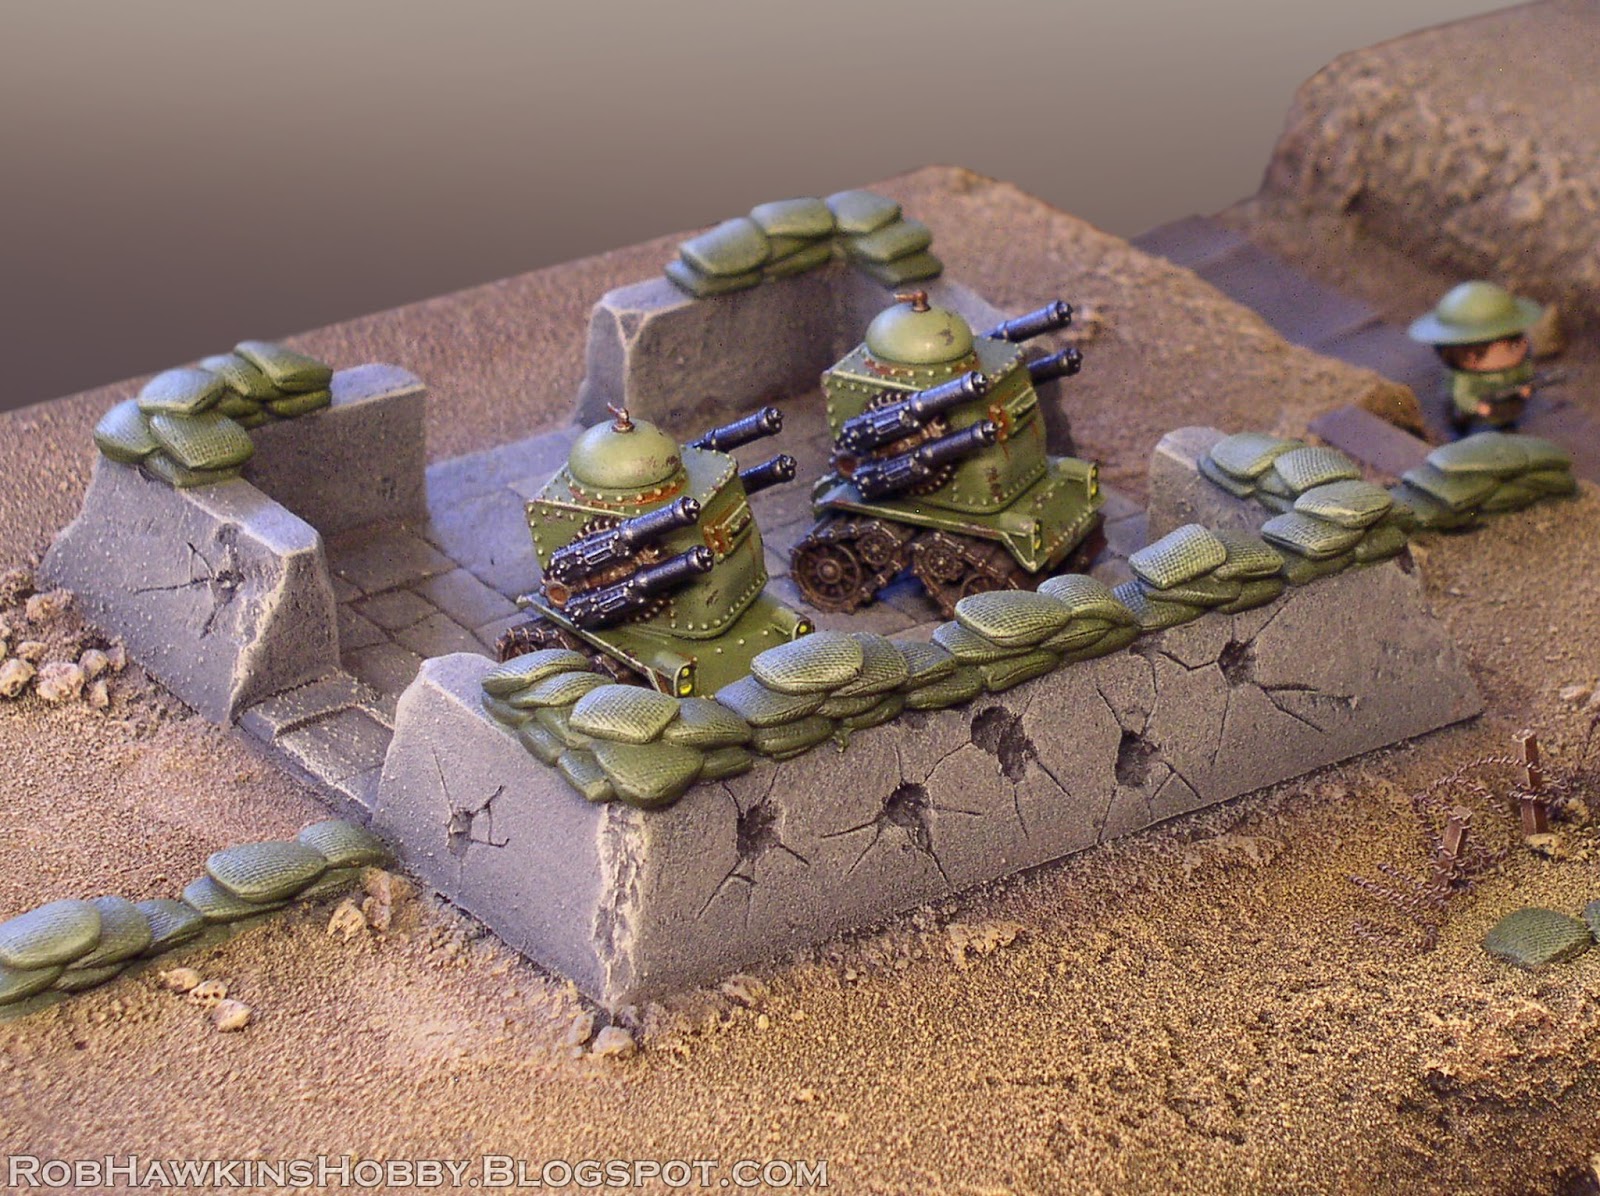
This week I'm showing off the finished diorama for Rivet Wars: Eastern Front. The explosions are all illuminated with LEDs, and the planes are supported with 1/4-inch clear acrylic rods.
I'll have more detail shots added to the terrain gallery soon, and you can see the display in person in the Cool Mini Or Not booth at Gencon.
The Blight forces are making their big push across no-man's-land, into the Allied line!
The Allied forces struggle to repel the attackers!
Rocket bikes are deployed to the front!
Monowheels charge into the fray with machine gun support!
The Red Baron leads a squadron of Blight fighters against the opposition!
Allied fighters engage in the dogfight as their anti-aircraft tanks fill the sky with lead!
'Til next time!
Just a quick post today so I can get back to work on the terrain. Here's a conversion piece I was commissioned for– A Trollbloods Bomber with quills on his back rather than the armored plate.
The metal model incorporates the plastic back piece from the Mauler kit, as well as the plastic head. And, as you can see in these rotations, a lot of brown stuff epoxy putty was used to sculpt the extra quills and fill the gaps.
The challenge was to figure out how to attach the Pyg, since the handle he's normally gripping wouldn't have anything to connect with. The solution was to remove the handle and have the Pyg gripping a fist full of quills, hanging on for dear life.
The Pyg's arm was twisted, the handle clipped away and his fingers resculpted. The quill he's holding has a supporting pin running through it, into the Bomber's back.
The conversion was left unpainted so the client could finish off the painting himself. I'm looking forward to what this will look like when it's painted!
I do a lot of assembly conversion commissions like this one or the Borka Kegslayer conversion from a few weeks back, so if you've got an idea of your own that you'd like to become a reality, shoot me an email at robhawkinsart@gmail.com. I'm taking commissions now for late August.
'Til next time!