Converting skeleton archers with robes and cowls:
Since my Tomb Kings army is a scaled-up version of my Warmaster army, I decided to make a few units matching the aesthetic of the Warmaster archers, complete with cowls and robes.
I started with the robes– For these, I used the legs from the Grave Guard kit.
The tattered robes had a nice flow that will look as if they are blowing in the desert wind. I removed the chainmail and armor bits by carefully scraping them pff with a curved hobby knife blade. I also cut off the armored feet so I could replace them with bare skeleton feet.
The sturdiest way to attach the feet was to drill holes and insert the legs rather than trying to glue them flat to the bottom of the skirt. I used a 0.85mm drill bit make a guide hole where I wanted the legs, and then widened the hole with a 1.90mm bit.
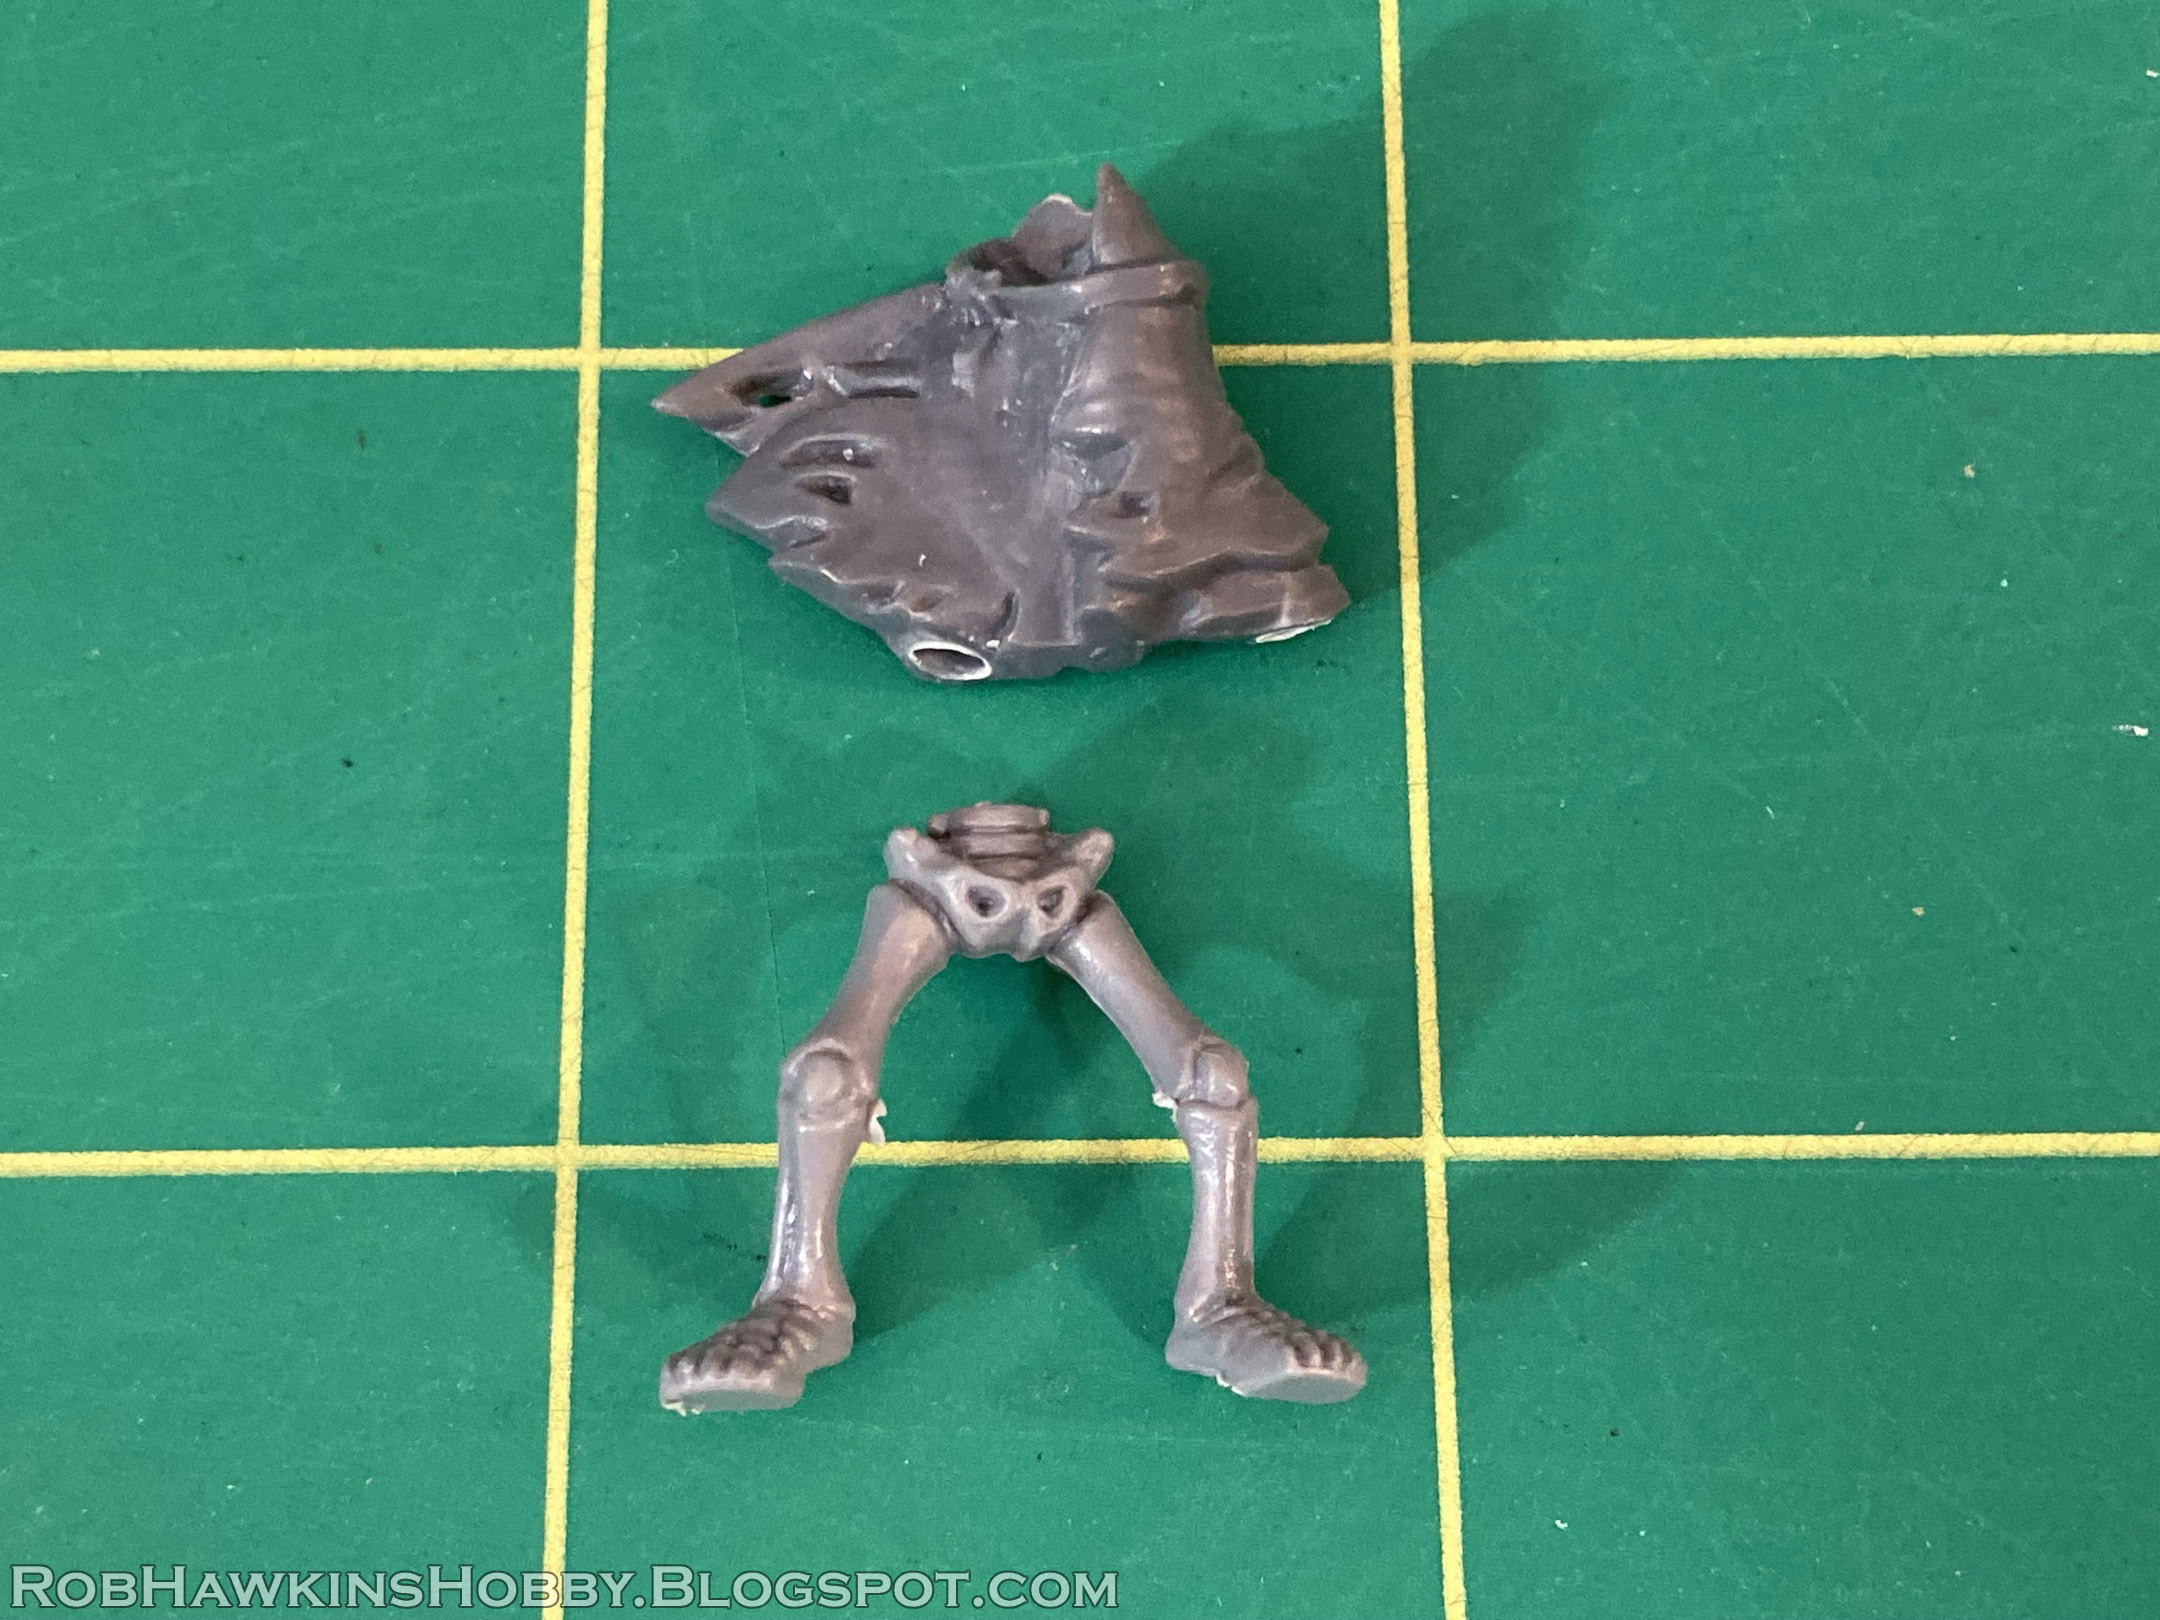
From the selection of classic (Old World) Skeleton Warrior legs, I chose this pair:
The left foot could be simply clipped off and inserted into the hole. (The top of the shin did need to be shaved down a little to make it fit.)
I struggled with the right foot, though. None of the right feet on any of the skeleton legs had the correct angle for a convincing pose. The closest was this foot, but it was a LEFT foot, so I couldn't use it.
My solution was to cut off the right foot from the first pair of legs and re-attach it at the desired angle.
I drilled through the foot at an angle, and into bottom of the leg, and then used a piece of paper clip to pin the parts back together.
The result turned out exactly how I wanted.
Here is what my original attempt looked like. The feet were a bit wonky. I had also tried to use a bit of spine cut from the pelvis to fill the gap where the rib cage attached, but wasn't satisfied with it.
A better solution to attach the rib cage and address the gap was to pin it and sculpt the missing detail.
I drilled the holes for the pin, but only glued it into the rib cage. I checked the fit to make sure the pelvis and ribs were appropriately spaced– They shouldn't touch, and they shouldn't be too far apart either.
I put a little bit of modeling putty around the pin, and pressed it into the hole in the pelvis.
Then, I used a sharp sculpting tool to sculpt the missing vertebrae– Nothing fancy, I simply pressed lines into the putty all the way around, and made some "dimples" on the back of the spine. I started out with five archers to make sure I could get them to look the way I wanted, but more will come!
The Tomb Kings skeletons have some great heads with fantastic detail and full sets of teeth. I cut the flaps off the sides of a few skulls and pinned them onto some wooden dowels for the sculpting work (sculpting like this is much easier than trying to work around the figure's body, and if I mess up, I can just get a new head without worrying about damaging the body.)
I sculpted the hoods and cowls over the head, leaving the headbands intact. I made a mix of wrap styles, and covered and uncovered faces.
With the cowls hanging down around the neck, the skeleton's head couldn't connect to the end of the neck like it normally did. I trimmed the neck post so the head could fit over top. Once I removed the finished heads from the brass rod, I had to core out the bottom a little with my knife, and the cowl fit like a charm!

Something I hadn't considered when sculpting the head wraps, was the strap for the quiver. The straps are pretty thick, and interfered with the positioning of the head. This required a little more trimming on the cowl, and I shaved down the strap to make it a little thinner. It took a bit of work, but in the end I was able to get everything to sit properly.
All that remained was the arms. Before attaching them, I drilled the ends of the bows so I could add bow strings after the models are painted. For this, I used a 0.5mm drill bit (the smallest one I could find) and drilled through the end of the bow. To see how I make my bow strings, check out the tutorial from a few years back when I made some allied skeleton archers for my Vampire Counts: Making Bow Strings
GW's old skeletons are notoriously fiddly to assemble. To get a better fit on the arms, I used my 1.90mm drill bit to make the holes in the arm a little deeper so they went over the shoulder pegs more completely. With the arms on, the figure was finished! He just needs basing material and he'll be ready for paint.
Here's the first batch of five robed archers! Maybe I'll use these to represent Skeleton Skirmishers and differentiate them from the regimented archer units. The Skirmishers can also get the Ambushers special rule, so it might be cool to make a few models emerging from the sand to represent when the unit has that upgrade.
'Til next time!


Good idea. Looking very good!
ReplyDeleteThank you!
DeleteGorgeous work, as always!
ReplyDeleteThank you!
DeleteThis is insane! I love it so much!
ReplyDeleteThank you!
Delete