In this tutorial, I'll show you how to make coffin lids and grave markers for your zombies:
One of the most characterful elements of the Cursed City zombies are the roots growing through them and their grave markers staked through their backs. The Deadwalker Zombie regiment box has a few such grave markers to adorn the miniatures, but I wanted all of mine to match this aesthetic.
Building the Coffin Lids
For the coffins, I used scraps of .75mm thick styrene card. Using one of the coffin lids as a guide, I drew some coffin shapes on the card.
Next, I drew some vertical lines to mark the individual boards.
I used Tamiya Plastic Scriber and a steel ruler to etch grooves into the plastic between each board. This tool is more precise than the hooked clay tool that I normally use, but the hook is better for etching organic wood grain into the boards.
Once the boards had been etched, I began cutting out the coffin lids. For this, I used clippers to get the top shape, and then distressed the edges with a hobby knife. Doing the tops of the lids while they were still connected allowed me to have more material to hold onto while working and get through them pretty quickly.
I also used the knife to make some V-cuts on the boards and give them a more organic shape.
On some of the lids, I added crossbeams. These were cut from 0.5mm thick styrene, and glued on across the entire row.
For the bottoms of the lids, I cut them out with my knife to get a full coffin shape, and then trimmed down and distressed the boards into an irregular, broken form.
Here's a look at some of the finished coffin lids. Note that attaching the crossbeams and then cutting them out is a much faster method than gluing three tiny, individual strips onto each lid. These would also make great coffin lid shields.
GW used to sell metal coffin lid shields that I could have used instead, but they were a little small– A good size for a shield, but much too small to look as though a person could have fit inside.
Wooden Grave Markers
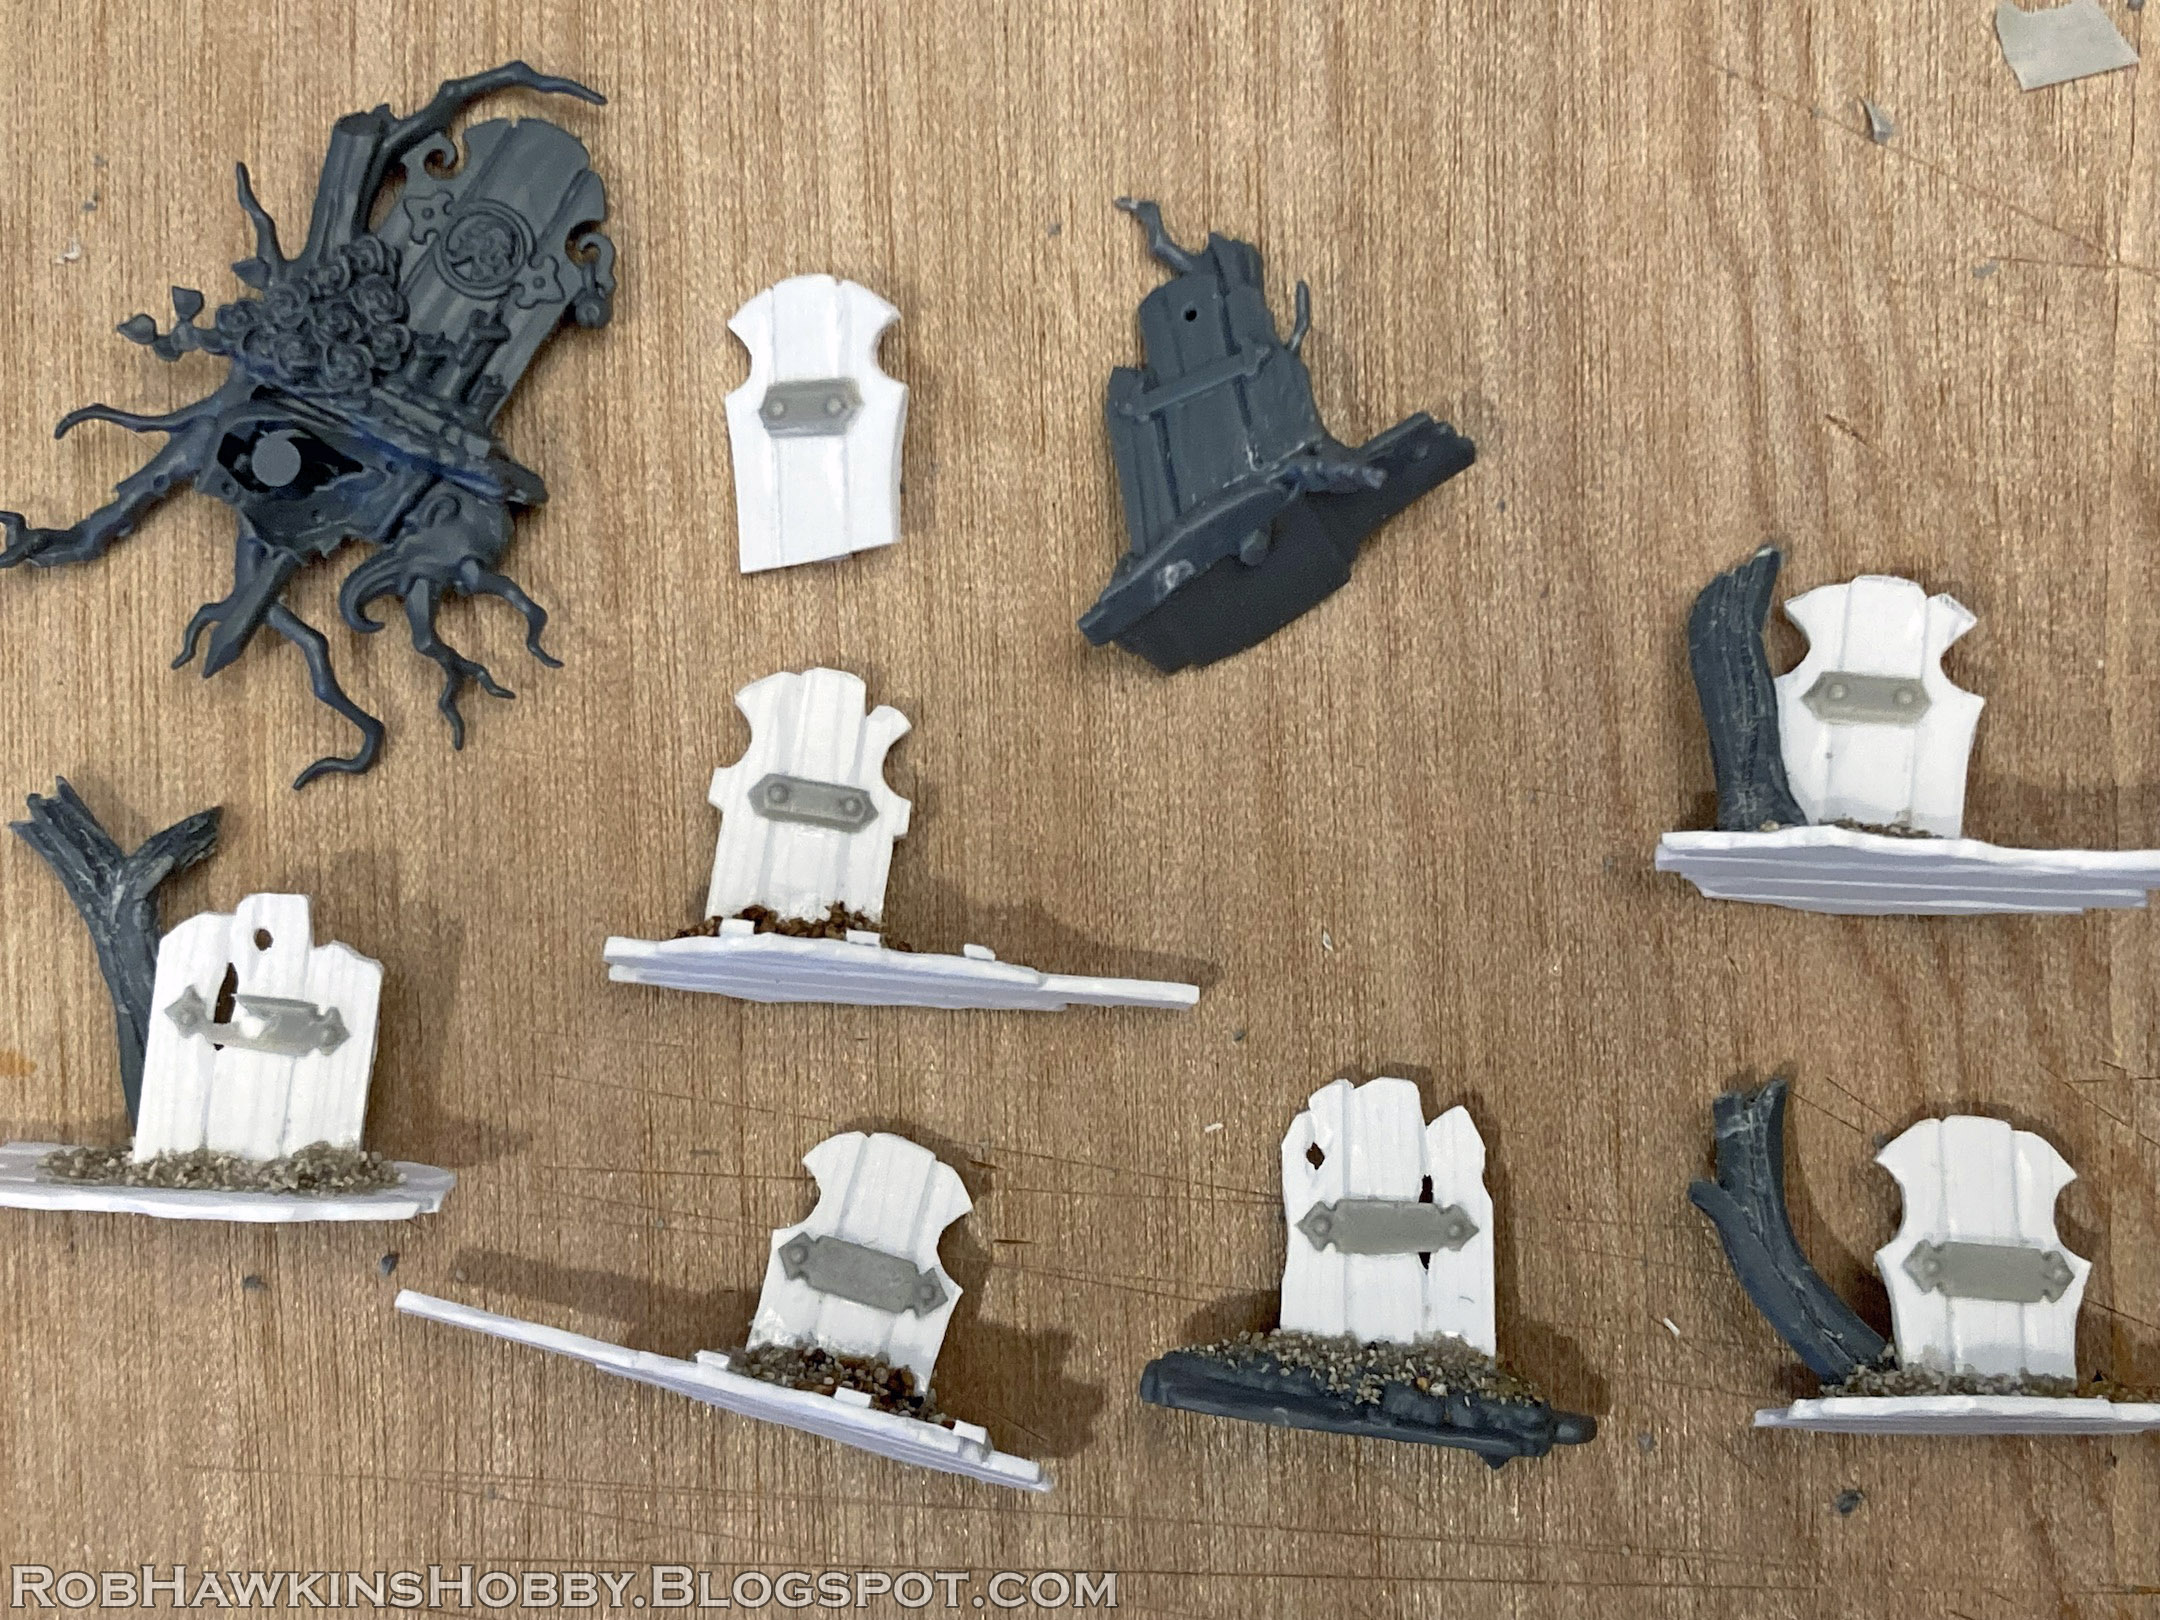
To make the grave markers atop the coffins, I cut some thin strips from .75mm styrene to match the width of the markers on the GW models. Using the same technique as above, I etched boards into the plastic and scored wood grain with the hooked sculpting tool.
Then, I drew the shapes of the individual markers and cut them out with a hobby knife.
I notched and distressed the boards so they would resemble old, decaying wood.
For the stakes attaching the markers, I used 2mm styrene rods. With a knife, I shaved down a portion of the rod, leaving the original thickness at the ends of the carved section.
I cut out out the segment and sanded a rounded top on each end. Then, I cut them at the middle, creating two wooden stakes.
The stakes were glued to the back of each marker, and the bottoms were trimmed flat. To attach them to the coffin lid, I applied a patch of super glue and placed the marker in the center. Before the glue was dry, I applied some fine ballast.
Tree Stumps
To match the tree stumps that are growing through the zombies, I carved some out of spare plastic sprue frame. I chose the curvier bits to get some bends in the stumps.
It was just a matter of carving the sprues into a more round shape, and then used a blade and the hook tool to to scrape some grooves into the surface and create the "tree bark."
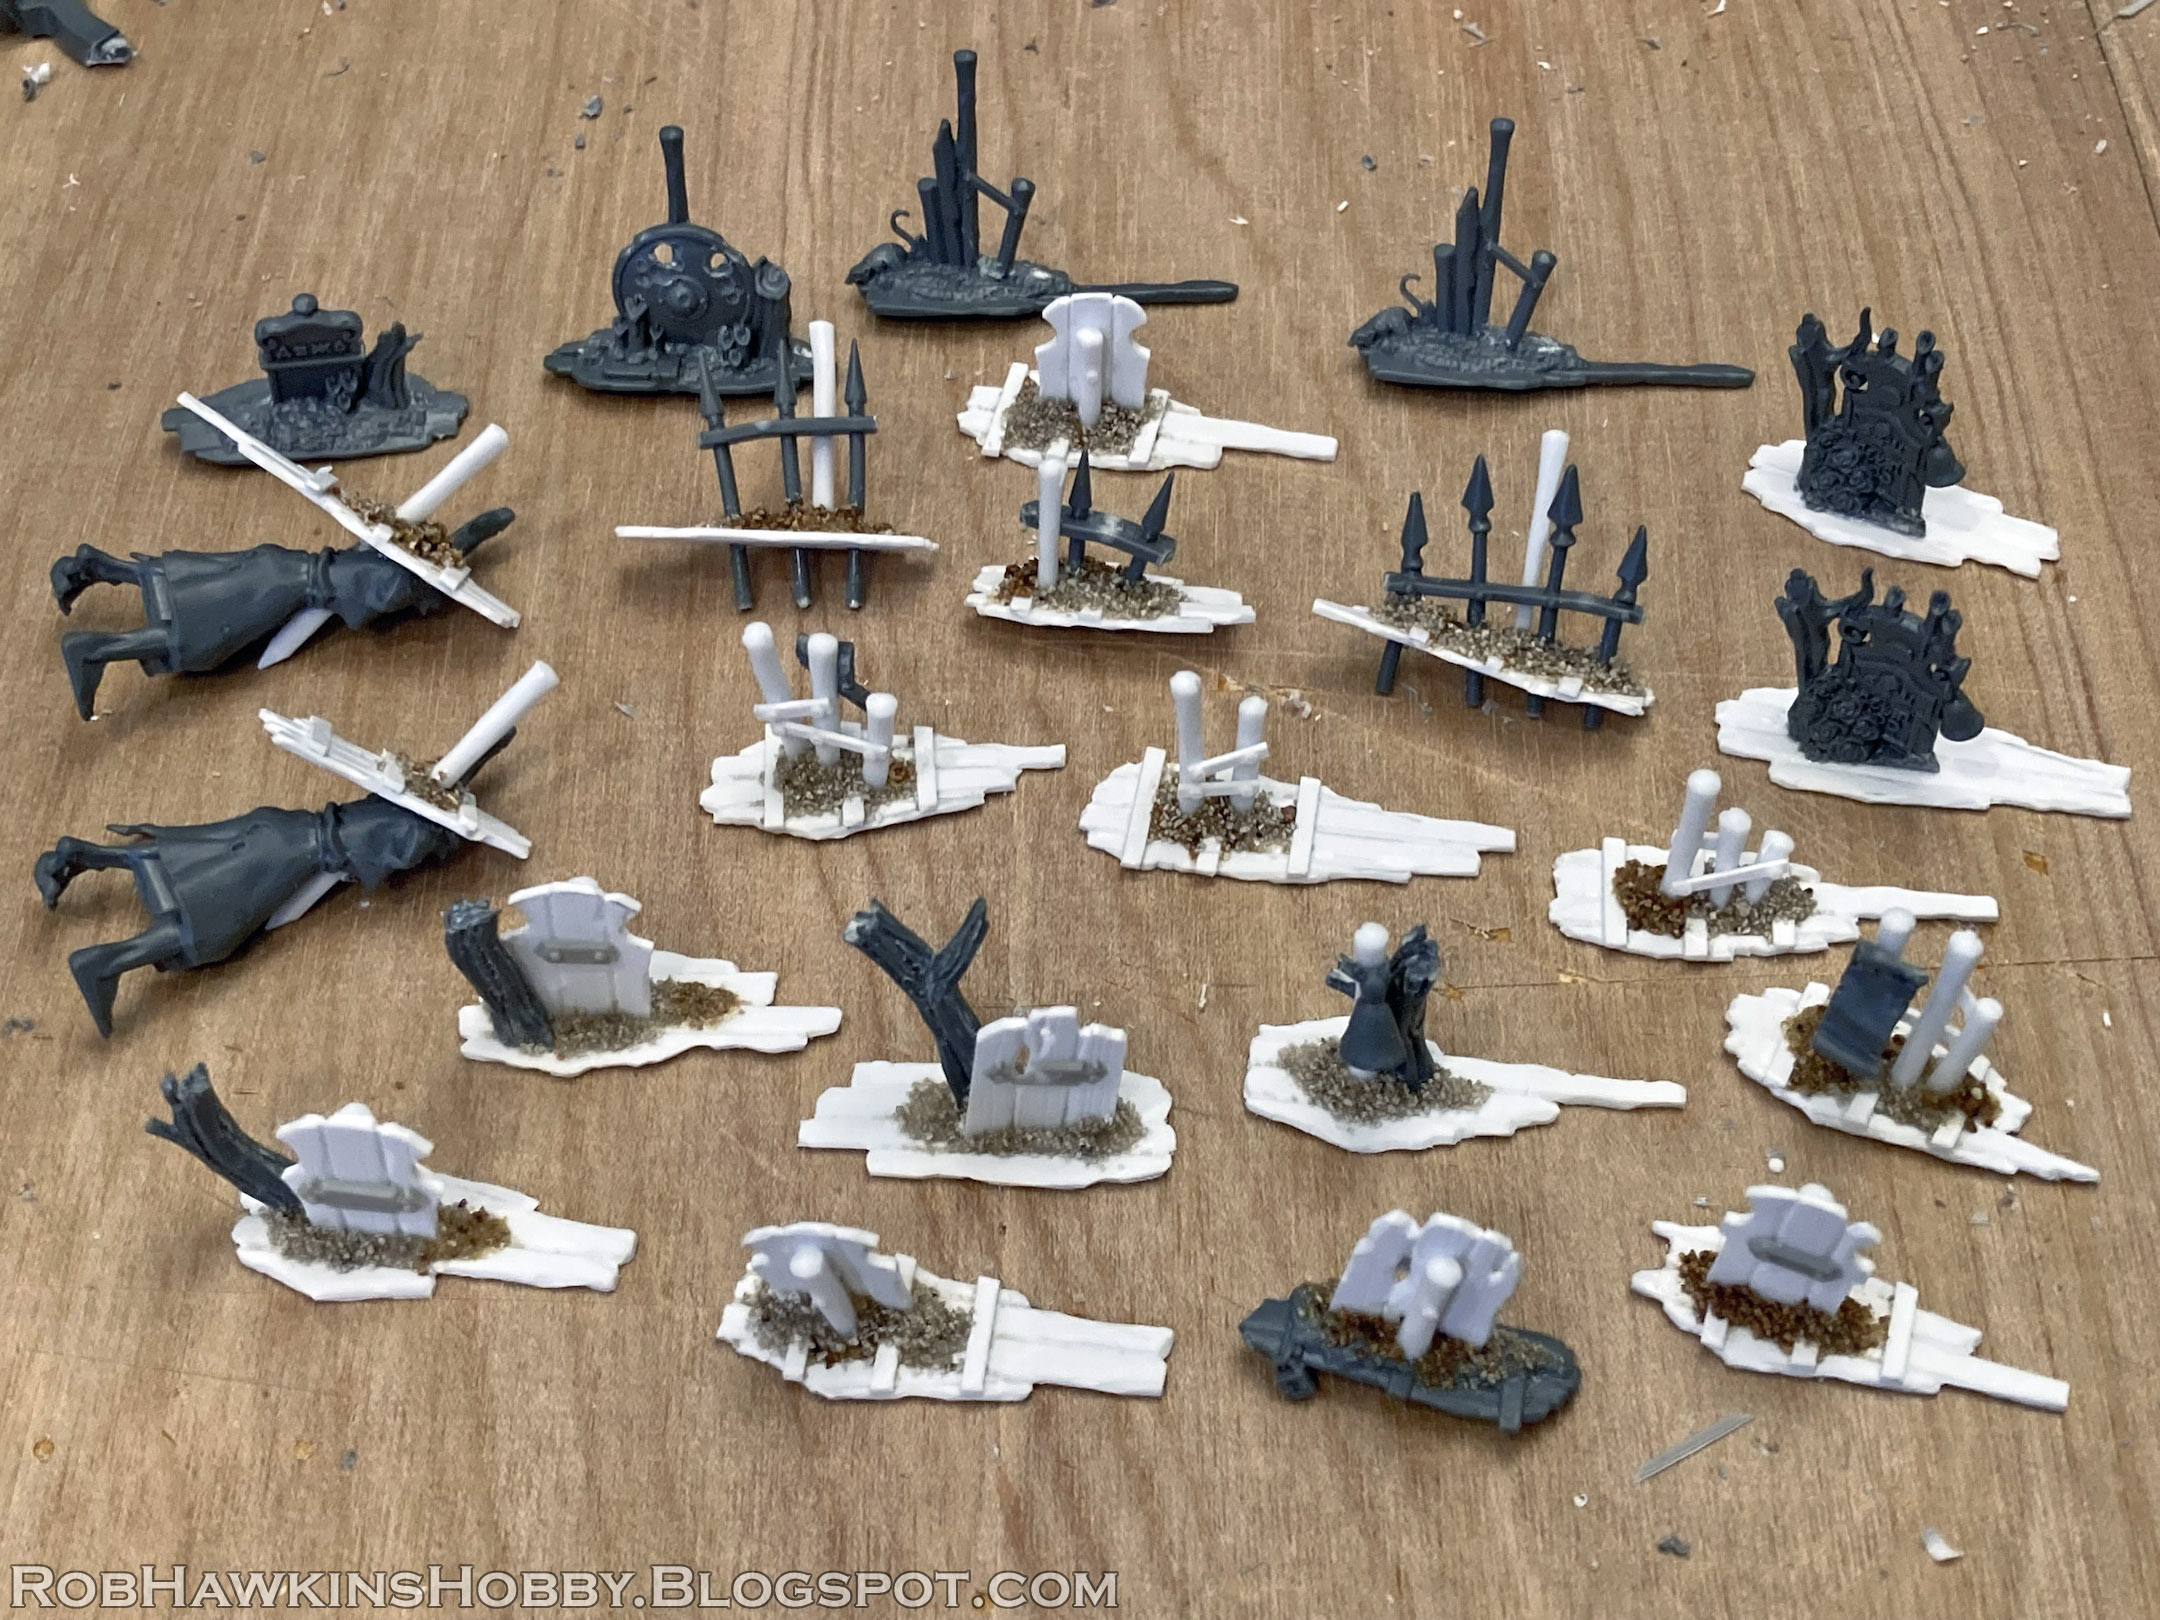
Here are some of the finished tree stumps next to the grave markers. On the top left piece, I used a bell from a Skaven Plague Monk accessory to add a bell on the wooden stake.
On the fronts of the markers, I added some name plates with bits that I cut from my resin Skull Forge Scenics terrain.
Other Details
Wherever a wooden stake is driven into the coffin lid, I needed to add a corresponding end protruding from the front of the zombie. This was achieved by carving a piece of rod with a sharpened tip, and inserting it into a hole drilled in the torso.
In addition to the wooden grave markers, I made a few bundles of stakes similar to this one from the Deadwalker Zombie kit. I cut the parchment from one of the zombies' backs and attached it to the post.
Using a strip of thin styrene, I added metal braces between the stakes. The small rivets were cut from thin 0.75mm styrene rod.
To make some wrought iron fencing, I cut the gates from a Sigmarite Mausoleum crypt and wall section.
After trimming them down to size, I drilled holes in the coffin lids and pushed the fence poles through. I left the poles extending through the bottom so I could have them poking into the zombie body when I assemble everything.
I used the two spare grave markers from my Cursed City box to make two more coffin lids.
Here's the first batch that I made. I still need to make a few more to fill out the rest of the unit, but this is a good start. I'll likely use some spare skeleton shields to make some markers like the shield marker above. Hopefully, this has given you some ideas to make creative embellishments for your own units!
'Til next time!


These are sensational, such a clever solution and from pieces that are often discarded.
ReplyDeleteThanks Michael!
Delete