Project Log: Skaven Warp-Skryre Tower, Part 15
In this installment, I tackle the final bit of construction: The tower's base.
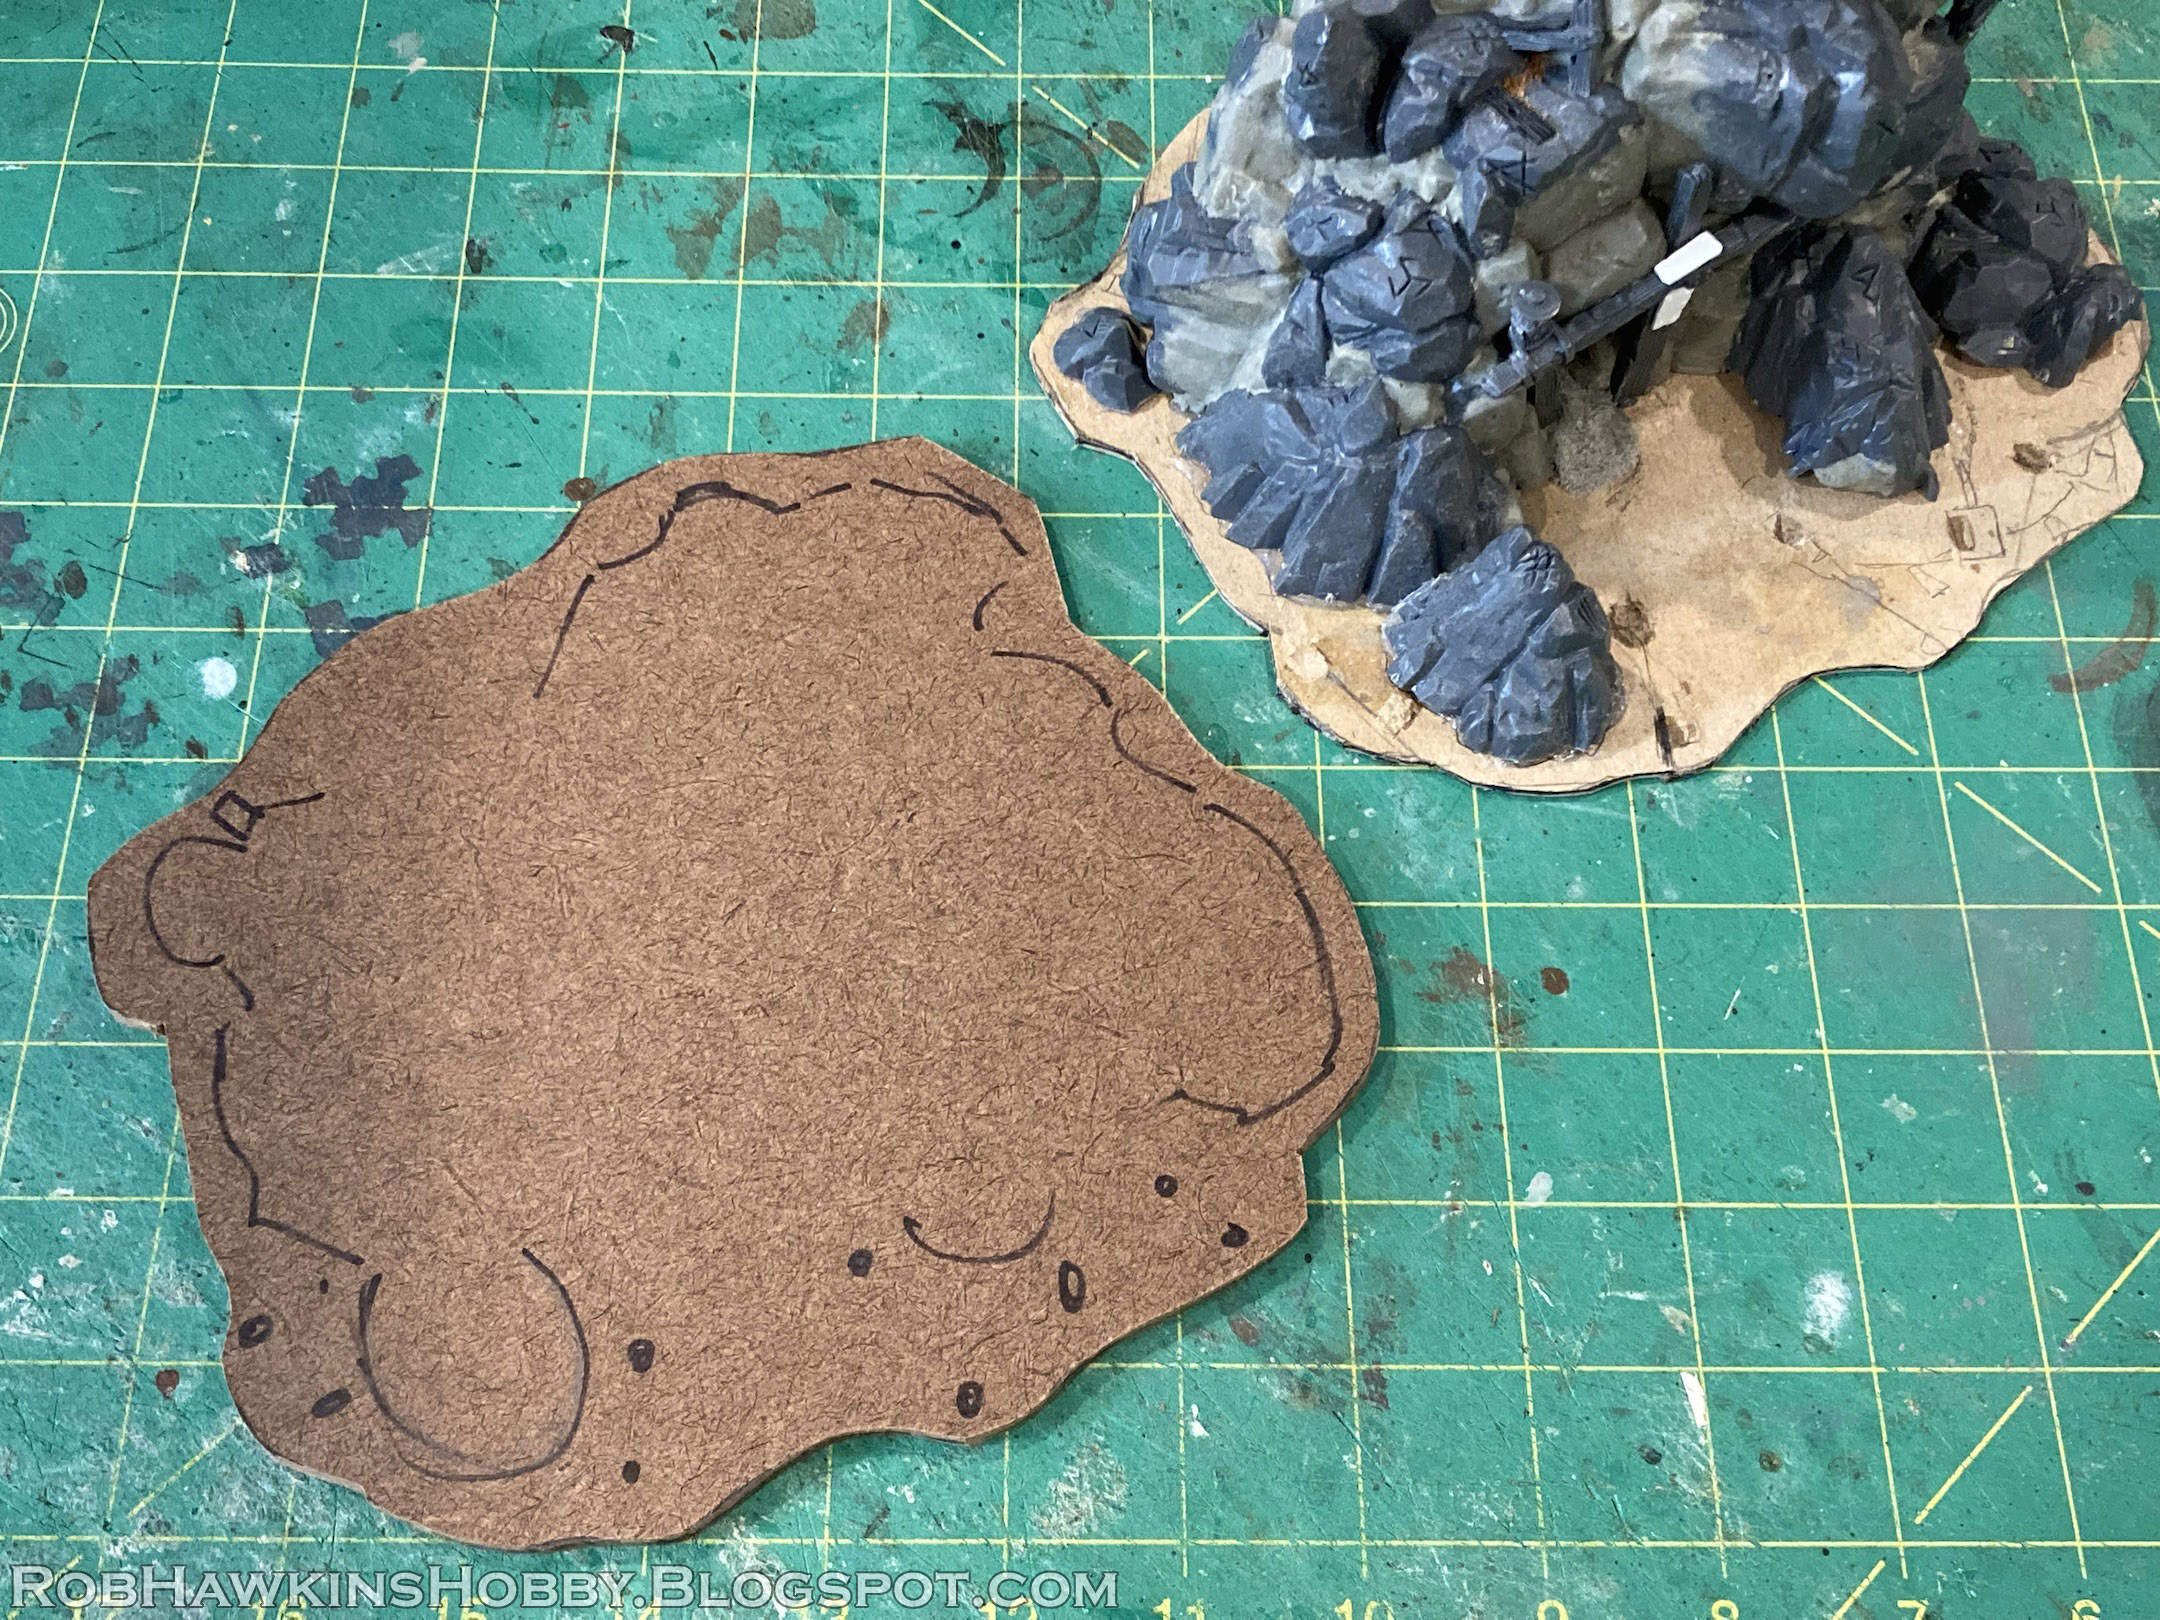
Throughout the project, I have had the tower mounted on a piece of thick cardboard, just to provide a stable base and give me a sense of how large the footprint might be. From the Skaven Gnawhole kit, I selected a handful of components –wooden beams, chains, and bells tied to ropes– to create a ramshackle barricade or fence around the perimeter. Also included in these is a pair of A-frames from the Screaming Bell. I drew the final footprint on the cardboard base and planned out the positioning of the barricade.
With everything marked, I cut out the cardboard footprint and traced it onto a piece of 1/8-inch thick hardboard (MDF would have worked too, but it's what I had on hand), and cut it out with a scroll saw. I tried to keep the base's footprint as small as possible so the piece wouldn't take up more "real estate" than necessary.
I transferred the marks and positions of the parts onto the hardboard and then used a knife to bevel the edge.
Once the hardboard base was ready, I carefully pulled the tower off of its cardboard bottom, and mounted it on the rigid base with hot glue.
I was left with some gaps and rough edges around the base of the rocks, so I used Aves Apoxie Sculpt to fill out the missing bits and tidy everything up.
I had been away from this project basically all winter, so when I came back to it and began to assemble the barricade components, I had completely forgotten how I had planned out the arrangement! The guide marks helped a little, but I essentially needed to redesign it all from scratch.
As I attached the parts, I also added the gravel and ballast to texture the ground.
For my basing materials, I used a combination of medium talus rocks which I broke into smaller pieces, small talus gravel, a mix of fine and coarse ballast, and some fine play sand to create a variety of rocky debris around the base of the tower.
Even though it might end up being a chore to paint around them, I ended up attaching all the ropes and chains so I won't have to remember where they're supposed to fit once I've finish painting this months from now.
And with a final sprinkling of sand along the path to the entryway, the construction was officially finished! I'll have one more Project Log post showcasing the final assembly, and then it's on to the painting!
'Til next time!


No comments:
Post a Comment
All comments are moderated. Any comments containing links will not be approved and will be marked as spam.