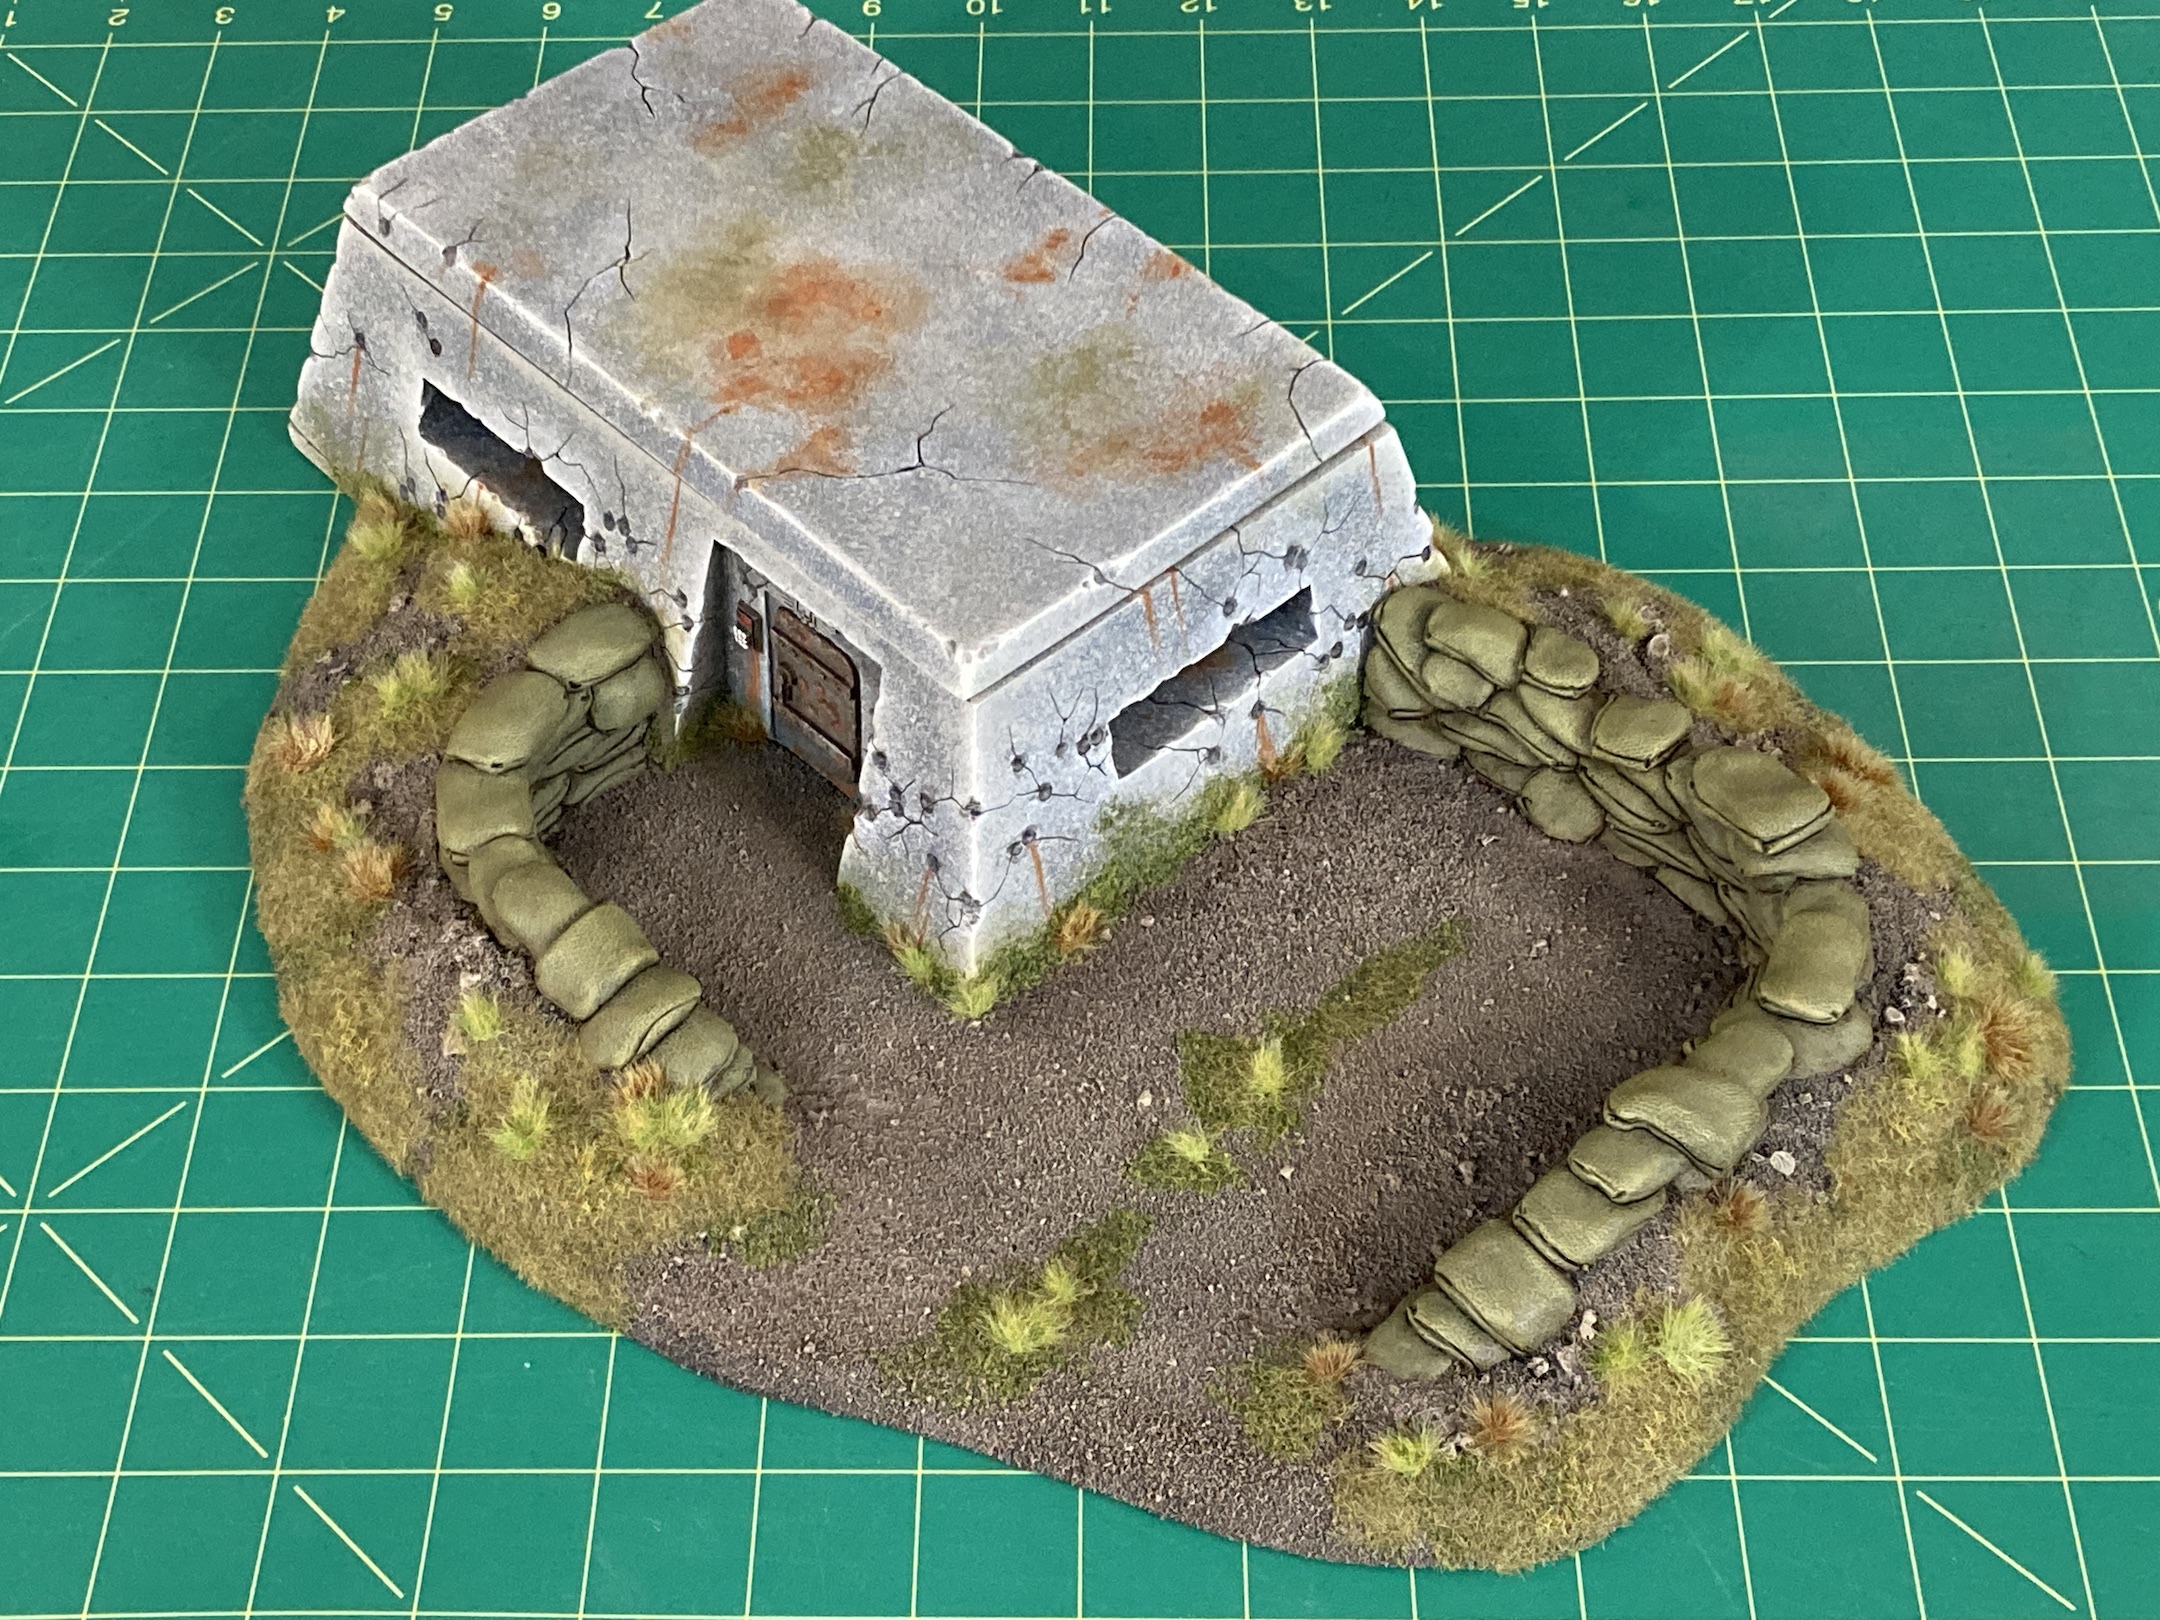
I finished off this old 40K bunker. Here's a look at how it turned out, and the process I used to paint and base it:
That's one item down from my backlog queue. I decided to auction off the better pieces of Armory terrain. If you're interested in them, the Ebay auction ends March 28: https://www.ebay.com/itm/115735555606
That leaves me with the bunker. This piece has a little bit of history behind it: When I was working for the GW US studio in 2004, we mass-produced a few pieces of terrain to send out to the retail shops, Hobbit holes, Beastmen herdstones, a pallisade fort, and this 40K bunker. I sculpted this piece out of insulation foam, styrene card, Aves Apoxie Sculpt, and a few model bits. The components were then cast in resin, mounted on a piece of MDF and then the team painted and flocked them all. I forget how many GW shops there were at the time, but we sent one out to every store, so we probably made about 50 or so. I was able to hang onto one, and I've had it all these years.
Over the black primer, I sprayed it with grey Duplicolor Sandable Primer.
I trimmed down the MDF base and attached the sandbag walls. Then, I used a bit of wood filler putty and Aves Apoxie Sculpt to smooth over the gaps.
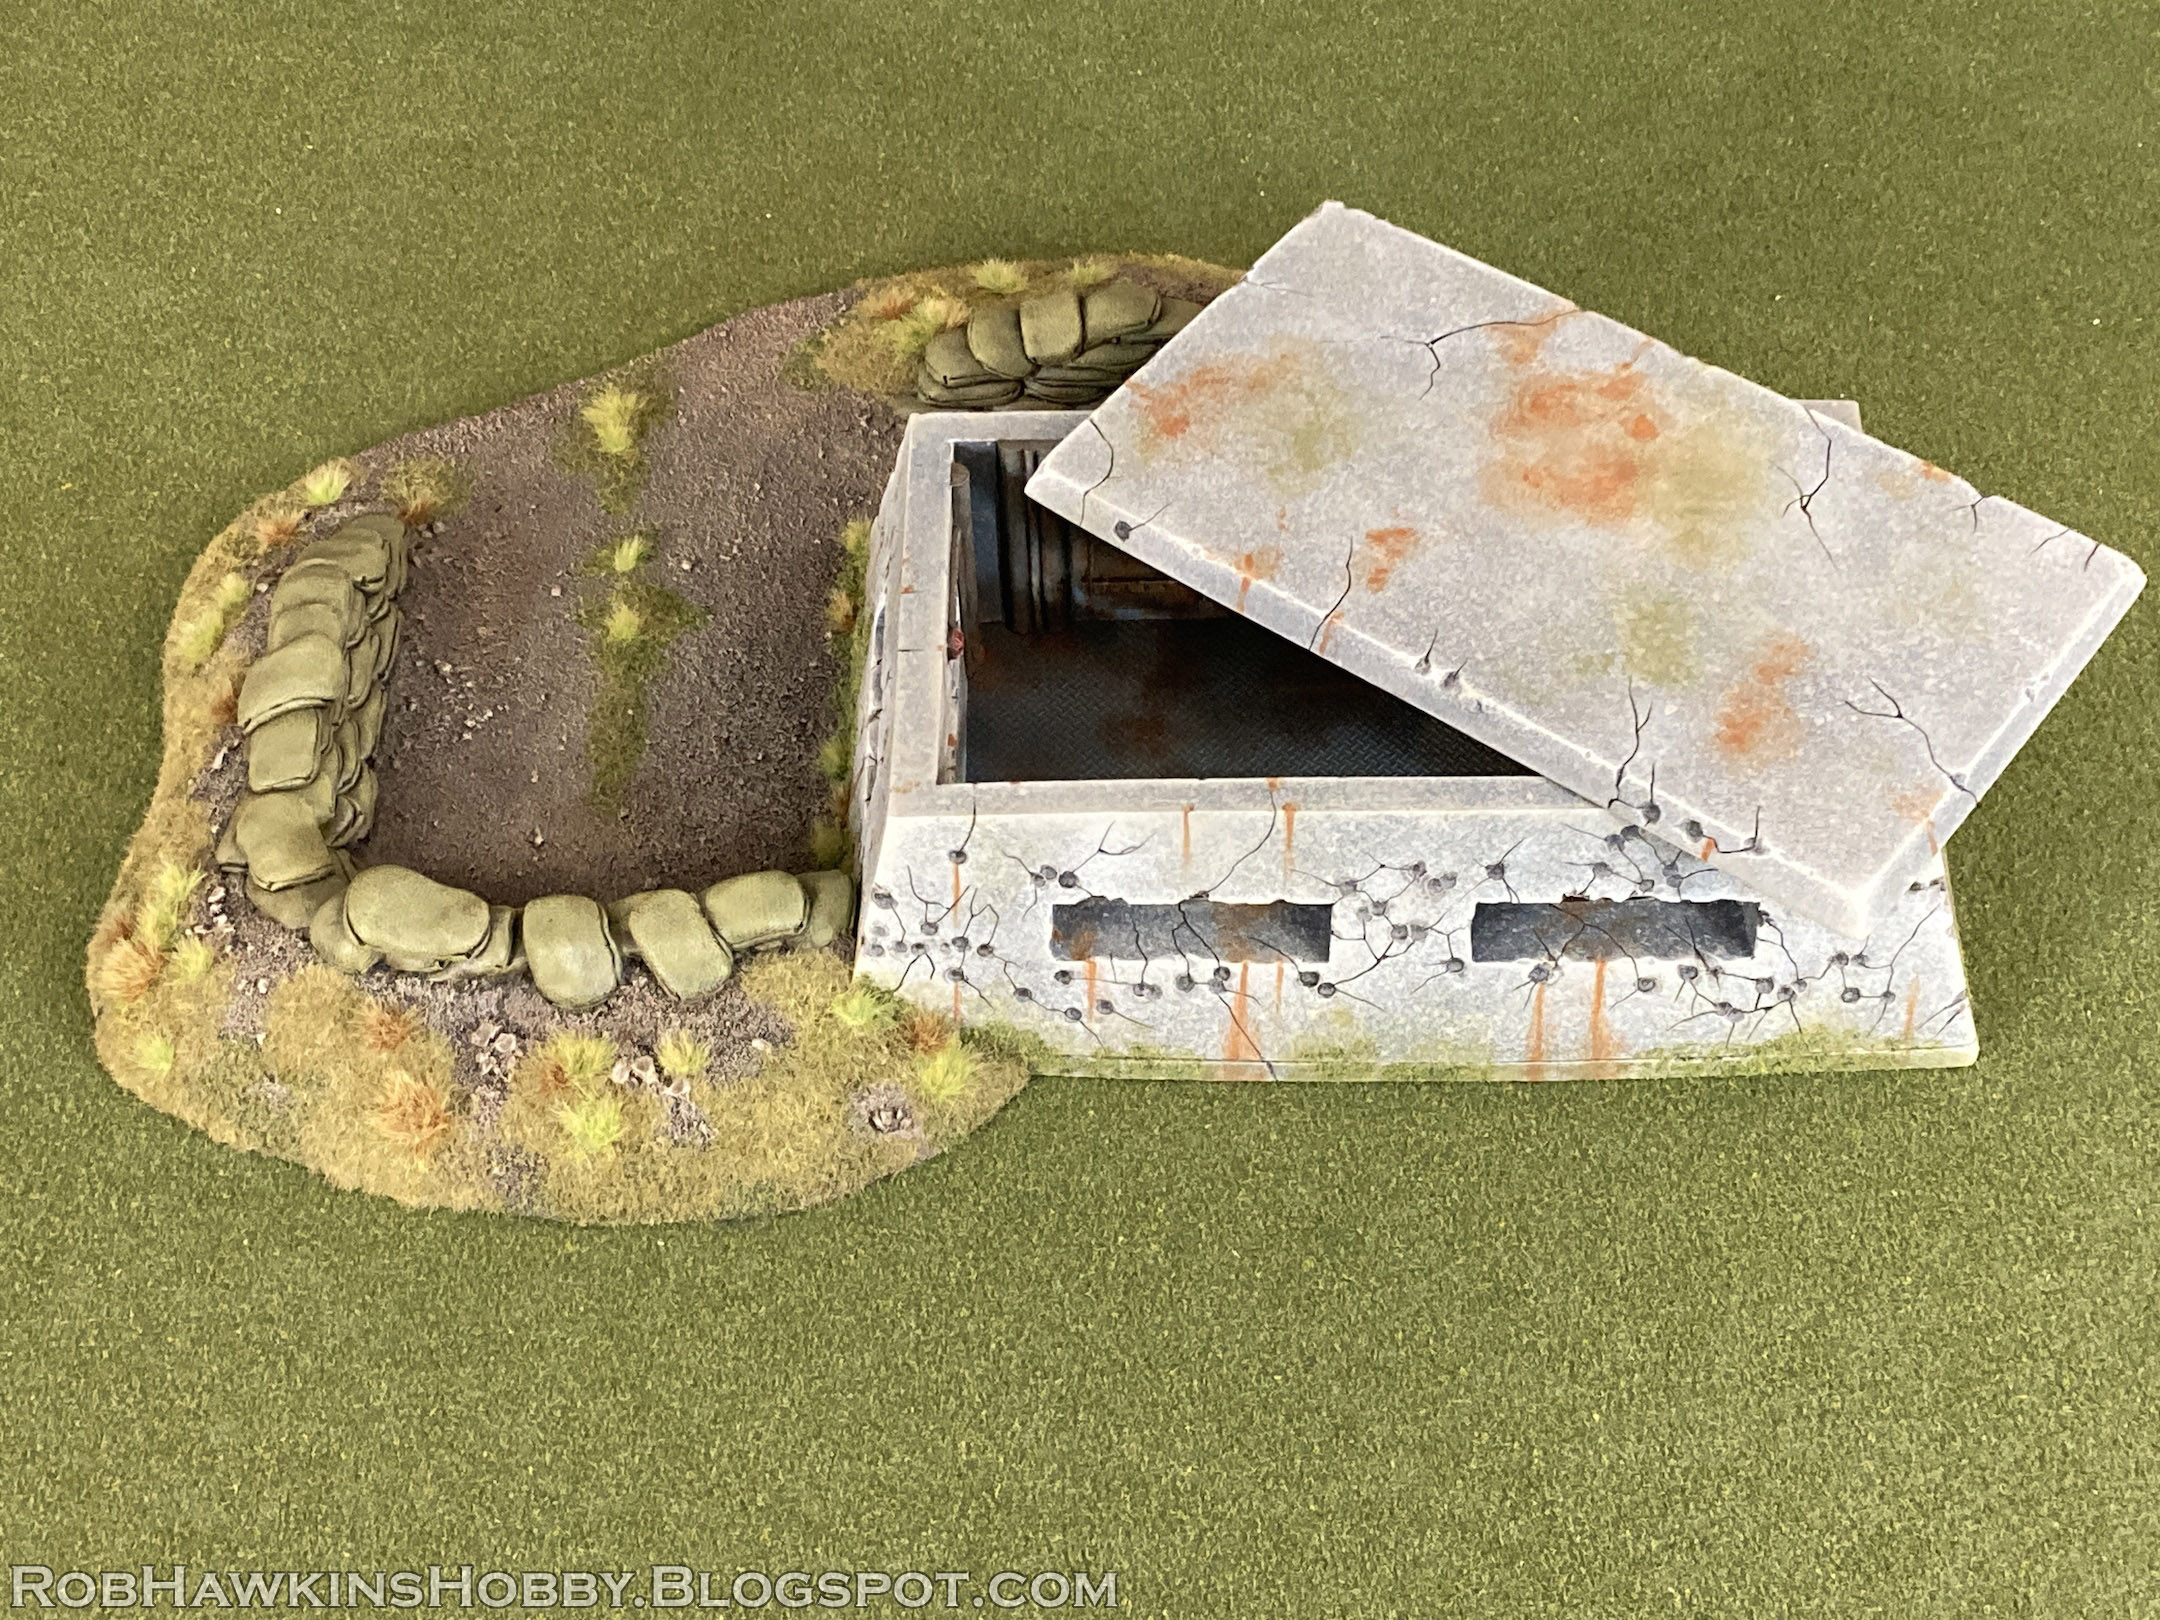
I kept the bunker separate for painting, and I added a sheet of diamond deck textured styrene card for the floor.
Another small modification I made was to add little tabs under the roof to keep it from sliding around.
I added some sand and gravel...
...and primed the base with black primer, and then a brown spray for the ground, and grey for the floor.
The ground was drybrushed with Army Painter Leather Brown and Vallejo Light Mud.
To paint the concrete, and give it a bit of texture, I used a combination of spattering with a toothbrush, and dabbing the surface with a sponge. The colors were Army Painter Ash Grey, Matt White, and Vallejo Light Mud, all mixed in various combinations. I also did this along the bottom edge of the base where the bunker would sit.
Once I was happy with the surface color and texture, I drybrushed the edges with the same mix with more white added in.
To make the cracks more visible, I mixed some India ink and brown ink, and painted it into the cracks with a fine brush.
Then, I painted some GW Nuln Oil into the bullet holes to shade them.
For the details on the bunker, I basecoated them with P3 Bastion grey, and then added a bit of white and Ash Grey to drybrush some highlights. Next, I mixed P3 Bloodstone, Army Painter Gun Metal, and brown ink, and used a small sponge to add some paint chips on the door and pipes. Finally, I added rust streaks with a mix of Bloodstone and orange. The rest of the details on the console, lights, and keypads were picked out with various colors.
I used the same colors to drybrush the metal floor and add the rust stains. The sandbags were basecoated with P3 Traitor Green and shaded with GW Agrax Earthshade. Then they were drybrushed with a mix of Traitor Green and P3 Moldy Ochre.
I glued the bunker in place, and washed some Traitor Green around the bottom of the base to simulate mossy discoloration.
The moss was further enhanced by gluing some green flock in a few places.
Then, I added patched of static grass and a few grass tufts.
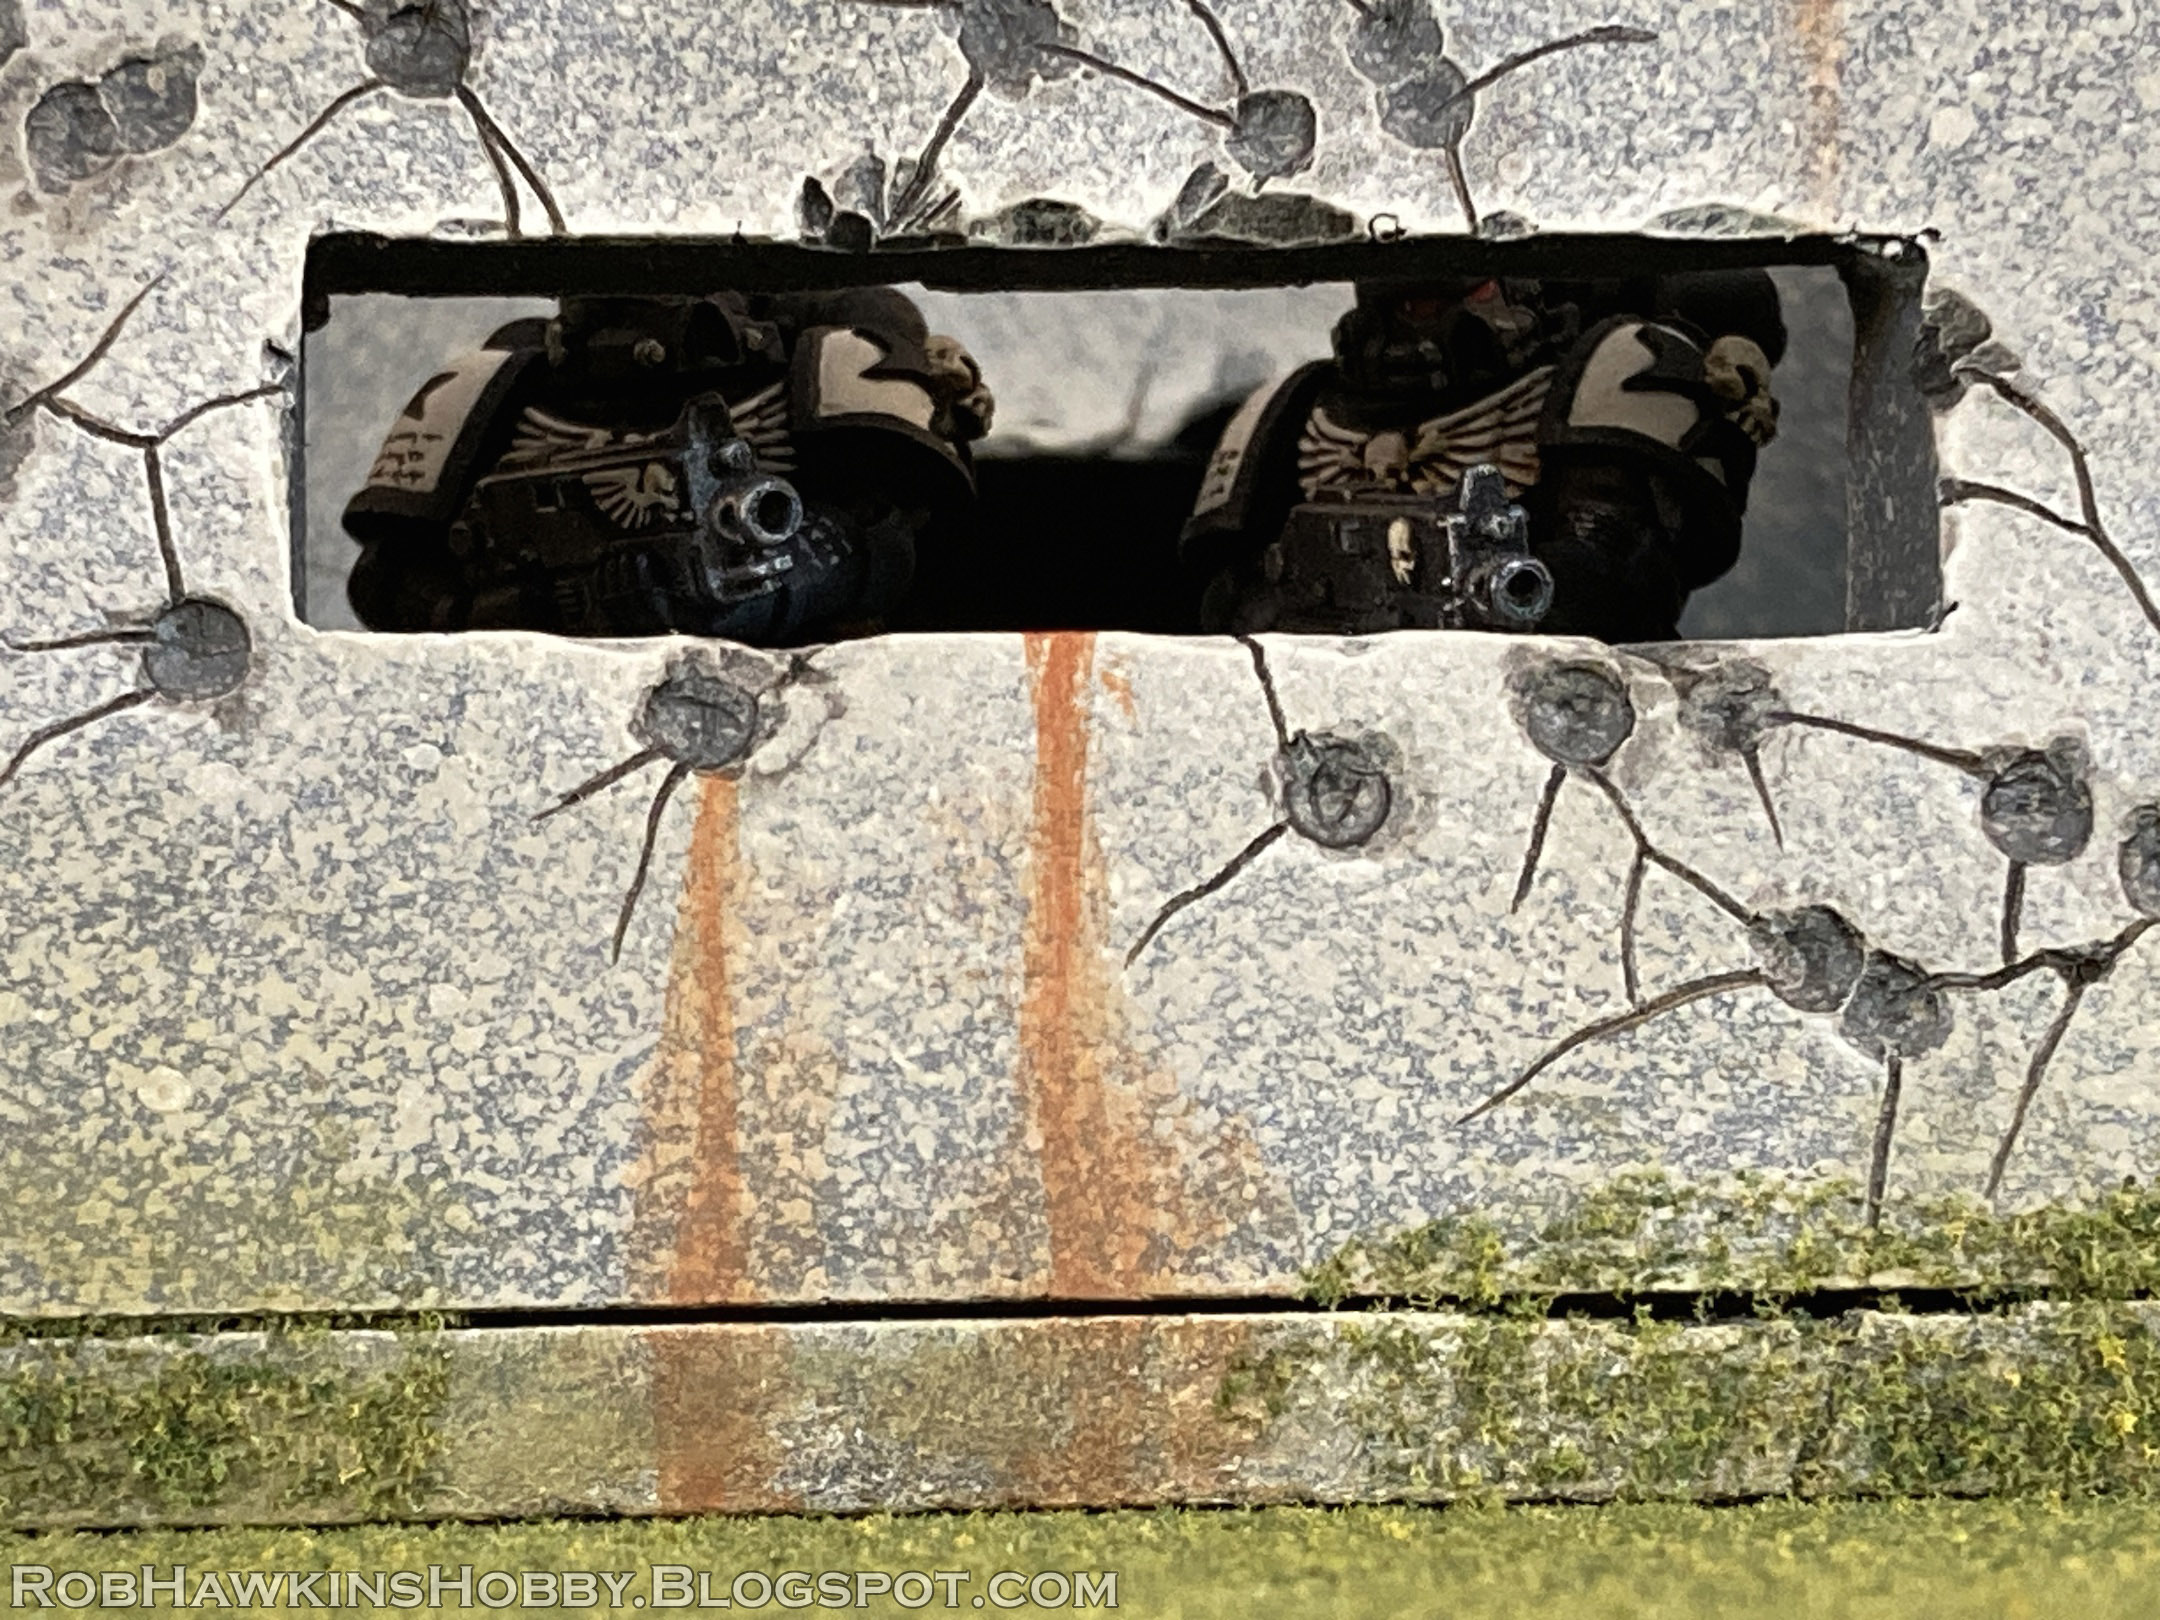
And that's the completed bunker. Here are a few shots with a Vindicator parked in the tank emplacement, and a few marines manning the outpost:
I'll probably sell this piece in the near future. If I do, I'll announce it on Twitter.
'Til next time!


Awesome work Rob! Once again you have proven yourself to be a master terrain crafter.
ReplyDeleteThank you!
DeleteThe whole post feels like a blast from the past- I feel like terrain back then would lend itself to personalization more easily than modern terrain. Not a complaint, just a nostalgia-fueled observation. Well done!
ReplyDeleteThanks! There really *wasn't* much terrain back then– That's why GW was still publishing terrain-making books and White Dwarf tutorials. Building Games Day tables and Grand Tournament boards required a lot more creativity. ;)
Deletean amazing work for such a vintage piece
ReplyDeleteThanks!
Delete