Star Wars Outer Rim Scenery: The Shipwrecks
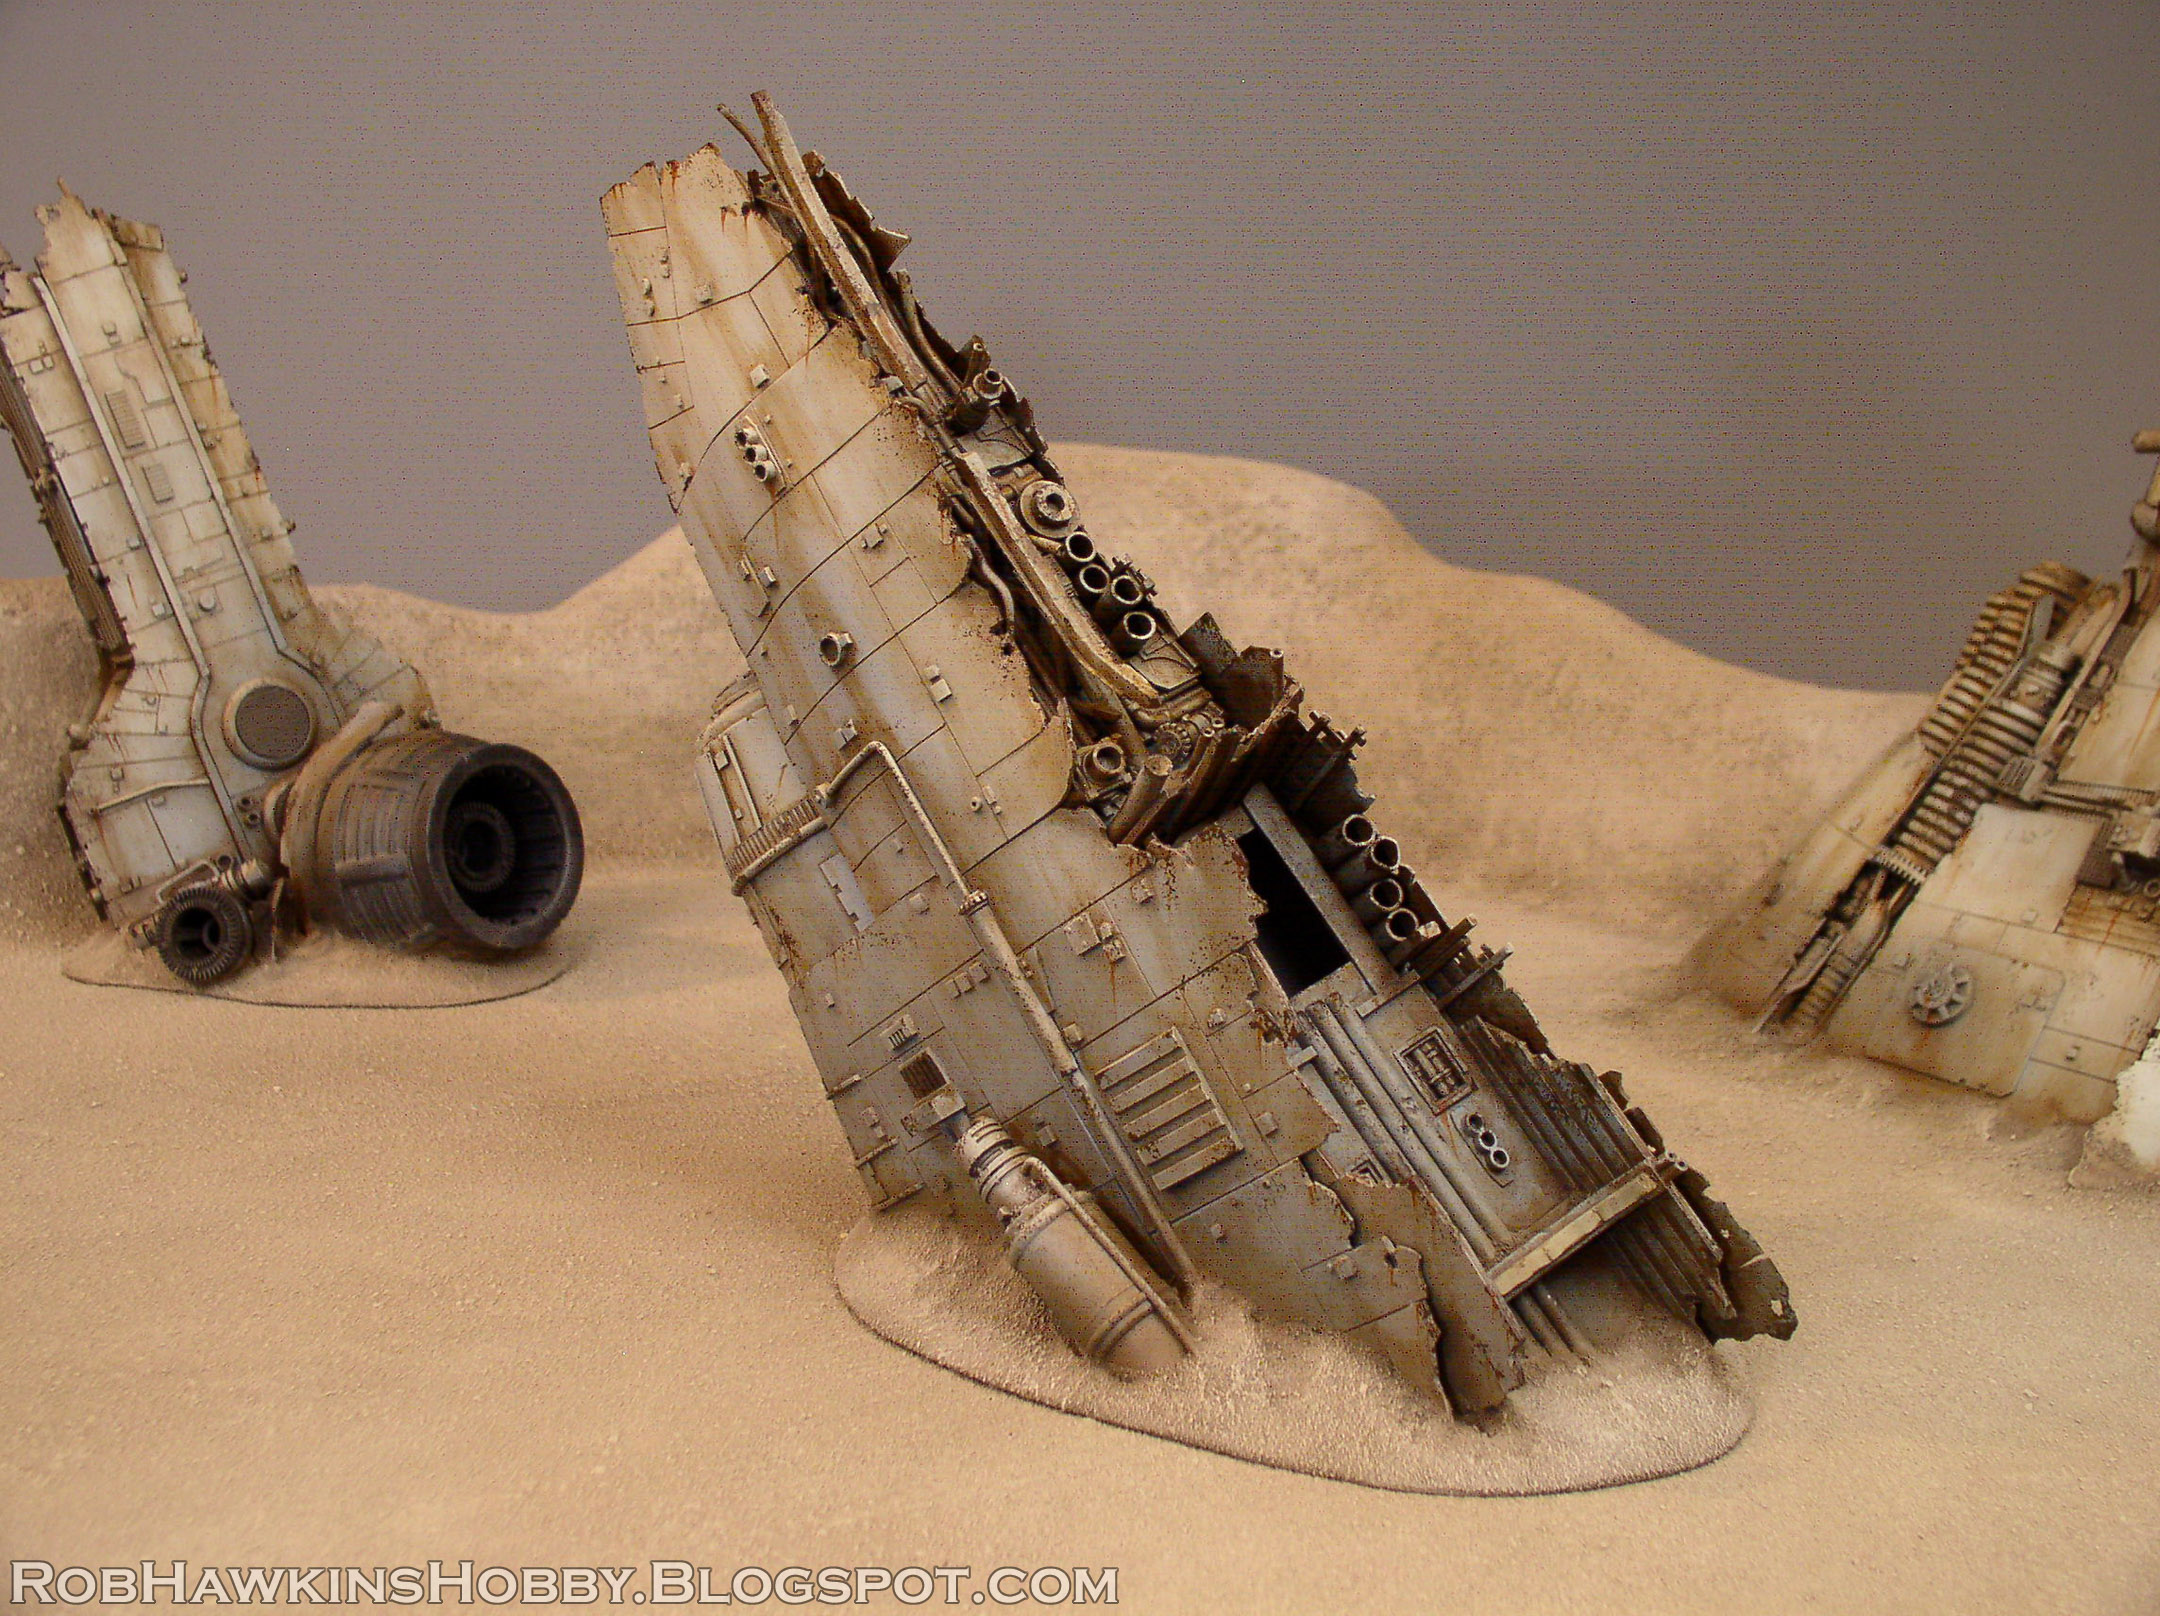
In this post, we'll take a look at the other starship wrecks that I built for the board:
As with the larger chunk of wreckage that was built into the main board, the two free-standing wrecks were built out of pink extruded polystyrene insulation foam. I used the foam to form the basic shapes, and then coated it with Liquid Nails construction adhesive so I could super glue plastic components to it.
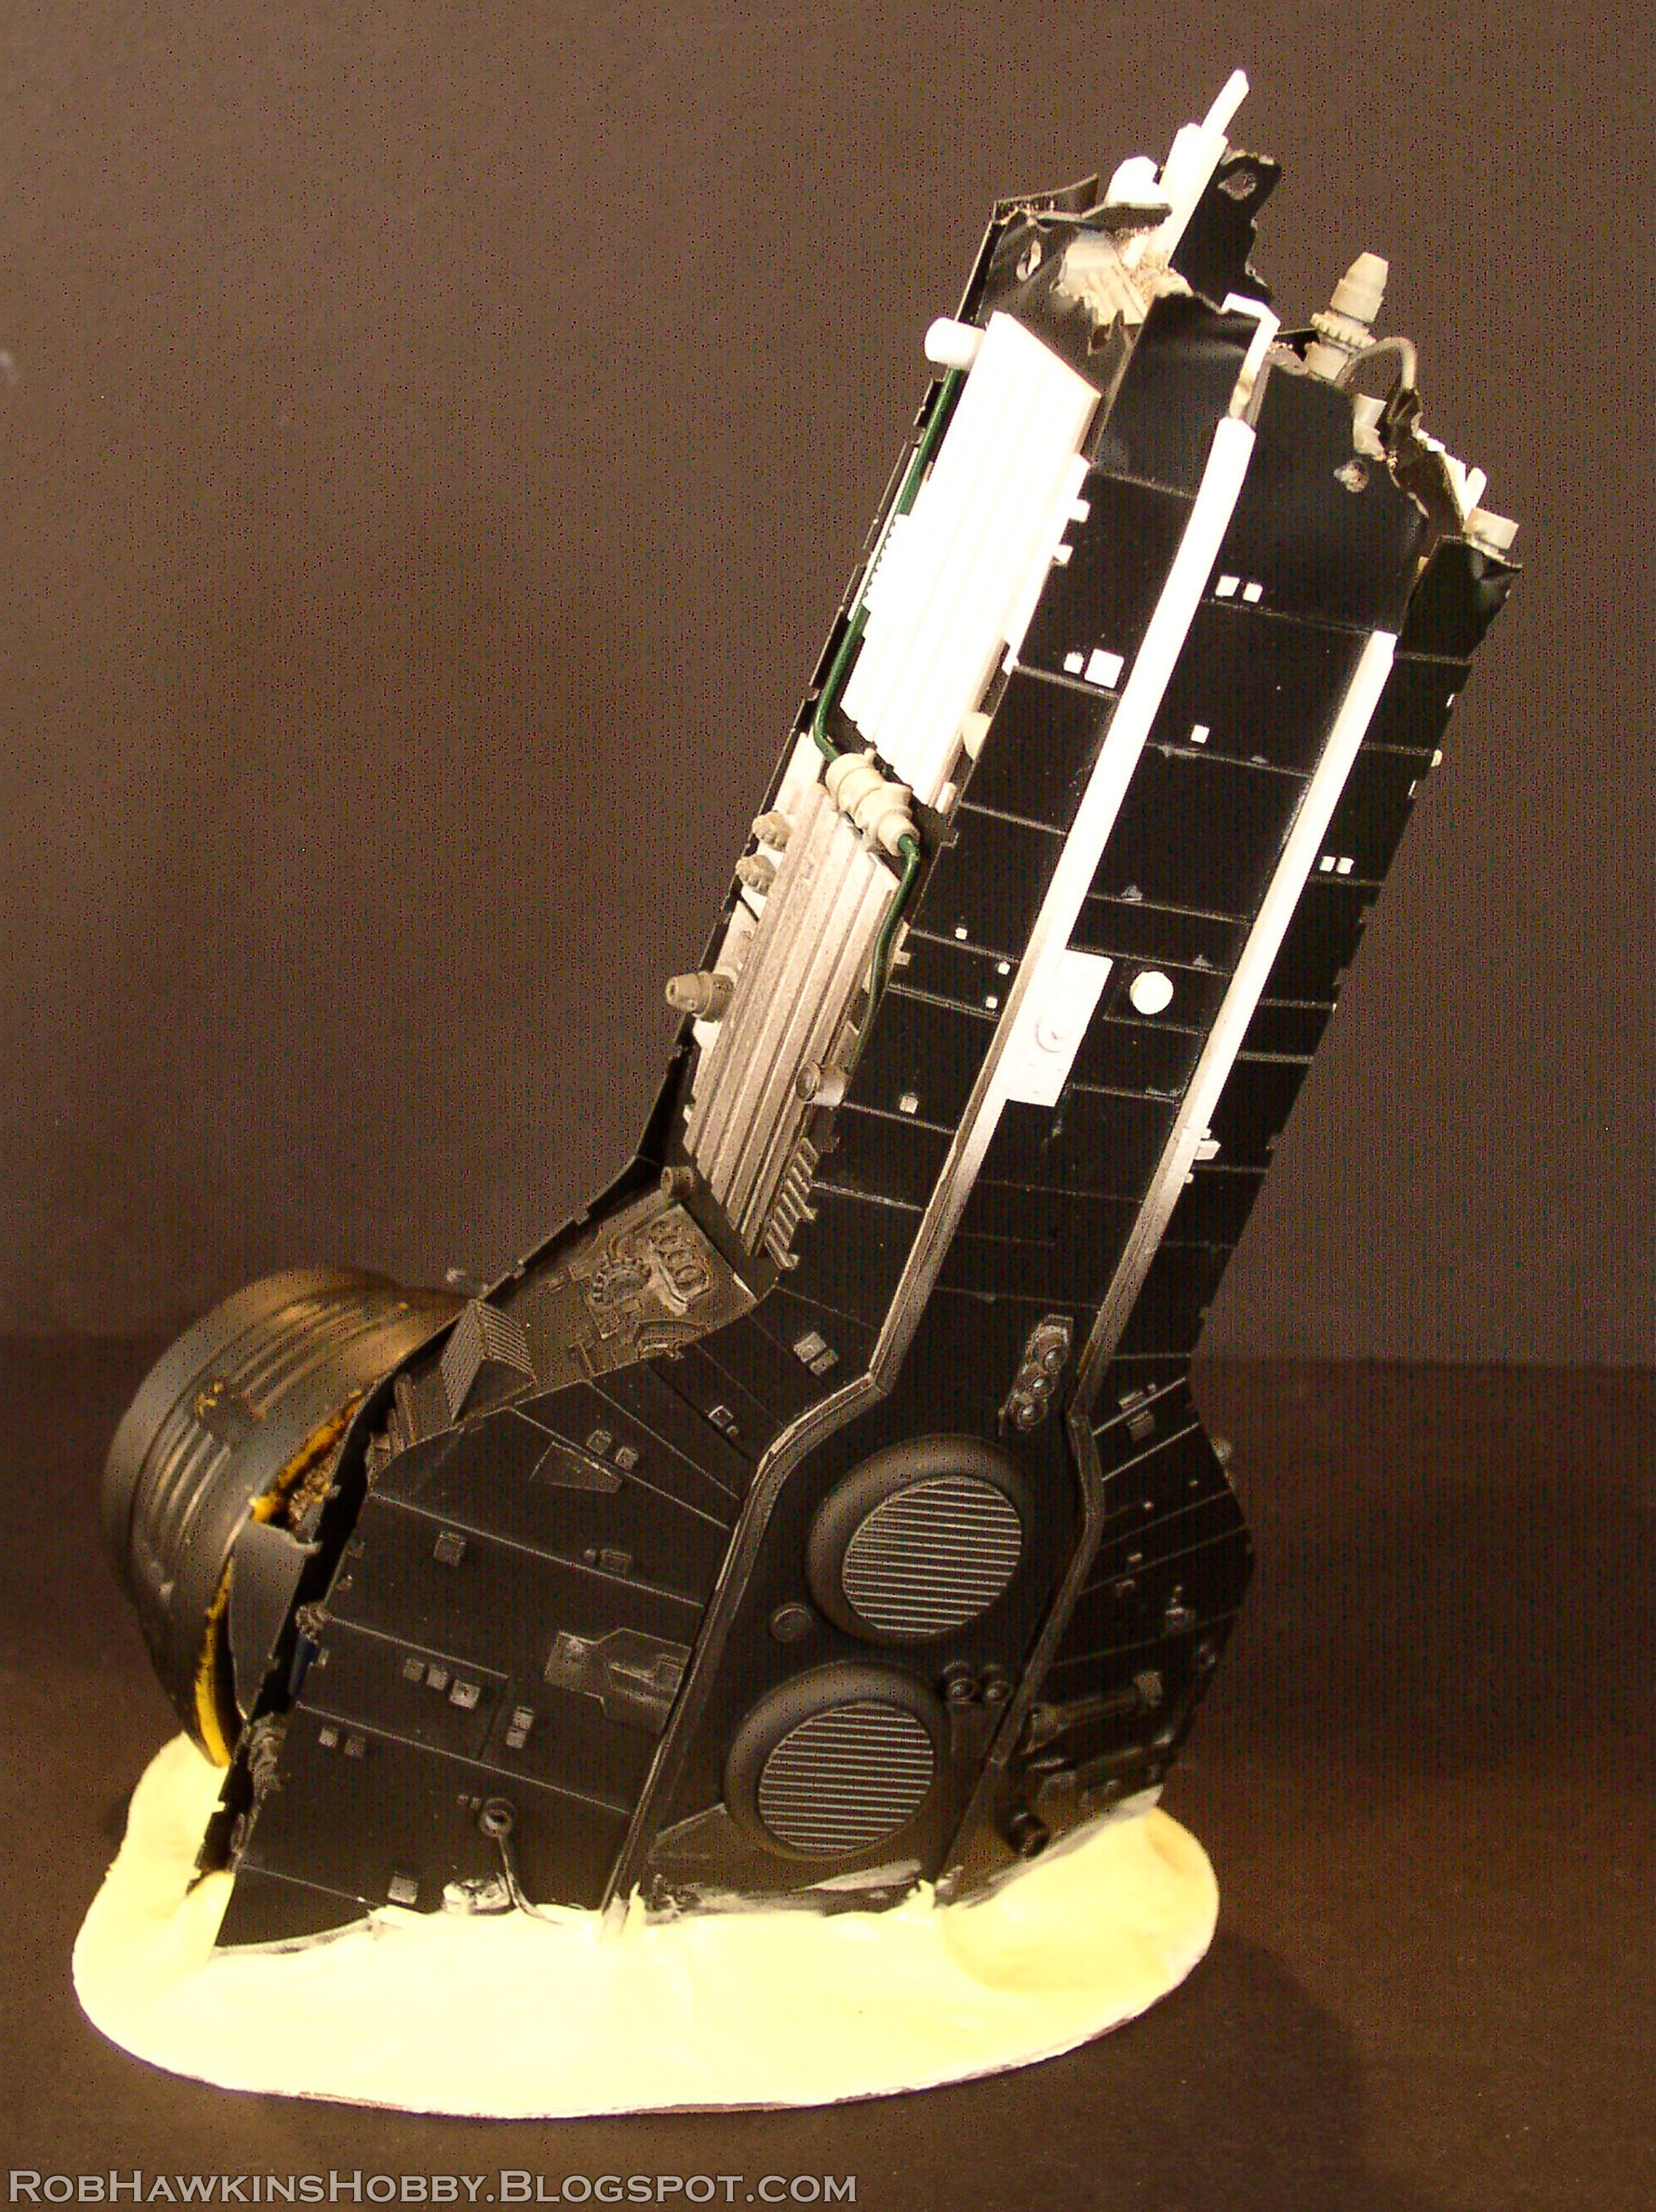
The process for both ships was to detail the side edges first, and then add the paneling for the top and bottom surfaces, which overhangs the sides a little. The first ship is split in half, with an exposed interior. In this shot, you can see the finished interior, primed black, and the coated foam shape. The wreck is mounted on a piece of 1/4-inch MDF board with its edged beveled.
The interior of the ship has pipes running along the wall, and padded archways reminiscent of the Millennium Falcon interior. The square cutout is an open doorway that presumable yeads deeper into the ship. The front end of the ship is a mess of pipes, conduits and metal struts, all made out of styrene rods, tubes, I-beams, and open web truss (the beams with the zig-zag running between), all of which are available from Evergreen Models and Plastruct. I also added in some components from the moisture vaporators to add bits of tech here and there.
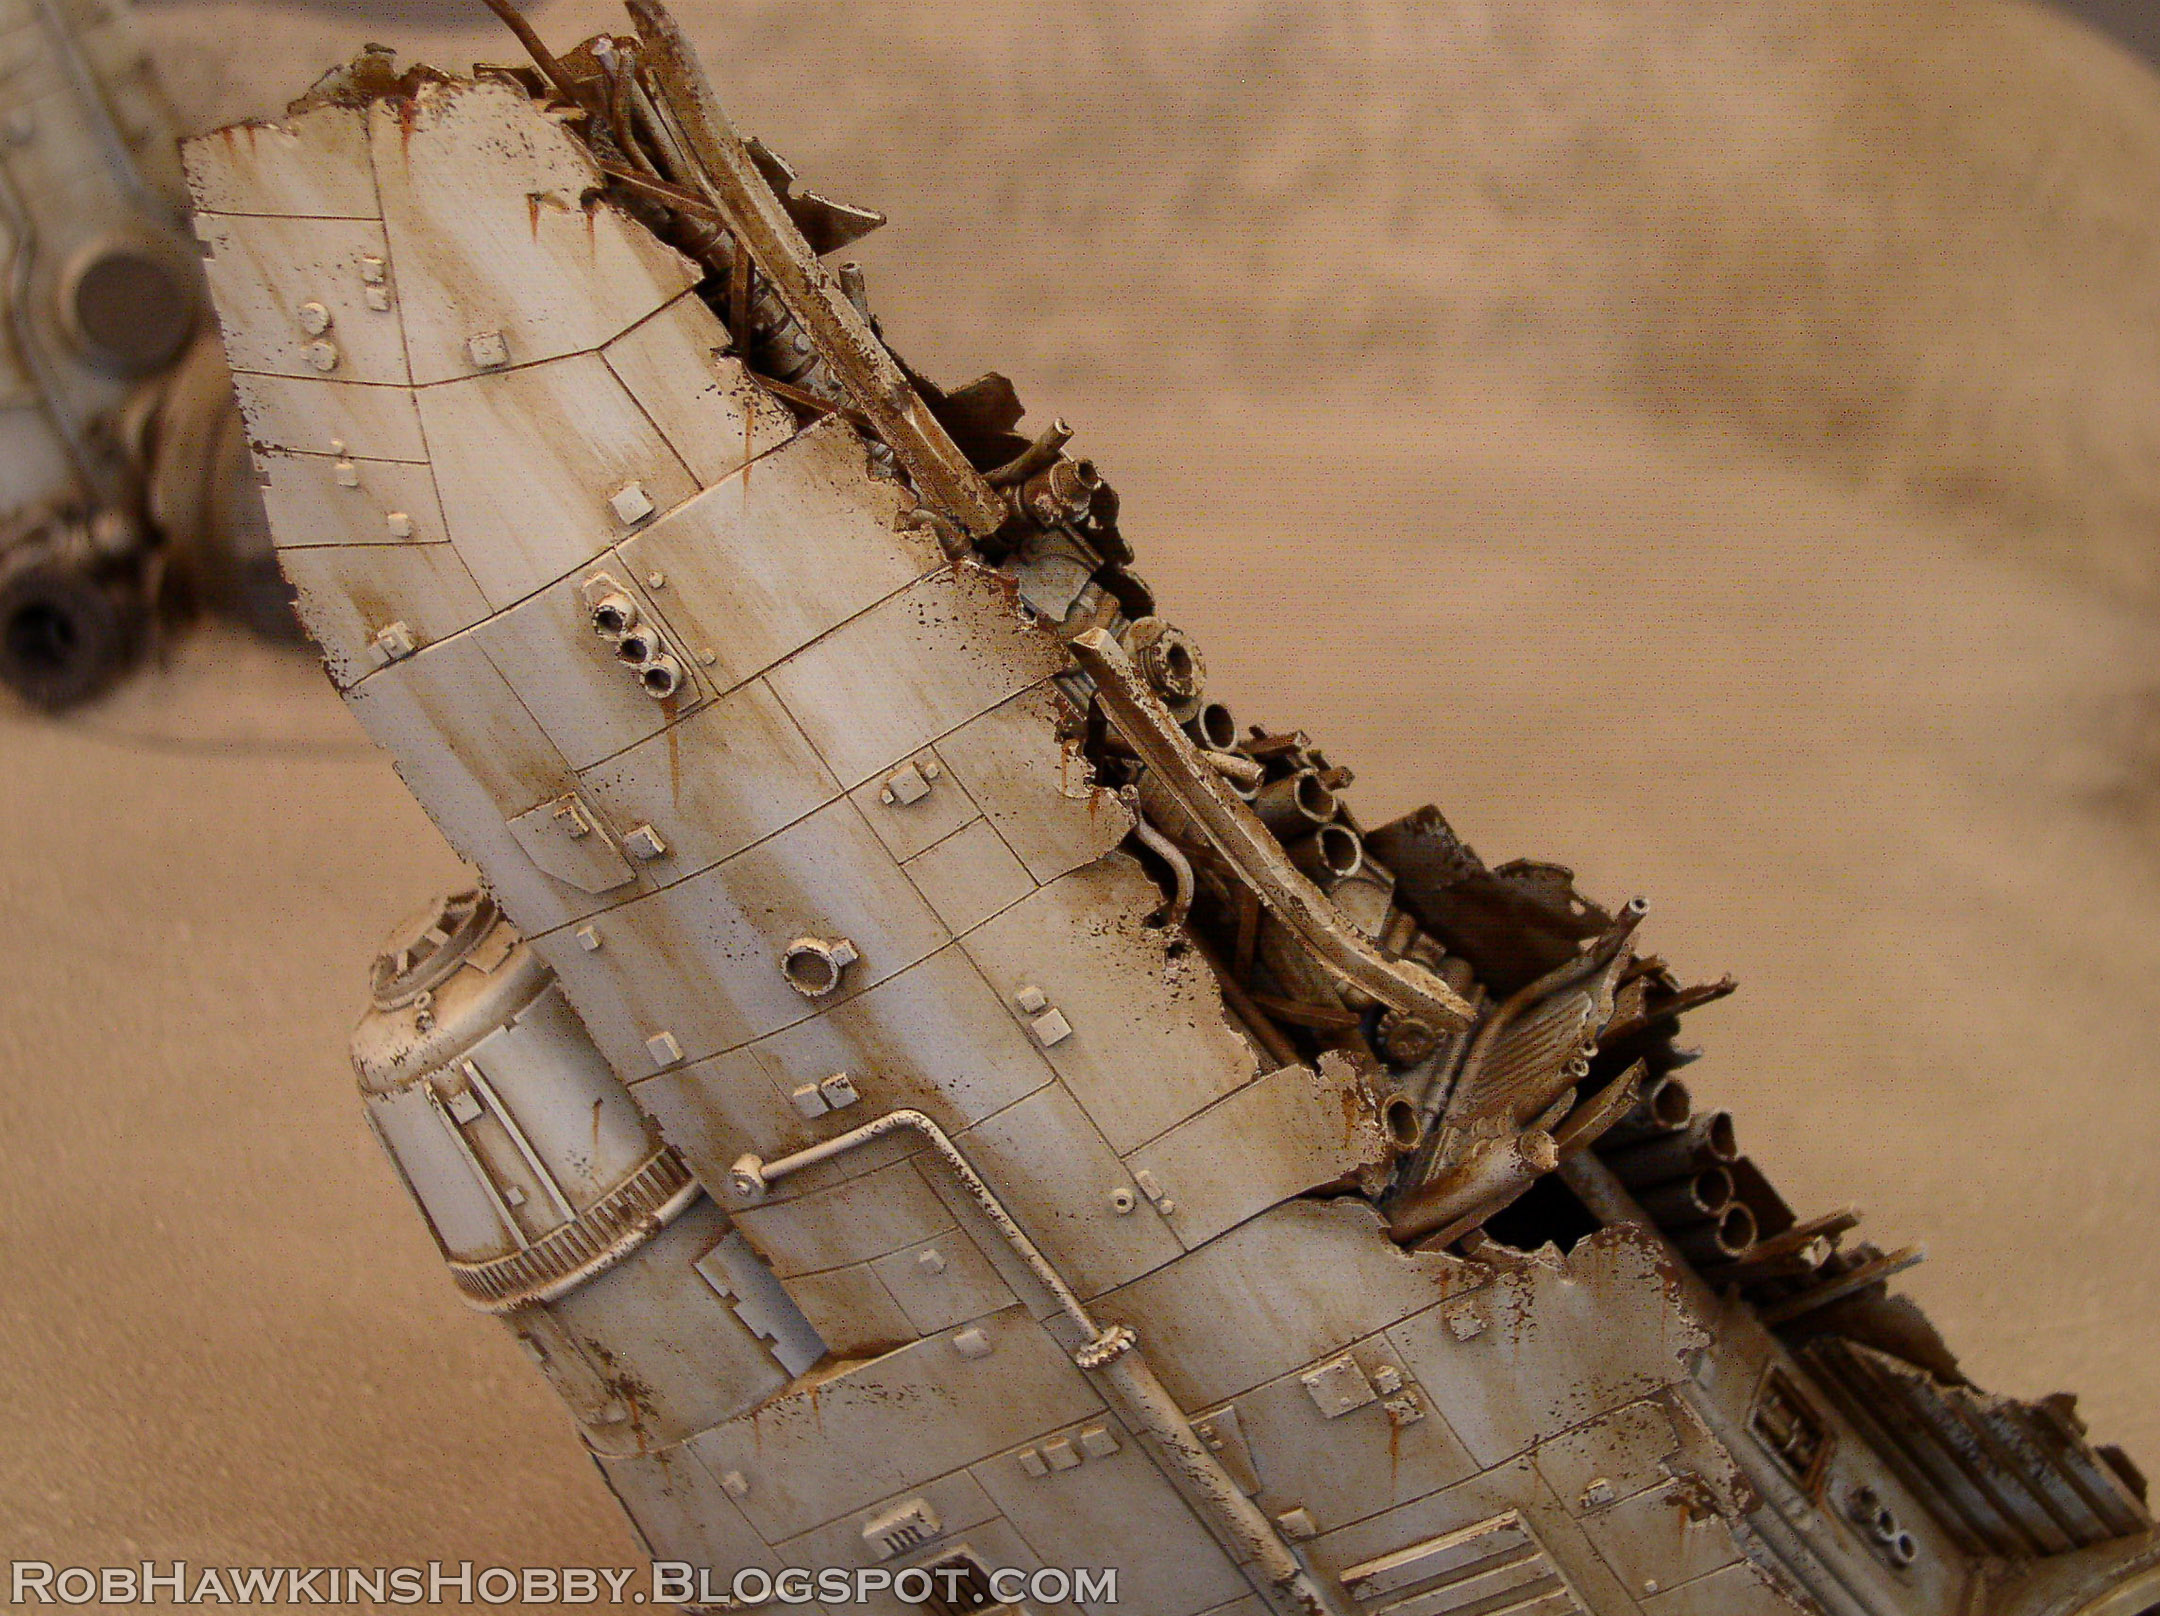
To "skin" the ship, I used .75mm thick styrene sheets. I trimmed them to fit the curved contour of the ship, and before gluing them in place, I etched panel lines into the surface and cut up the edges with a hobby knife and a pin vise.
More styrene was used to add raised paneling on top of this, and the pipes running on the outside of the ship were made with either styrene rod, softened with a heat gun to bend them, or metal floral wire.
For the cockpit of this ship, I used the end of a dollar store toy microphone. I cut out some of the slats, and added a few more windows at the front to give it that "WWII bomber" style canopy that's become a staple of Star Wars ship aesthetics.
I sanded the yellow plastic to give it more tooth so I could glue other pieces of styrene and resin to it.
Around the base, I scattered some other parts made from pieces of moisture vaporator and ridged electrical conduit. The orange piece is a section cut from a dollar store plastic flute. (I've used them in the past for chimney shapes. The dollar store is a great place to find inexpensive plastic bits that have unique shapes!)
Here's the ship, painted. To reiterate the painting process from my previous post:
I primed everything black, and then sprayed it with a warm grey basecoat. From there, I weathered it with a mix of Liquitex Burnt Umber Transparent Ink (aka Brown Ink) and Formula P3 Bloodstone. I thinned it and painted it on like a wash, and then used a paper towel sprayed with isopropyl alcohol to wipe it off the surface. The alcohol takes the paint off the surface pretty cleanly, and helps it flow into the recesses. The technique is similar to an oil pin wash, just without the oil paint. I also painted on some specific rust streaks of P3 Bloodstone, and used a sponge to apply chips on all the corners with a mix of Brown Ink, Bloodstone, and a bit of Army Painter Shining Silver.


The second ship was a little simpler, with a little more "side edge" area to detail. Here you can see some images of the sides. I added lots of bits and bobs from the moisture vaporator sections and floral wire and styrene pipes. The circles are all cuts from thin styrene tube. Detailing areas like this are a great way to use all of the random off-cuts left over from other projects. I even used a left over step from the escalators I built for the Marvel Crisis Protocol subway station.
At the front, where the ship is broken open, I used some sections of pipe, cut from my Skull Forge Scenics Industrial Bases, and filled in the gaps with sand. That small grey box is a bit that I made for a previous project that never made it into the final build. Never throw anything away!
I added a little more detail to the surface with square styrene rod to frame out the middle section. The round vents are made from round-lip bases with circles cut from ridged sheet styrene in the center.
The large engine pod is made from part of the same dollar store microphone, with a section of PVC pipe inserted. I lined the interior of the pipe with styrene U-channel strips, and put part of a bubble wand in the center for the "engine burner." There's another one on the ground next to the vaporator. That vaporator has also been detailed with added pipes made from floral wire.
The only real difference in the painting of this piece was blackening the engine components and drybrushing them with a little grey to get the edges to pop.
The starship wrecks were designed to fit in the background, popping up over the dunes outside the town for photography, but they have basing and enough detail to be used as terrain pieces on their own. In the final installment of this series, I'll cover the construction of the buildings. Until then, if you haven't seen the Atomic Mass Games Star Wars Shatterpoint announcement trailer, go check it out: https://www.youtube.com/watch?v=PbPkC9-8HxI
'Til next time!


Exceedingly well done. Its nice to see custom terrain, using "standard" styrene components. You are a master of what seems to be a lost art.
ReplyDeleteThank you! It's a lot of fun building the style of ships that I've idolized all my life.
DeleteI'm ready to play..let's do this. Fantastic work.
ReplyDeleteThank you! :)
DeleteWhat really sticks out for me here is your talent for spotting useful shapes in other contexts. The ways you've repurposed those various dollar store bits are just amazing!
ReplyDeleteThanks! The dollar store is often one of the best resources for adding that extra level of detail really inexpensively.
DeleteBrilliant - and very inspiring! going to try to copy some of these techniques!
ReplyDeleteThank you! And go for it! :)
DeleteThose are great
ReplyDeleteThanks!
Delete