Finishing the Primaris Outrider Bikes
Alright, I've got the riders painted, so it's time to finish these guys!
Painting the riders went about as easily as painting the regular Intercessor marines. I've got my process pretty dialed in at this point. After the previous post, I thought I could knock these things out in a weekend and glue the bikes together, but everything wound up dragging out for the entire week.
The handlebars just needed a drybrushing of metal and then the buttons and screens picked out.
From there, it was a matter of assembling everything, in the order laid out in the instructions– The torso and handlebars...
...and then the backpacks and heads.
I needed to do a little more work before attaching the bike components. I started with the sergeant's bike, and the fit of the cowling was so tight that I split it apart. This required me to re-glue the two halves, scrape all the paint off the top panel and sand the join smooth again, then mask and re-spray and re-paint the top panel again. (I didn't get any pictures; just imagine basically what I did in the previous steps, but with 100% more cursing.)
To make sure the cowling's fit wouldn't be impeded by anything, I scraped off all of the paint and primer on the chassis where the cowling would fit over top, and scraped some of the paint off the inside of the cowling as well. I also didn't add any glue, so there wouldn't be any risk of the part sticking, and I wouldn't have to hurry to situate the part before the glue dried.
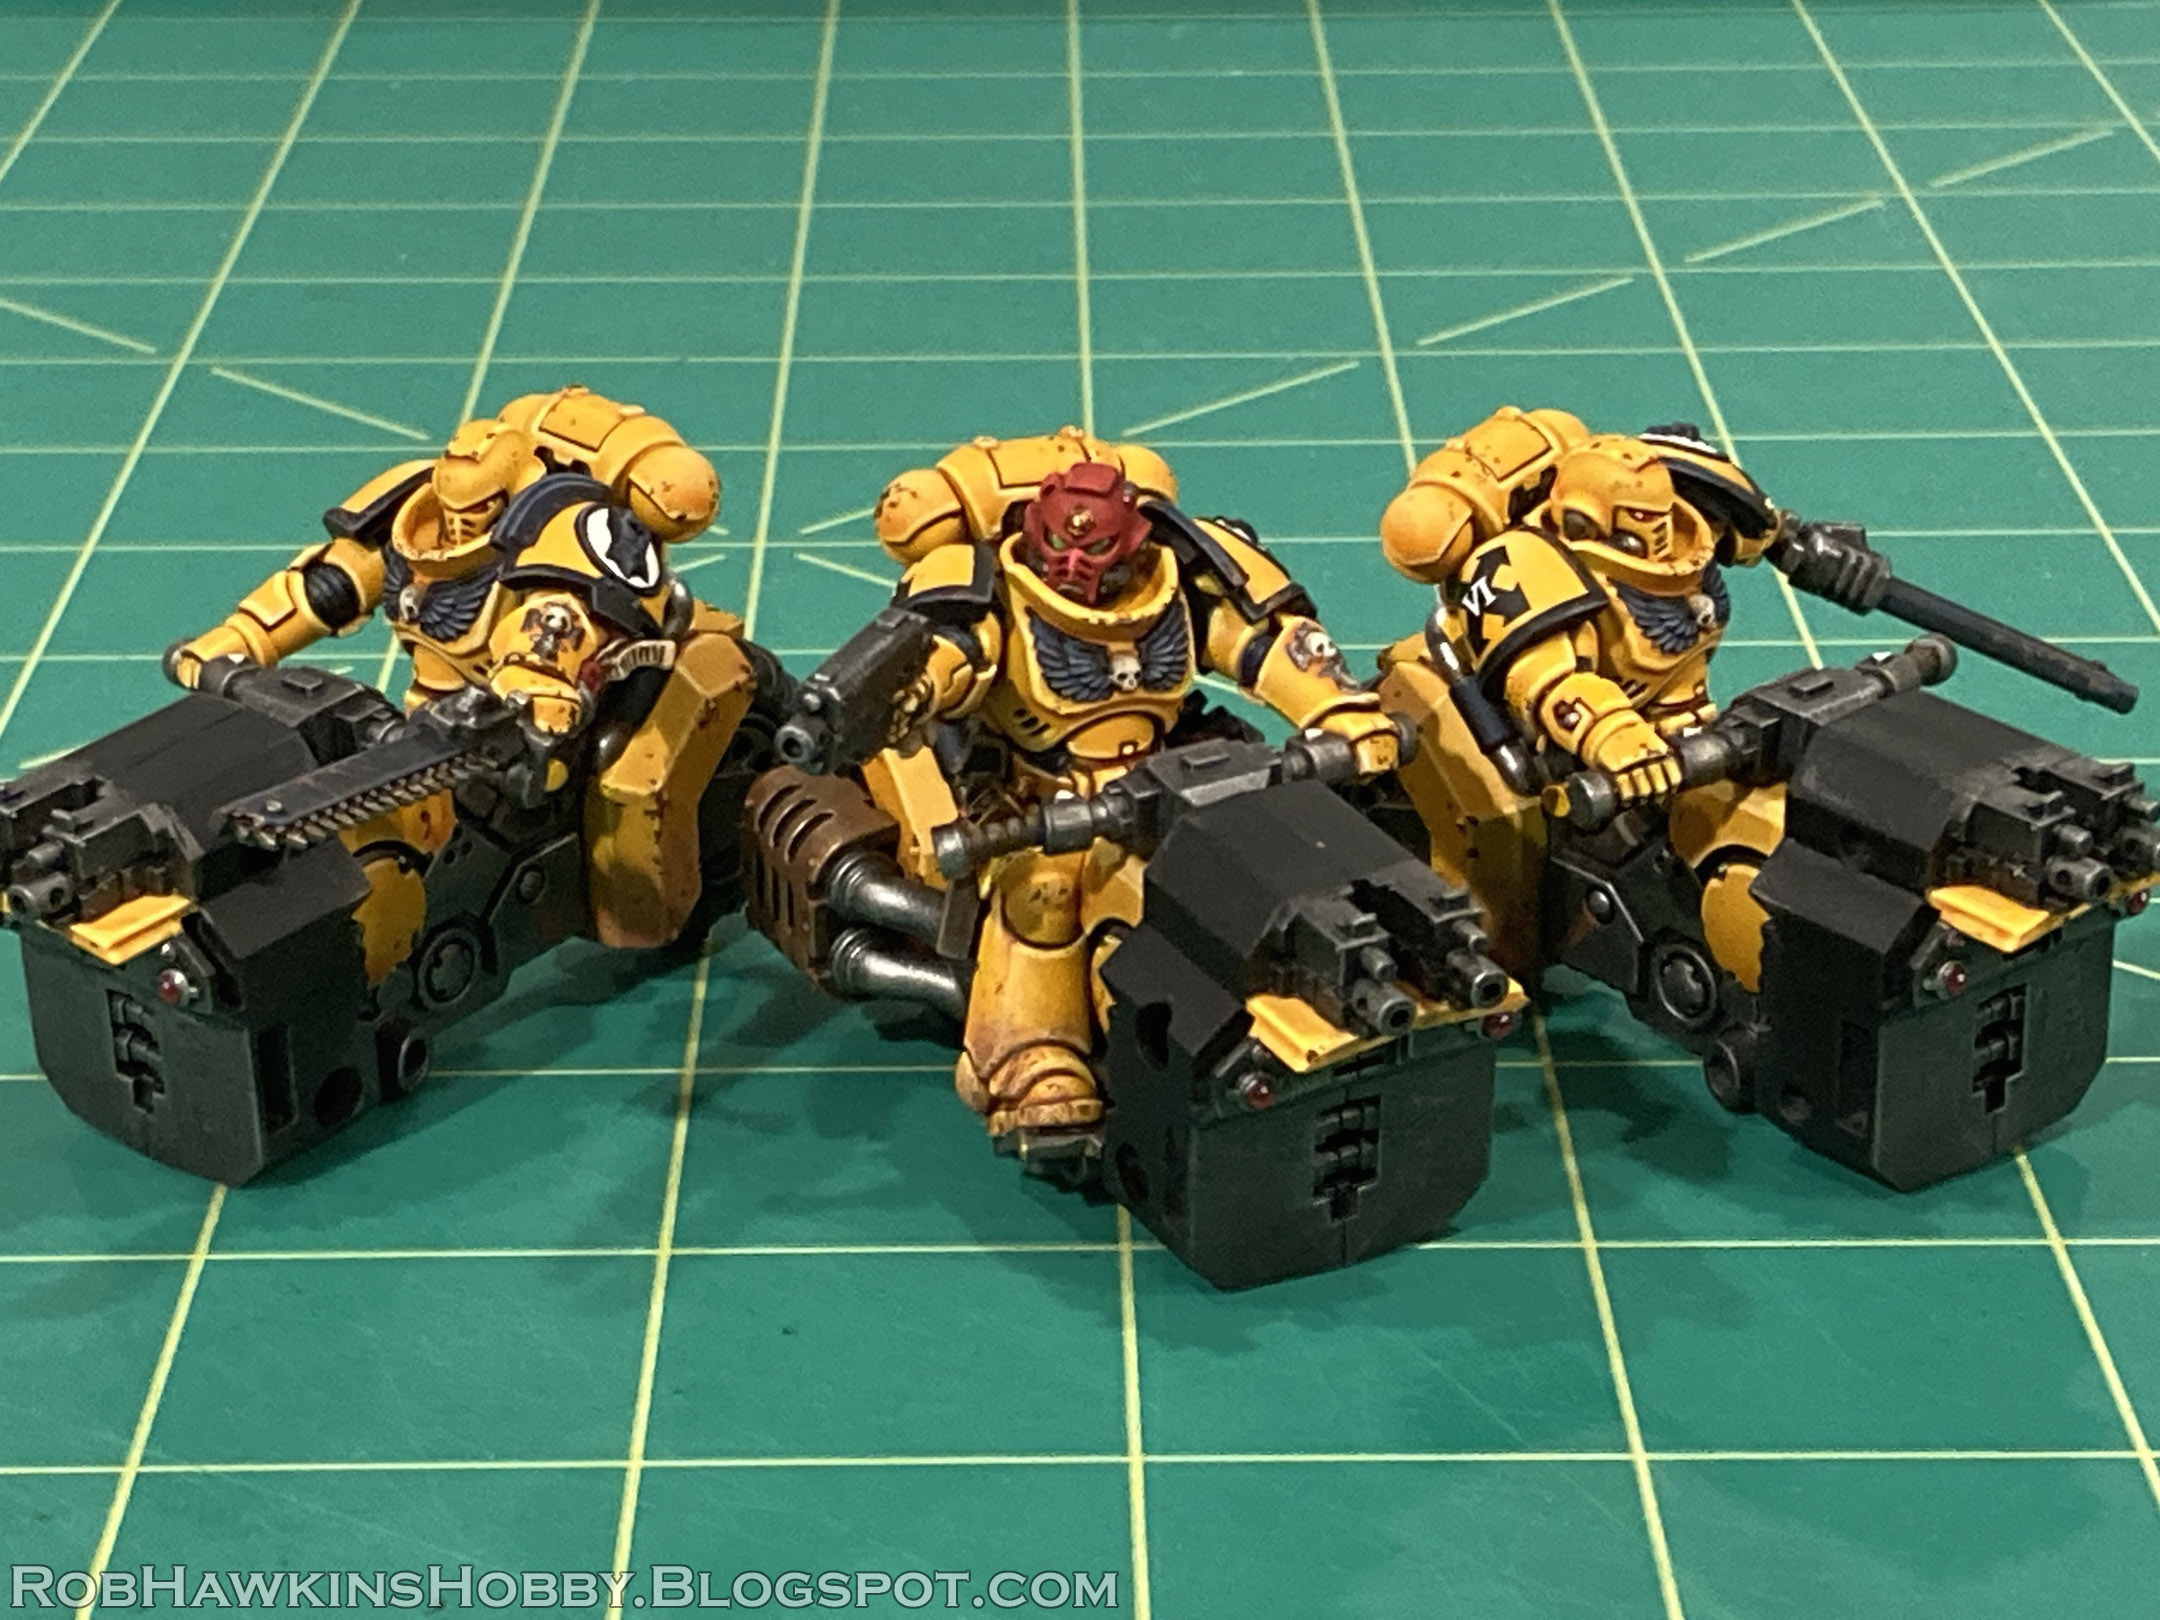
At long last, I had finally reached the final assembly steps! So here we go:
First, I attached the legs and exhaust pipes.
Then, I slid the cowling over the chassis. Scraping off the paint worked like a charm, and I only needed to touch up the iron sights on the bolters.
To secure it, I added some super glue on the bottom and squeezed the sides to hold it closed until the glue set.
I scraped off the paint where the front wheel attached, and glued it in place. (I first added some mud splatter on the front to cover the unpainted bit on the inside of the yellow cowling at the bottom; I forgot to take a picture of that bit.)
It was such a relief to finally have these guys finished and together.
All that remained was to paint the bases. Check out my YouTube channel to see my process for painting this style of base. The resin bases themselves are available in my Skull Forge Scenics store.
To get a secure attachment on the bases, I clipped off the pegs that were originally on the tires, and drilled holes to insert paperclip pins. I marked the bike's position by pressing the pins onto the top of the base, and then drilled holes on the marks left by the pin.
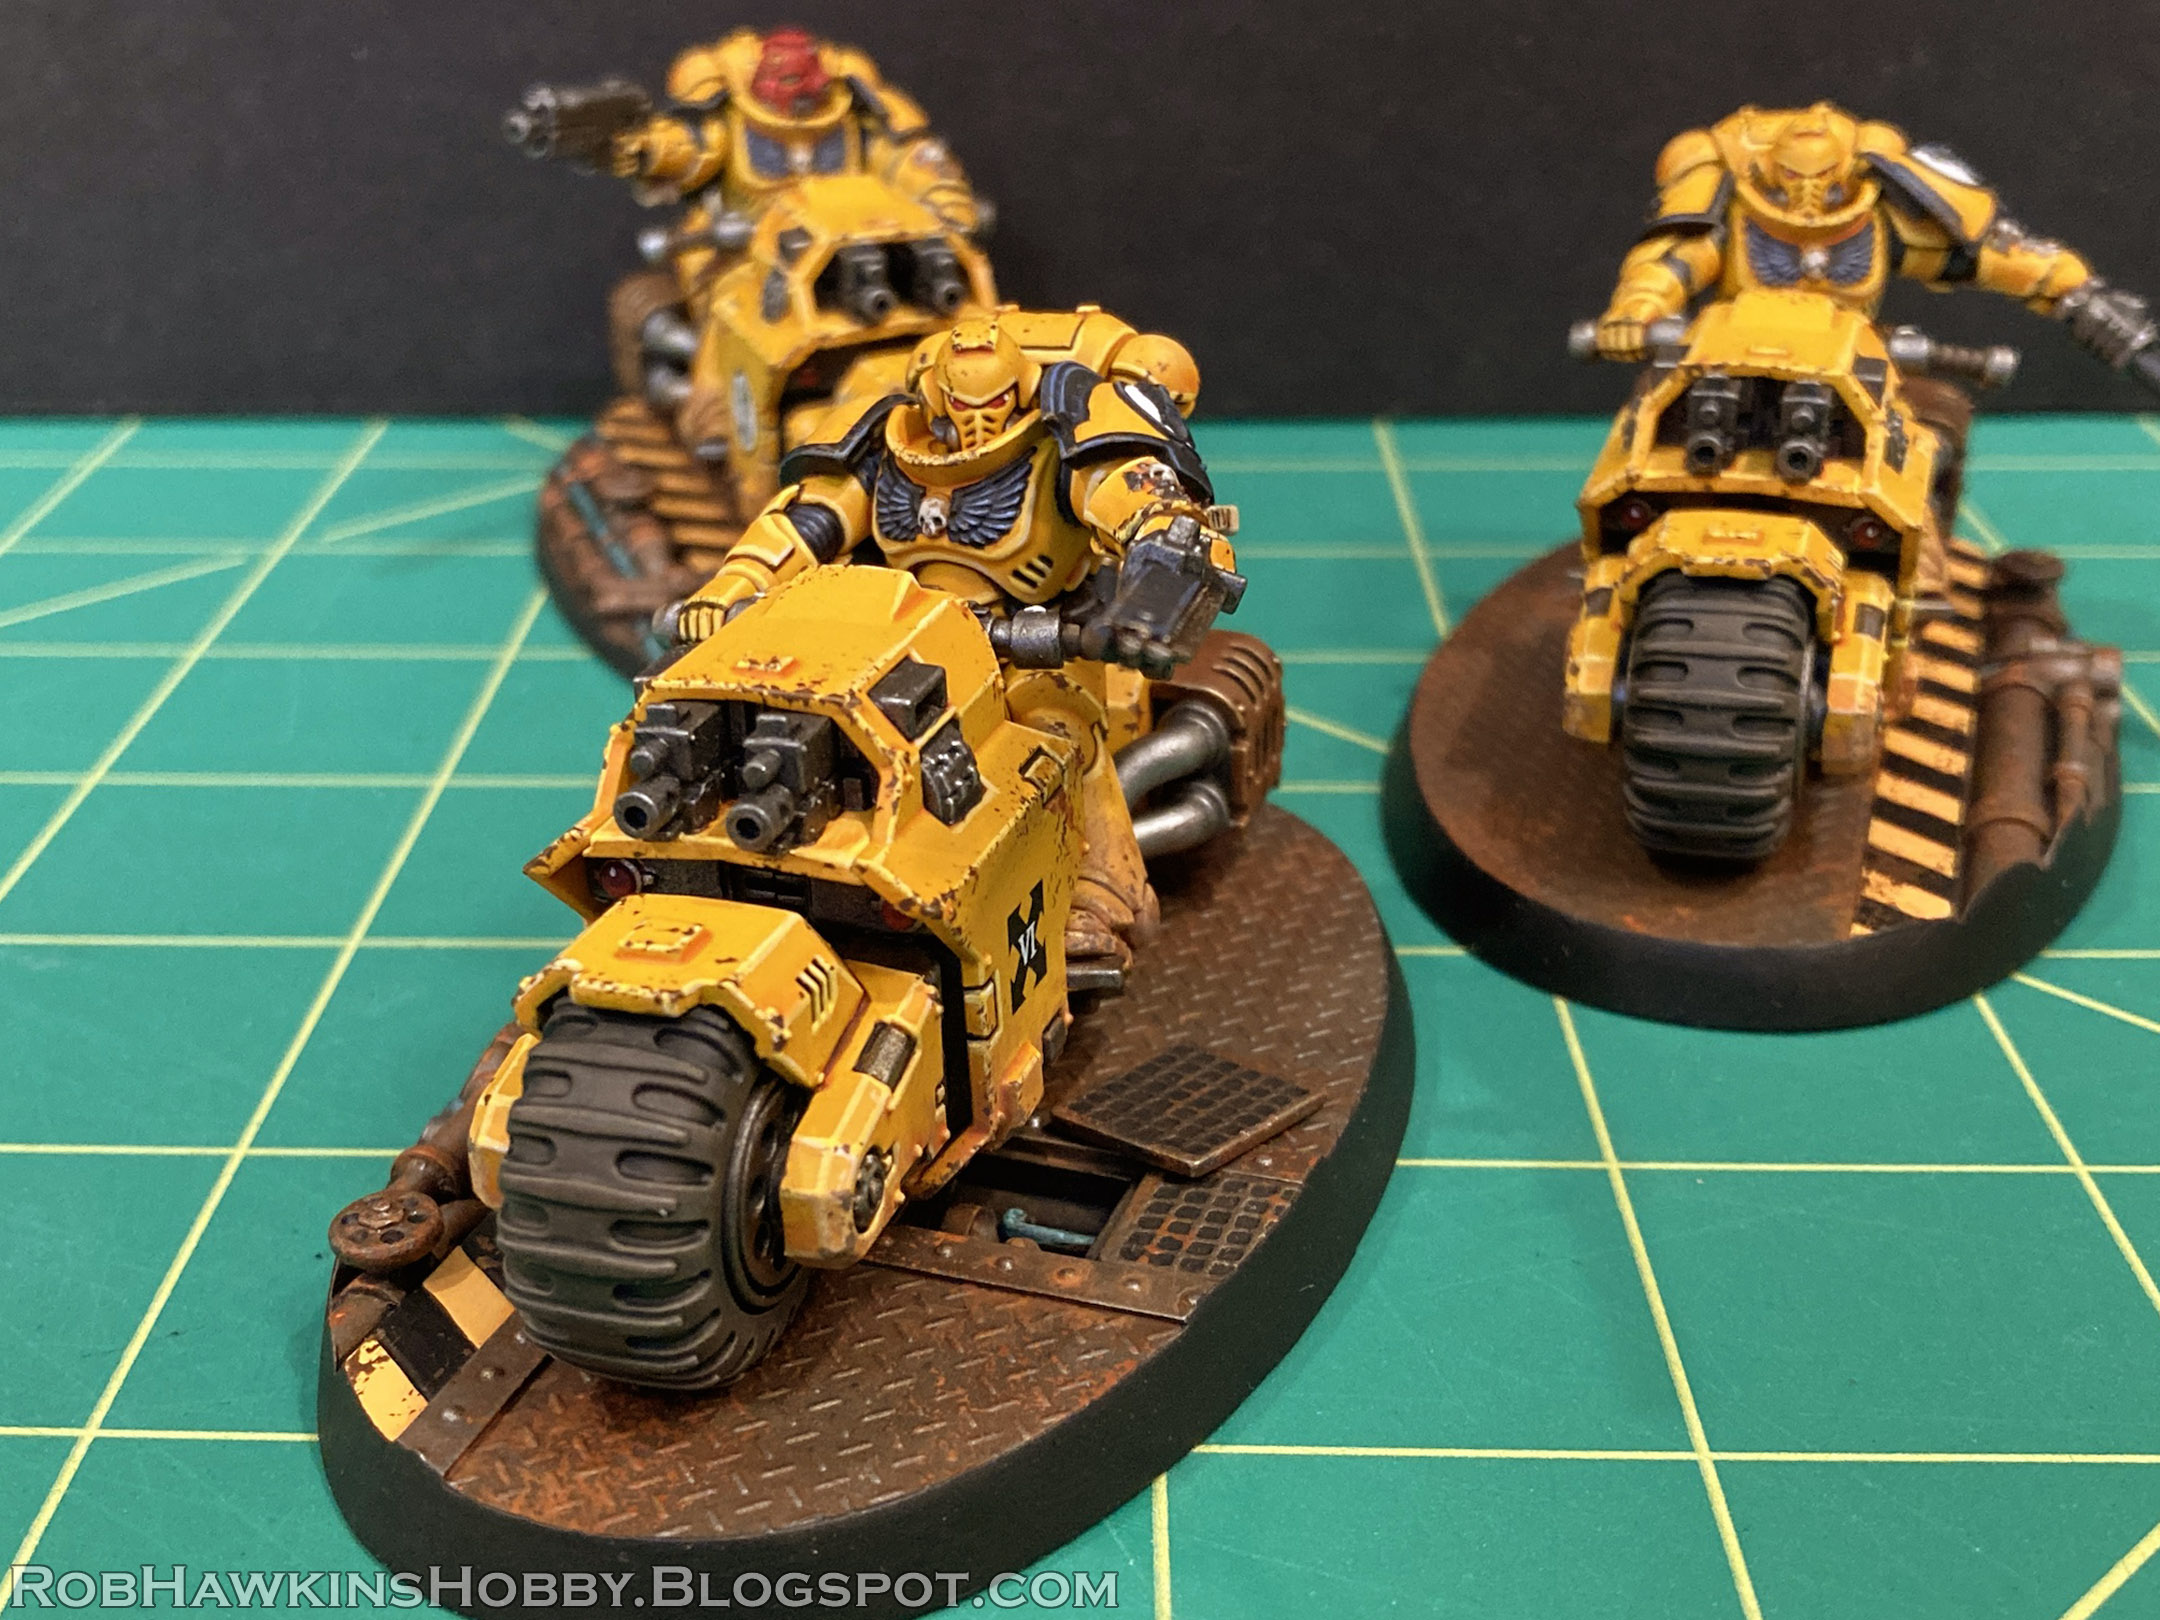
Thanks for following along on this journey! Here's a look at the finished models:
'Til next time!


That's a very solid unit, and they look fantastic too!
ReplyDeleteThank you!
DeleteLovely! The weather ties everything together very nicely.
ReplyDeleteI am puzzled that GW has not made a full kit of these yet... maybe saving it for the next codex version.
Thanks! I think this IS the full kit. It's a 3-man box. Granted, there are no options included, no poseability, and their shoulder pads are molded on, but it's sold as a stand-alone kit.
DeleteYeah, I know that it is sold that way, but I meant with options and shoulder pads and such.
DeleteThere are actually a few of these out there now, where there is no "full" kit, and in the case of some characters, no option at all (the Judicar, or the flying guys with the autocannon). Then again, how long did it take for Orks to get their 'copters? GW is mysterious sometimes.