This time out, I finish off the little Emperor's Champion, and put some more work in on the big guy.
With Magnus Romero's pose sorted and the black sword finished, I sculpted a cuff on his wrist and used a bit of metal chain to attach it. That's a fitting detail which, in addition to being "on brand" for the Black Templars aesthetic, ties into the story I wrote for my Sisters of Battle kill team. You can see the warband and the story here, but the gist of it is that Magnus had gone missing and Sister Superior Angelica Weiss was wielding the black sword in his absence. So this model represents Magnus after his recovery, and having the black sword returned to its rightful owner.
To make some purity seals, I went through my parts box. The old Bretonnian knight heads have ties on the back that are perfect for the parchment. Other bits like Empire banner tops and Tomb Kings banner pieces work too, and I've been saving them up for just such an occasion.
I cut the strips free from the knight's head and glued them in place. For the wax seals, whenever I sculpt something, I've been using left over bits of putty to make seals. I glued one of these over the top of the parchment strip.
I put a few of these on the model, attached him to a Skull Forge Scenics 40mm resin industrial base, and Magnus Romero, The Emperor's Champion was ready to wade back into the fray. (Or, at least he will be after some paint.)
Full Rotation:
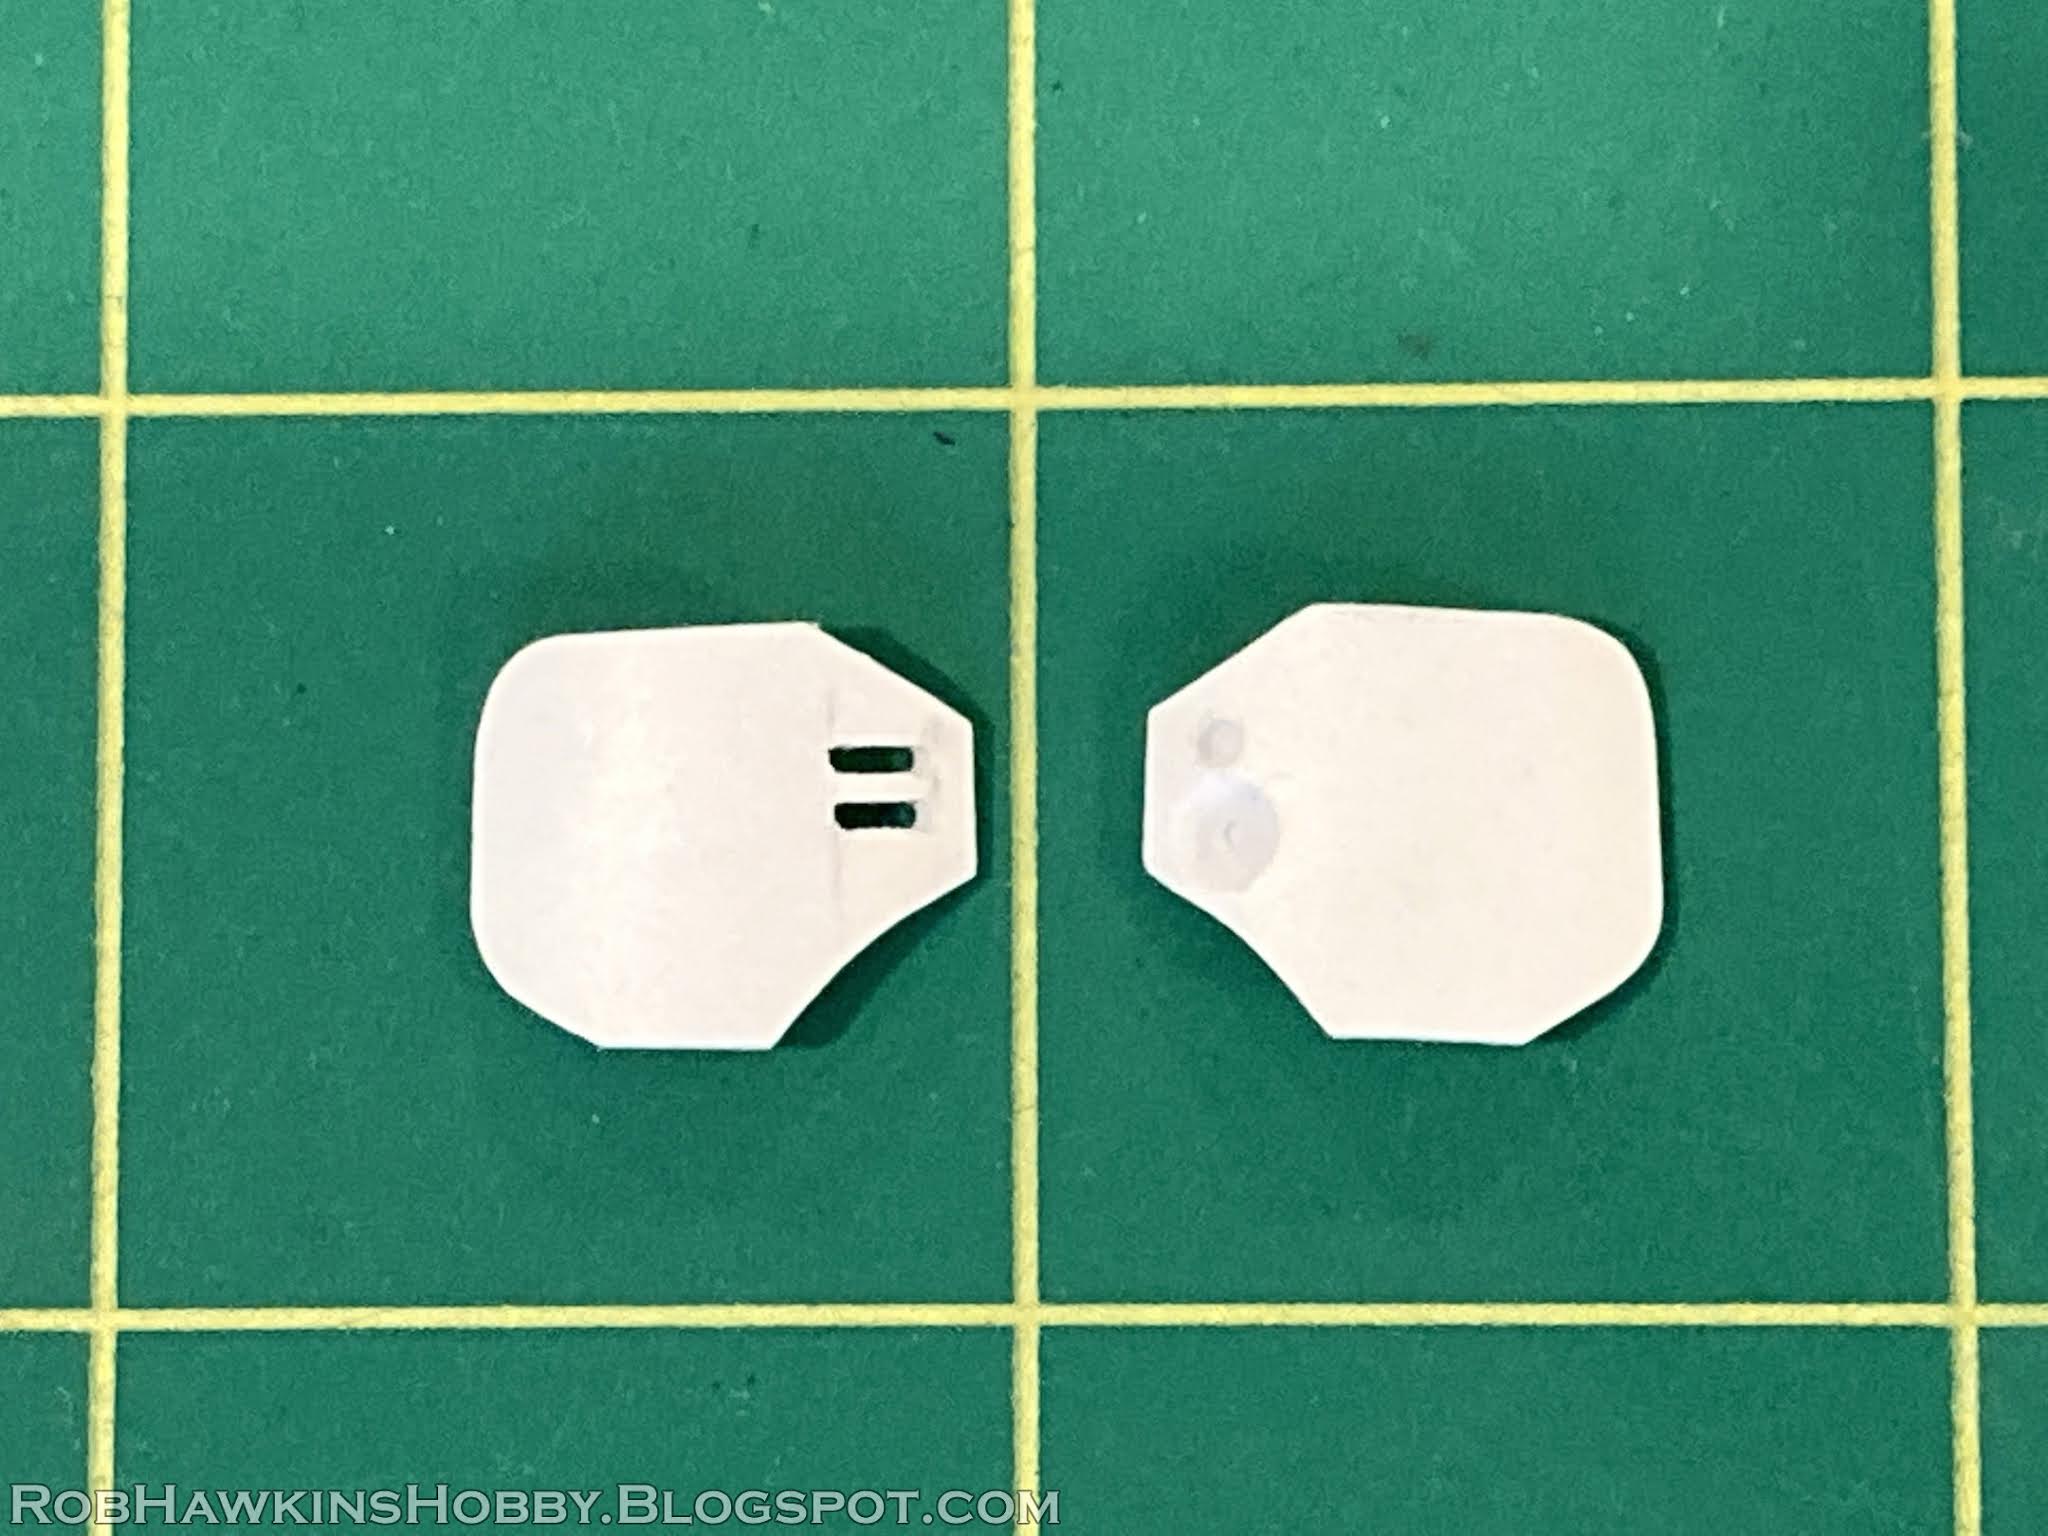
Then, I turned to the the 54mm champion. For the thigh armor, I cut some thick styrene card and flexed it so it would curve around the leg. I used a pin vise to drill some holes in the panel, and cut the vents out on one side.
The plates were glued in position, and I used a bit of putty to fill the larger hole with a round ring.
I sculpted the Templar cross on the leg, and used a Skull Forge Scenics skull for the center. For the sculpting, I first made the cross in brown stuff putty, and once that was cured, I used green putty to add the smaller trim around the edge.
With the leg sculpting finally done, I pinned the legs together and set them in their pose on the base. Both feet are pinned (but not glued yet). I fit the torso, and filled the gap with a bit of putty.
Once the glue and the "core" putty had cured, I added another layer of putty and used a sharp tool to press ridges into it, creating the ribbed hip joint.
Next, I glued the torso in place...
...and cut more thick card for the tassets (hip plates). These were also flexed to give them a curve, and I added little square bits of styrene to represent the attachment points.
And that's the legs and torso converted to an Inquisitor-scale Primaris marine! You'll notice some putty on the chest– I was using left over putty to fill in the gaps and create a smoother surface over which I could sculpt the tabard.
But that's still a while off. First I need to tackle the arms...


Awesome, a true masterpiece
ReplyDeleteThank you! :)
DeleteThe small guy is great, and the big guy is coming alone very nicely!
ReplyDeleteThanks!
Delete