Runewars Terrain, Part 2: Castle Ruins
In part one of this series, I covered the process I used for making the 3' x 3' boards and swamps for this Runewars demo board, commissioned by Fantasy Flight Games.
Here are the links to the other parts of this series:

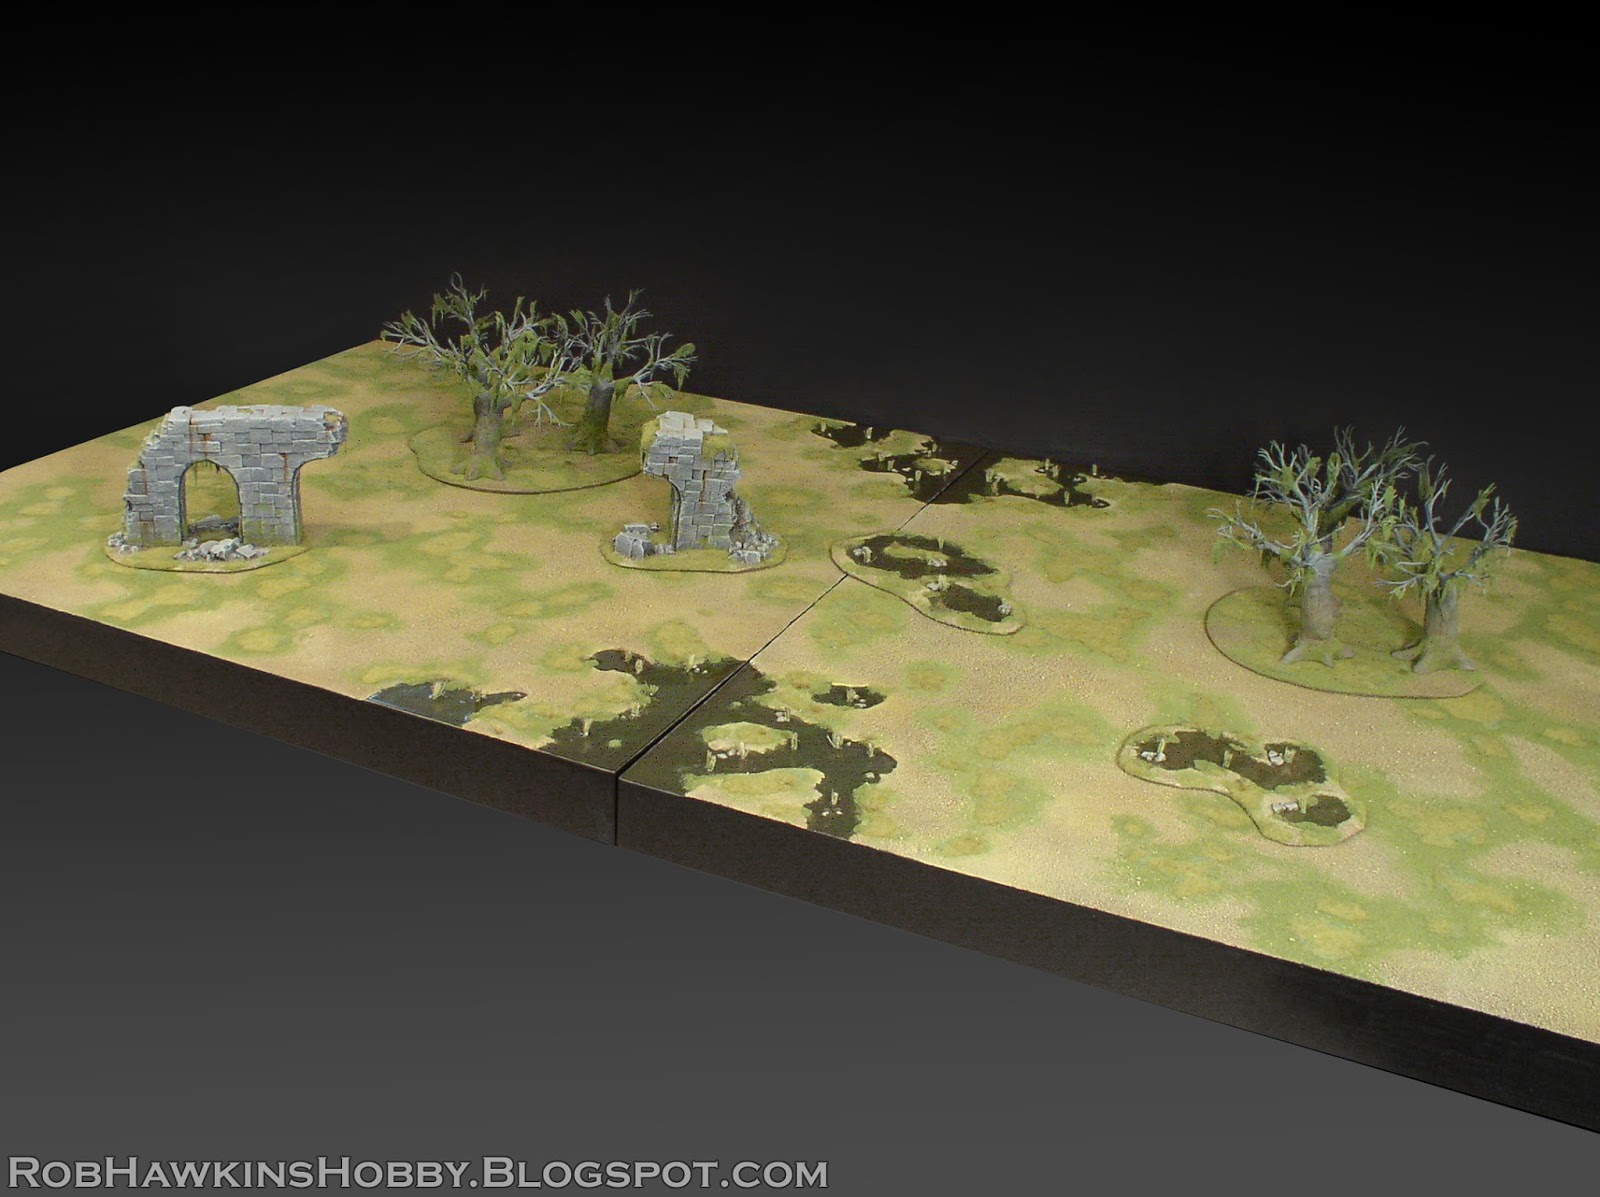
The boards match up with each other, and included some modular scenery pieces so they can be used as a pair of small demo boards or as a single large battlefield.


With those boards complete, it was time to move on to the centerpiece– a large castle ruin with tower and arches, set above a murky river.
Framing Everything Out
The first thing I did was build the board for the base, which included a recessed channel for the river.

On top of the board, I began cutting chunks of insulation foam to block out the mass of the structures. The main build would consist of a tower at the front and a bridge leading back to a large platform with another half-tower and large arches. Across from this would be a series of platforms representing stairs and walkways that have crumbled away.

Large PVC pipe made a sturdy core for the towers, and the bridge arches were drawn out on some foam core board.

The Bridge
I shaped the foam and attached all the parts for the platforms. The steps were cut out, and I began cutting the stonework into the surface of the foam. The bridge arches were cut out of the foam core and insulation foam was used to form the support walls between the arches.

The PVC pipe was covered with foam board to give it a decagonal shape and flat, vertical sides over which I could attach foam. stonework Around the base of the tower, I framed out a platform that connected to the large bridge.


The stonework was achieved by cutting the stone pattern into the foam with a hobby knife and then drawing into the cuts with a wood pencil. (I always use pencil because pen can sometimes repel glue or paint, or show through.) After the stonework is drawn in, I press some of the individual stones with my finger or with a pencil eraser to create an uneven surface that will show up when drybrushing the terrain. For the foam board sides of the bridge, I cut thin strips of insulation foam (about 3/16-inch thick) and attached them to the surface of the board. The same process was then used on that foam to apply the stonework.


At the far end of the bridge, I built up the large platform with archways that allowed the river the flow underneath. The rocky cliff leading up to the crumbling wall was made using a fork to gouge out the rough surface.

The Tower
I covered the walls of the tower with long strips of foam, cut to 1/4-inch thick. The top was capped with a piece of one-inch foam. I cut out an archway for a door and attached this to the tower. You can barely see it on the side, but there were windows cut out of the foam, with thick PVC card for the window ledge.

For the parapet, I cut 1/2-inch thick segments of foam to go around the perimeter. A portion was cut off the bottom of each, and these were in turn cut with an arch and glued around the tower. The section above had the window cut out of it and was then attached, connected to the bottom section.

Next, I cut thick strips of foam and carefully trimmed the gaps between the wall sections so these strips could be inserted.

The strips were cut flush with the tip of the parapet wall, and crenelations were cut out.

A hatch was constructed with basswood and styrene plastic, and the stonework texture was applied.

The final touch was to chip some of the corners and break off a few larger chunks to create a structure that looked like it was crumbling with age.

Here's the finished tower, before and after some paint:


Coming up, I'll work on the remaining sections of the castle ruin and add some weathering and vegetation.
'Til next time!


Fantasy Flight used this board to demo Runewars at the NOVA Open 2016 gaming convention. I was awestruck by the center board. I immediately wanted to play a skirmish game on it, like Alkemy or Carnevale or Freebooter's Fate. Anything that could really take advantage of the 3-dimensionality. Awesome design and aesthetic. Love your work.
ReplyDeleteThanks, Mike!
DeleteAmazing work Rob, as always!
ReplyDeleteFantastic looking terrain. Useful tip about using a pencil rather than a pen to create the stone work patterns, thanks.
ReplyDeleteWargamingly gorgeous.
ReplyDeleteWonderful job, very atmospheric!
ReplyDeleteSuperb terrain and a useful tutorial , thanks. I have been flirting with the idea of creating ruins with foam board but had been put off by how difficult it is to cut and shape , but this tutorial has me excited at the prospect . Any tips for slicing large sections, what tools do you use?
ReplyDeleteThanks! I'm always glad to hear when my work inspires people to build their own terrain. To cut the foam, I'd recommend a long "snap-off" style box cutter for the large cuts, and a hobby knife (X-Acto) for the finer cuts. Just remember to use a fresh, sharp blade because a dull one will cause the foam to tear rather than slicing cleanly. If you see that starting to happen, change out the blade for a fresh one. The "dull" blades will still be plenty sharp and good for cutting other things, though, so don't trash them.
DeleteThis is TRULY fantastic...I was searching for days online to see where FFG got their excellent scenery for the RuneWars demo, and I stumbled on this amazing blog. Great Work!
ReplyDeleteA couple questions for you: How do you paint the stone, what paints do you use, etc.? I'm new to the hobby and would love to know more about the process.
Also, what do you use to secure pieces of foam together? Some sort of glue?
Again, fascinated with your blog sir.
Thanks a lot! I use a combination of Liquid Nails construction adhesive and hot glue to secure the foam. (Liquid Nails for a permanent bond and hot glue for a quick join that will hold the pieces together as the LN sets up over a few hours.) And waterproof wood glue for the flock and grass.
DeleteI'll get into the painting and colors used more in an upcoming post. I hope you'll follow along!
Thanks! After browsing a bit, I read about your painting techniques on your garden of Morr; sounds like it's mostly dry brushing. I've only recently gotten in to miniature painting (been following Sorastro's guides on YouTube for painting Imperial Assault minis) and have started to amass a Citadel Paint collection.
DeleteI will definitely continue to follow your posts, can't wait :)
This is very inspiring, I plan to tackle a project like this in future. What a great bunch of ideas your blog provides! What is your favorite type of foam for use in boards like this? I'll be following along as you update, thanks!
ReplyDelete