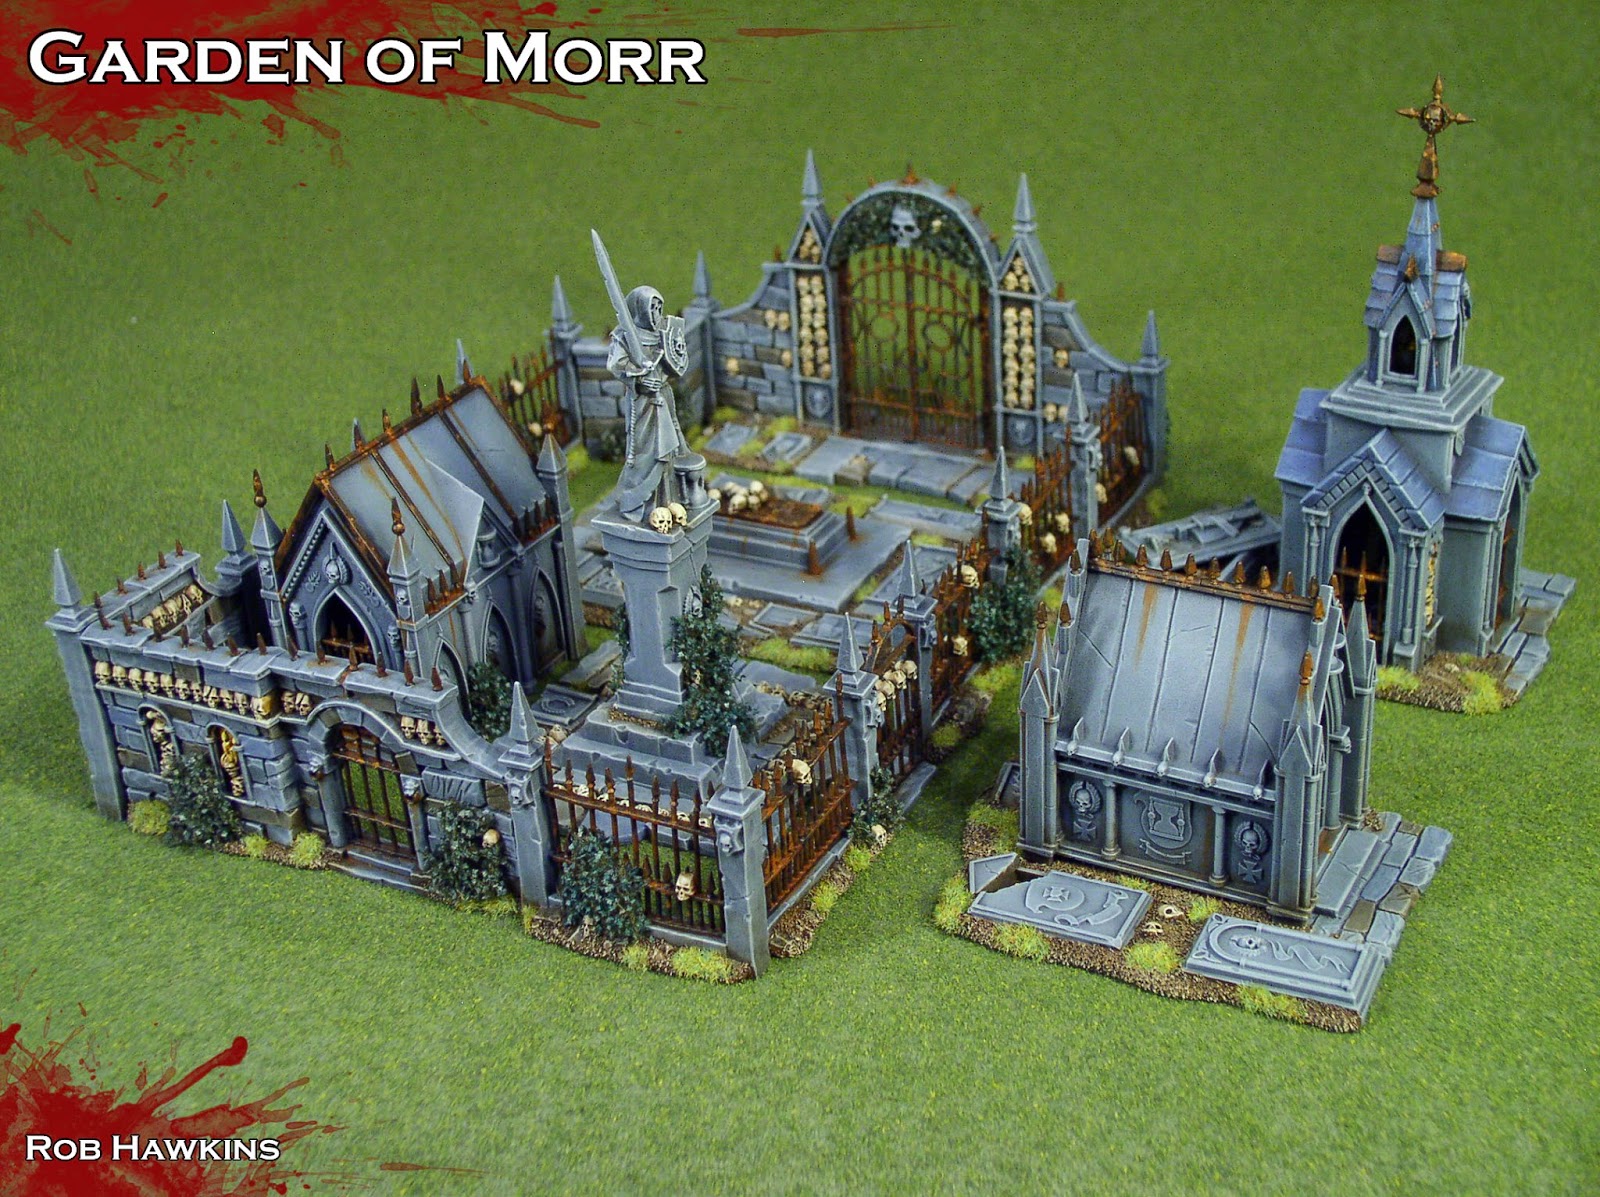
Modeling and Painting: the Garden of Morr
The Garden of Morr has been sitting on my Shelf of Shame™ for more than two years, waiting to be painted. I had done a post about the assembly, which focused on the added ground texture and a few other details like articulating the gate and coffin lid. Check that out here:
Painting the Garden of Morr
After spraying the entire set with black primer, I drybrushed all of the stonework with Formula P3 Greatcoat Grey, and then applied successively lighter drybrushes using a mix of Greatcoat Grey and Army Painter Ash Grey. The final drybrush application was straight Ash Grey on the edges and high points.
To create a variety in the stone pattern, I went through and washed a few individual stones with brown ink and washed some others with GW Shadow Grey (aka The Fang).
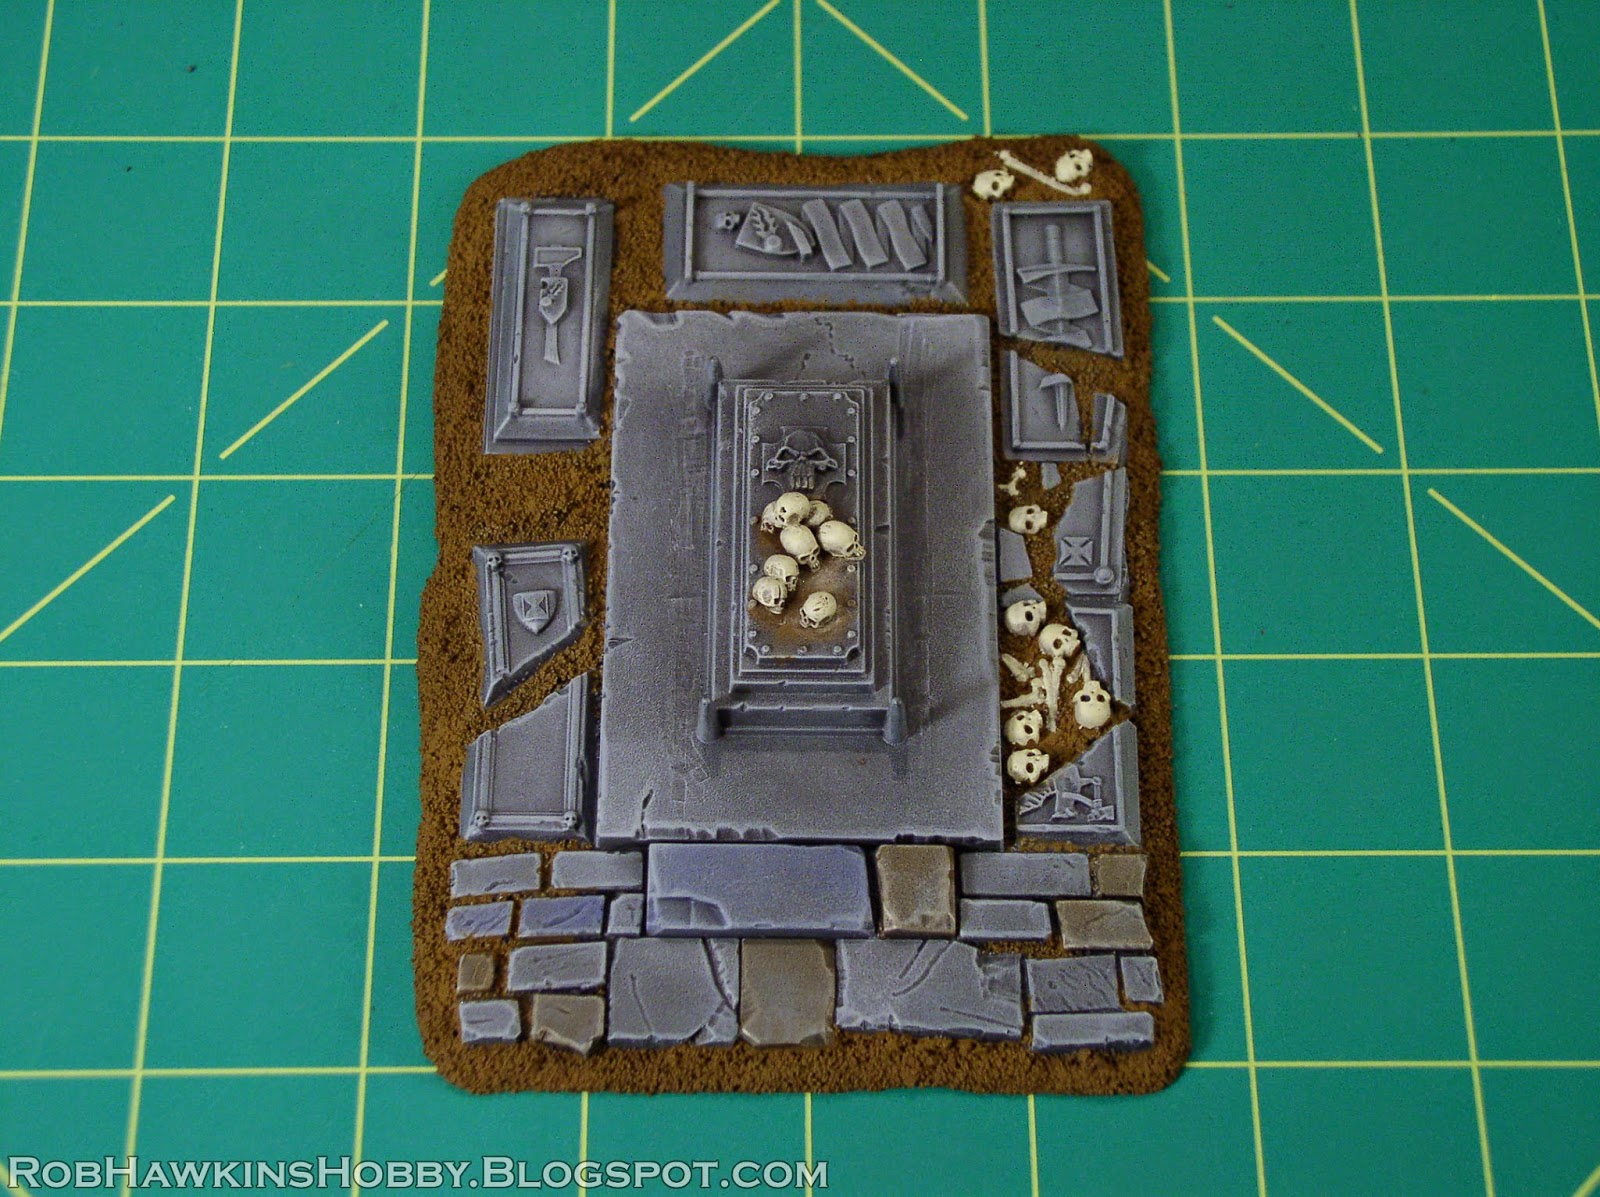
With the stonework completed, I carefully painted all of the sand and bones with GW Balor Brown. The skulls and bones were then painted with GW Screaming Skull.
Next, all of the sand and bones were washed with brown ink.
When the ink wash was dry, the sand was then drybrushed with P3 Gun Corps Brown. The skulls and bones were given a careful drybrush of Screaming Skull mixed with a little brown ink so the color didn't get too bright too fast.
The skulls were finished off with an overbrushing of Screaming Skull and then a little P3 Menoth White Highlight. The sand was also drybrushed with a little Screaming Skull.
All of the wrought iron was base coated with black, and then drybrushed very lightly with P3 Pig Iron. A few brighter spots of exposed metal were created by dabbing the Pig Iron in a few places. All of the metal was then washed with P3 Bloodstone and a few patches of P3 Khador Red Highlight (also known as "orange") were stippled in to add variety to the rust color.
I've never been a fan of modeled foliage, so I decided to cover all of the rose bushes with leafy ivy. I used Army Painter Poison Ivy, and two packs were enough to cover all of the leafy areas in the entire set.
After painting the plants GW Castallan Green (ignoring the roses) and then washing them with brown ink, I applied the ivy. The material was cut to shape with scissors and attached with super glue.
A few of the remaining details like the candles were painted and static grass was added to the base. At long last, my Garden of Morr was finished!
Getting the ivy in some of the tight spaces required gluing in a few smaller pieces, rather than attempting to attach the whole patch in one go.
The roof of the tall mausoleum was base coated with 50/50 Greatcoat Grey and Shadow Grey and then carefully drybrushed with Shadow Grey, and then 50/50 Shadow Grey and Screaming Skull.
Some of those spikes are just begging to be snapped off. If any of them go I'll pin them back in place. (I already knocked the spire off the top of the tall mausoleum!)
The weathering was crated by painting streaks of Formula P3 Bloodstone on the roofs and down the sides of the mausoleums. Some thin brown ink was washed around the bases of the buildings and the crypt covers.
The small crypt opens and closes, revealing the corpse inside!
Now to try out some of the Haunted Battlefield terrain rules in Warhammer: Nagash...
'Til next time!


Very inspiring- I need to pull my finger out and do mine, which I got in 2011! Great idea about using the ivy.
ReplyDeleteGreat work. Garden looks very spectacular.
ReplyDeleteLooks amazing! Seems I have to get some Ivy myself.
ReplyDeleteFirst comment here after month of visit ^^
ReplyDeleteCongrats and good work. It's very inspiring, clear and clean. Thanks for those articles.
Thanks, everyone! This one has been a loooooong time coming. Glad you like it! :)
ReplyDeleteAmazing job here!
ReplyDeleteNo words... Just perfect!!
ReplyDeleteThank you for explaining!
VERY NICE
ReplyDeleteI’m late to the party but this was a great guide. Thanks for taking us through the process.
ReplyDeleteThanks! Glad you enjoyed it!
DeleteGreat step by step. Will be helpful with my own build!
ReplyDelete