Skaven Stormfiends: Armoring Up
My plans for the Stormfiends are progressing nicely. This week I'll show you how I converted the warpstone-laced armor to make four models equipped with the melee options.
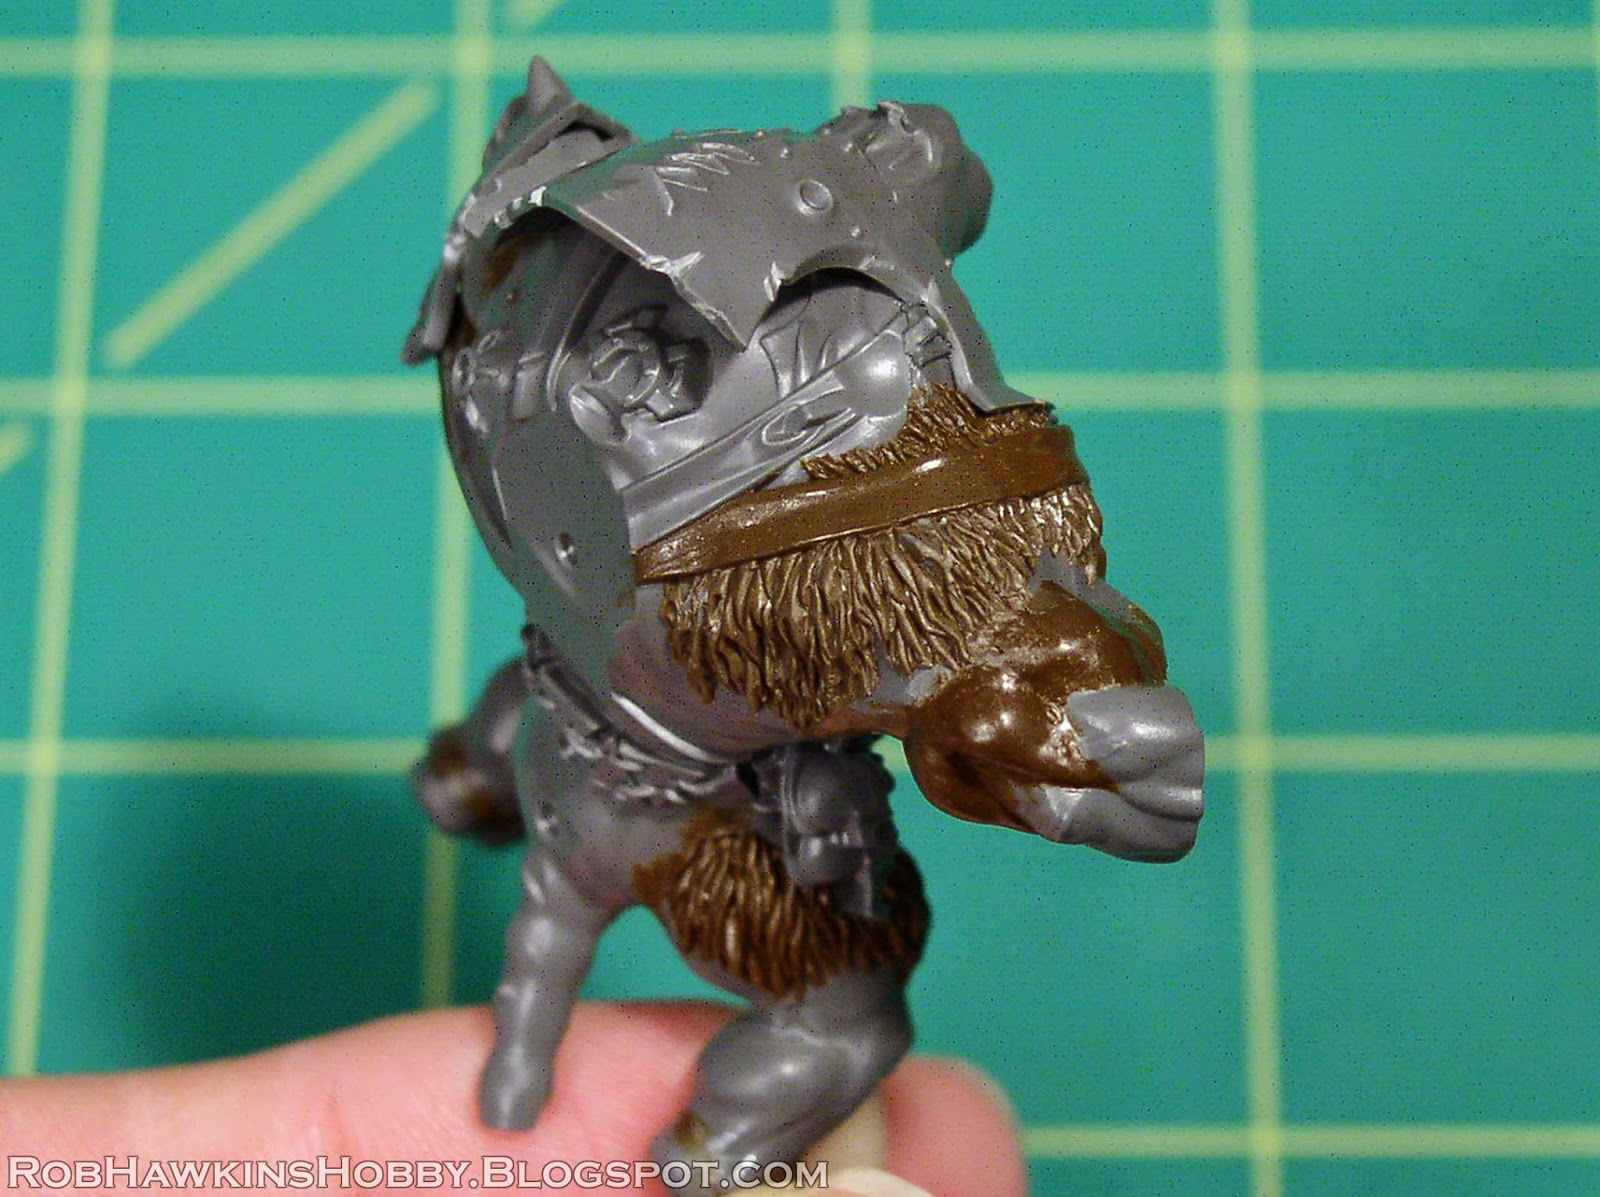
First off, I need to cover the patches torn skin and fur that the newest rat ogres all have. A little putty sculpted with fur texture takes care of that.
Last week, I discussed swapping the arms from the rattling-gun pose and the warpfire thrower pose. The bits of arm cut from the latter pose get pinned into the former. I also trim down the weapon mount in the chest so I can sculpt a breastplate over it.
The arms are built up in layers, sculpting muscles to fill out the missing anatomy and smooth over the joins.
After the putty has cured, I glue the regular armor parts in place.
The large shoulder pad from the wind launcher pose will be added to the right shoulder, but first I sculpt a shoulder strap for it to attach to.
I'm a stickler for model accuracy and, because I want this Stormfiend to interchange between the melee option and the rattling gun option, the extra armor parts are magnetized so they can be removed. A 1/8-inch rare earth magnet is added to each piece. I also raise the fuel cell (that sphere on his shoulder) a little to accommodate the shoulder pad.
I sculpt a belt buckle to cover the magnet when the shoulder pad is left off.
Since the body cavity is hollow, I add a styrene tube to hold the magnet recessed in the chest. The breastplate is sculpted over top of the chest and then carefully pried loose (a thin coating of Chapstick helps keep the putty from bonding to the surface).
Two Stormfiend kits contain enough warpstone components to split amongst four models. I only put the warpstone on the armor, and save the blades for converting extra doom-flayer gauntlets. I think this is appropriate because whether the model has doom flayer gauntlets or shock gauntlets, his armor is still laced with warpstone.
The converted armor gets four pieces of warpstone on its removable armor plates.
The standard melee pose gets the rest of it.
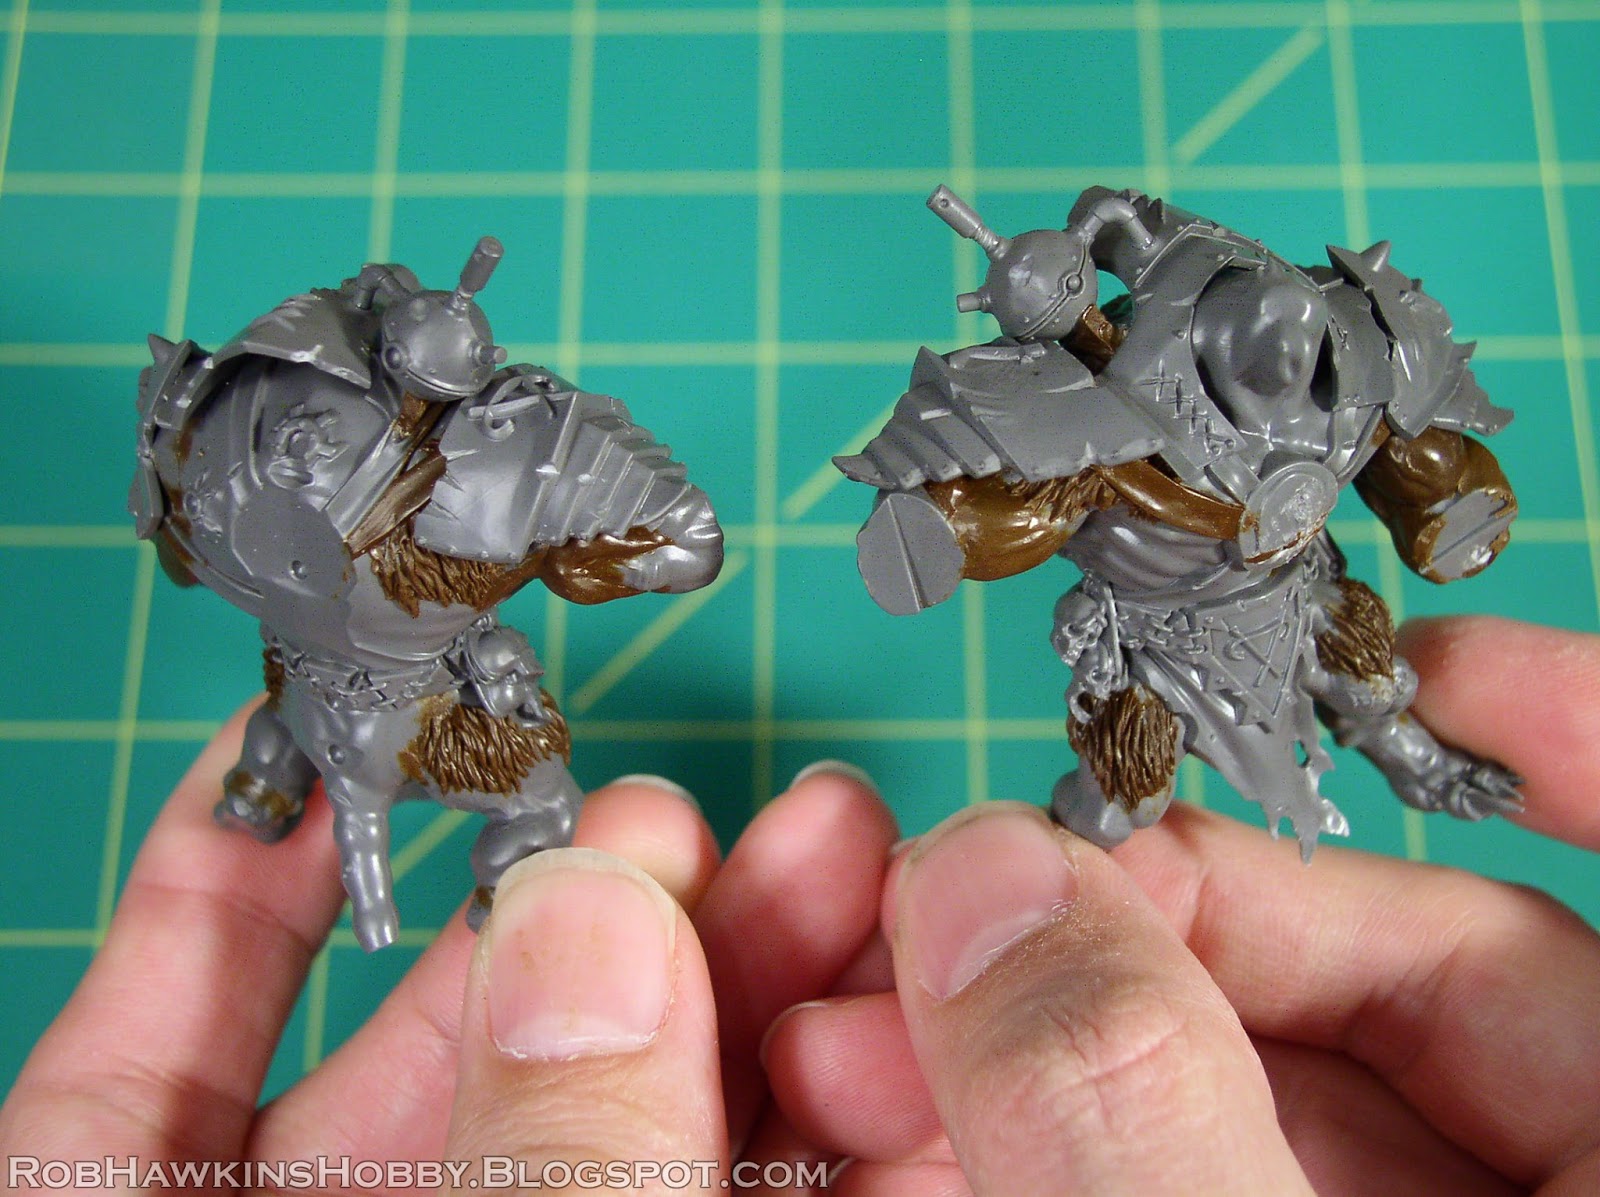
Finally, I swap the heads and cut the loin cloths to vary the poses a bit. These two heads, while not designed to be interchangeable, are pretty easily swapped with minimal cutting and a little putty work to cover the back of the neck. (The third head really only fits on its own body.)
Here are the final armored models:
Now to convert extra doom-flayer gauntlets...
'Til next time!


These are great! You also have a good eye for details, like the little buckle to cover the magnet.
ReplyDeleteCan't wait to see the finished results.