Modeling and Painting: Dire Wolves, Part 2
Welcome back! It's been a long two weeks, filled with commissions, freelance work, and disaster recovery. I appreciate the concern some of you have expressed through Facebook and email. My wife and family have been fortunate to come through the storm with no damage, and we didn't even lose power. Still, it's difficult not to be affected by such widespread destruction, and I took some time out to donate supplies and volunteer with the cleanup effort.
This week, we've got the second half of the dire wolf tutorial: the painting.
In this painting guide, I use the classic GW Brown Ink quite heavily. I experimented with the Agrax Earthshade, but it just didn't have enough pigment to get the effect I was going for. If you're trying to replicate the process described here, in lieu of GW Brown Ink, I'd recommend thinned brown india ink or a chestnut ink, darkened with a drop of black (just enough to cut the chestnut red tint and make it brown).
For each color listed, I label it as a P3 color or a GW color (with it's classic name and new name). This is intended to be an assembly line process for painting large units, so I'm painting all three converted models, side by side in each step.
Basecoating and Washing
Start by priming the models black.
Basecoat the sand with a thin layer of GW Snakebite Leather/ Balor Brown.
Basecoat the Fur with GW Codex Grey/ Dawnstone, mixed with a little black (something like a 70/30 ratio.) Basecoat the skin on the legs, ribs and faces with a 50/50 mix of Codex/ Dawnstone and P3 Battlefield Brown. Basecoat the Skulls on the base with GW Bleached Bone/ Screaming Skull.
Next, wash the entire model with GW Brown Ink. Add some spots of P3 Armor Wash, thinned with a little water into the fur.
When the ink is completely dry, finish the base sand by drybrushing with successive layers of P3 Gun Corps Brown, Snakebite/ Balor Brown, and Bleached Bone/ Screaming Skull. Don't worry about the skulls on the base at this point; we'll address them when finishing off the wolves' faces.
Painting the Fur
The fur can be simply drybrushed, but it's too easy for the paint to become chalky and clog up the texture. I prefer an organic process using a series of thin drybrush layers and washes to get a rich, varied tone to the fur.
It's important that you don't let the paint get too dry in your brush; that's how the chalkiness occurs. If you find the drybrushed highlights getting too bright or filling in the recesses, you can always add a thin wash overtop to darken it. Then dryrush back up. I think on my first batch of wolves I went back and forth a dozen times, but after 30 wolves, I've got it dialed in:
Drybrush Codex/ Dawnstone over the fur, recapturing the grey color.
Add a little Bleached Bone/ Screaming Skull into the grey and drybrush some highlights over the fur.
Add a thinned wash of Brown Ink over the fur, and then spot in some thinned Armor Wash. You don't want to darken the fur as much as the initial brown wash did.
Drybrush lightly with the Codex/ Dawnstone and Bleached Bone/ Screaming Skull mix. Then add a few hits of GW Fortress/ Administratum Grey.
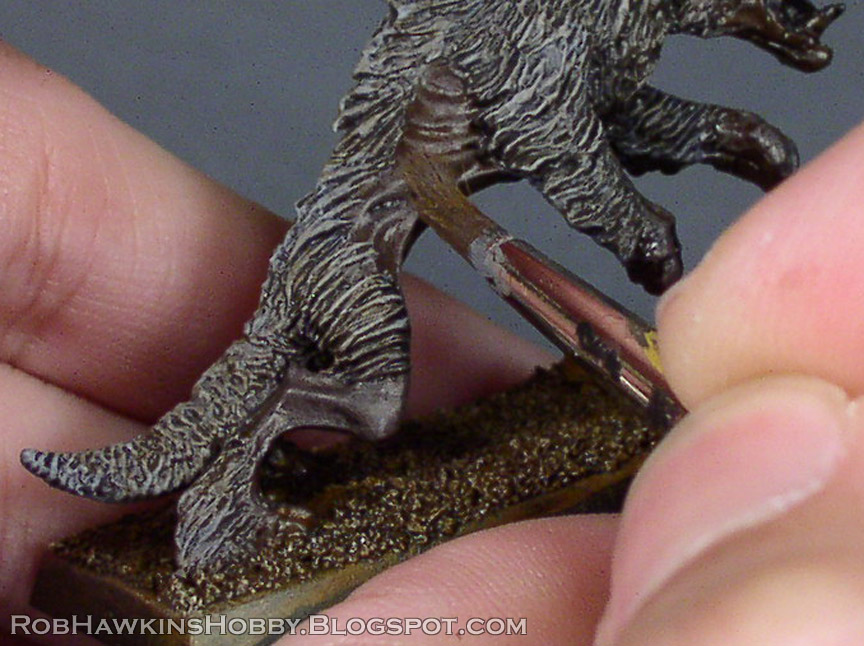
Painting the Skin
Mix 50/50 Codex Grey/ Dawnstone and Battlefield Brown. Drybrush this over the areas of skin (ears and faces, too). Use a small drybrush to keep things pretty controlled.
Then paint highlights with straight Codex Grey/ Dawnstone. Use a sharp brush, and just hit the raised edges. Paint the edges of the torn flesh on the wolve's faces, and add a highlight line on the edges of the ears.
Painting the Faces
Basecoat the bone areas with Bleached Bone/ Screaming Skull. Get the skulls on the base, as well.
Wash the bone with a mix of Brown Ink and Snakebite Leather (about 70/30). After the ink dries, Drybrush the edges with a mix of Bleached Bone/ Screaming Skull and P3 Menoth White Highlighht. As with the fur, don't let the highlights get too bright; it they do, wash on some thin brown ink to shade it.
Paint straight P3 Skorne Red into the meaty areas, and around the edge of the exposed skull and torn flesh. Don't forget the tongues. Keep it pretty spotty; you don't want these to be too bloody. (Or do you...?)
Then, wash over the bloody areas with Brown Ink to shade it.
Finally, add a dot of P3 Khador Red Base in the eyes, and paint the claws and any intact noses with Black Ink or Armor Wash. (I use the ink rather than black paint because it has a slight translucency that eliminates the need to highlight it.)
Finally, paint the sides of the base with Model Masters Medium Green, add static grass, and they're finished!
Here's a close-up of the face, step-by-step:
The new Doom Wolves are finished as well. Here's a before and after comparison of the sculpted head detail:
And the running wolf:
I can't tell you how much of a relief is is to finally have these off my painting table, and to be able to field multiple units of dire wolves. Now it's off to war!
'Til next time!


Rob, I am in awe of the work you do (it is literally "awesome"). I selected you as one of my Liebster Award selections, which may be one of the most minor of recognitions you've received but I wanted you to know how inspiring and helpful your blog has been to me.
ReplyDeletehttp://1000footgeneral.blogspot.com/2012/11/hey-whats-that-sally-field-academy.html
Thanks for sharing your talents with the internet! :)
Thanks, John! I appreciate it, and I'm passing the love along!
DeleteThese look great, Rob. And that final picture of all the wolves on the battlefield is impressive. I like the tutorial too. It's logically laid out with clear instructions and good pictures. Thanks!
ReplyDelete