Wrath of Kings Diorama: Part 1
I've been commissioned by Cool Mini Or Not to build a diorama table for the upcoming release of Wrath of Kings. If you're unfamiliar, Wrath of Kings is a new miniatures game, set in the world of Arikania. There are 5 factions to play, and the miniatures look pretty sweet. (But don't take my word for it, check out their site!)
I got to see a ton of environmental art, and selected one of the more characterful cities for the set of the diorama. This project (along with a few other commissions) needs to be my main focus, so all of my personal projects have been put on the back burner. I'm going to be pretty busy between now and Gencon!
"What's in the Box?!"
When making an elaborate table like this, it's essential to have a crate for storage and shipping. I start with the crate, making sure the table base and crate cover fit together properly. Once the crate is finished, I can use it as a makeshift work table, and I have the maximum height locked in so I don't get carried away.
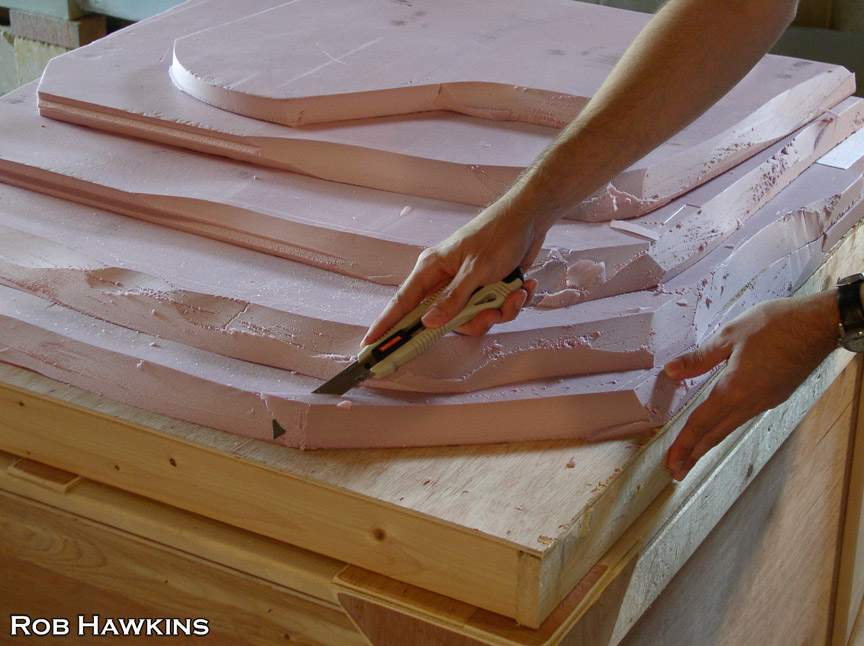
The city is atop a hill, so I begin by layering up the hill with 1-inch pink insulation foam, secured with Liquid Nails.
Once the adhesive sets, I shape the edges with a snap-off blade. I'm not trying to get the final shape here, just removing big chunks to smooth things out a bit.
The real shaping of the hill comes into play when I take the belt sander to it. This smoothes over all the layers, and removes the "stepped" appearance.
Here's the finished hill. Some cracks are still visible, but they'll get filled with wood putty. The back side will be carved up like a rocky cliff. Terrain building, for me, is also an organic process, so the shape of the hill will likely change as I add the buildings.
The next step is to start placing the buildings. I cut pieces of 2-inch foam to serve as the foundations, and cut out sections of the hillside for the buildings to slot into.
As the buildings take shape, I work on cutting the rocky crag. It was easier to cut away the layered foam, and replace it with chunks of cut 2-inch foam.
I'll be updating the table's progress on my blog, so be sure to check back to see how things are shaping up.
Check out the rest of the project journal:
'Til next time!


Looks good so far, I wish I had space to work on projects like this!
ReplyDeleteLooks good Matrix.
ReplyDeleteWhat is the footprint of the piece? I also like that you make the crate first. I've run into problems with that before. A good solution.
I'll be watching this with interest.
Bugs
Thanks! It's 3'x3.'
Delete