
WWW.SKULLFORGESCENICS.ETSY.COM

Tuesday, June 24, 2025

Sunday, June 15, 2025
Project Log: Demon Ship, Part 1
It's been a while since I've had a long scenery build, or played a new game for that matter, and Demon Ship by Black Site Studios gives me the opportunity to do both. Follow along as I scratch build a small game board for this solo-play micro game!

Wednesday, June 4, 2025
Wargame Hobby Bingo Mid-Year Check-In
Taking a look at the progress I've made on my Wargame Hobby Bingo card so far this year:

Sunday, May 25, 2025
Forgeworld Review and My Project Queue
I picked up some Forgeworld resin models for the first time in ages– Here's a look at them...
Wednesday, May 21, 2025
Star Wars Jedi Temple Display
Here's a look at the Jedi Temple display Atomic Mass Games commissioned me to make for the launch of Star Wars: Shatterpoint.

Sunday, May 11, 2025

Wednesday, May 7, 2025
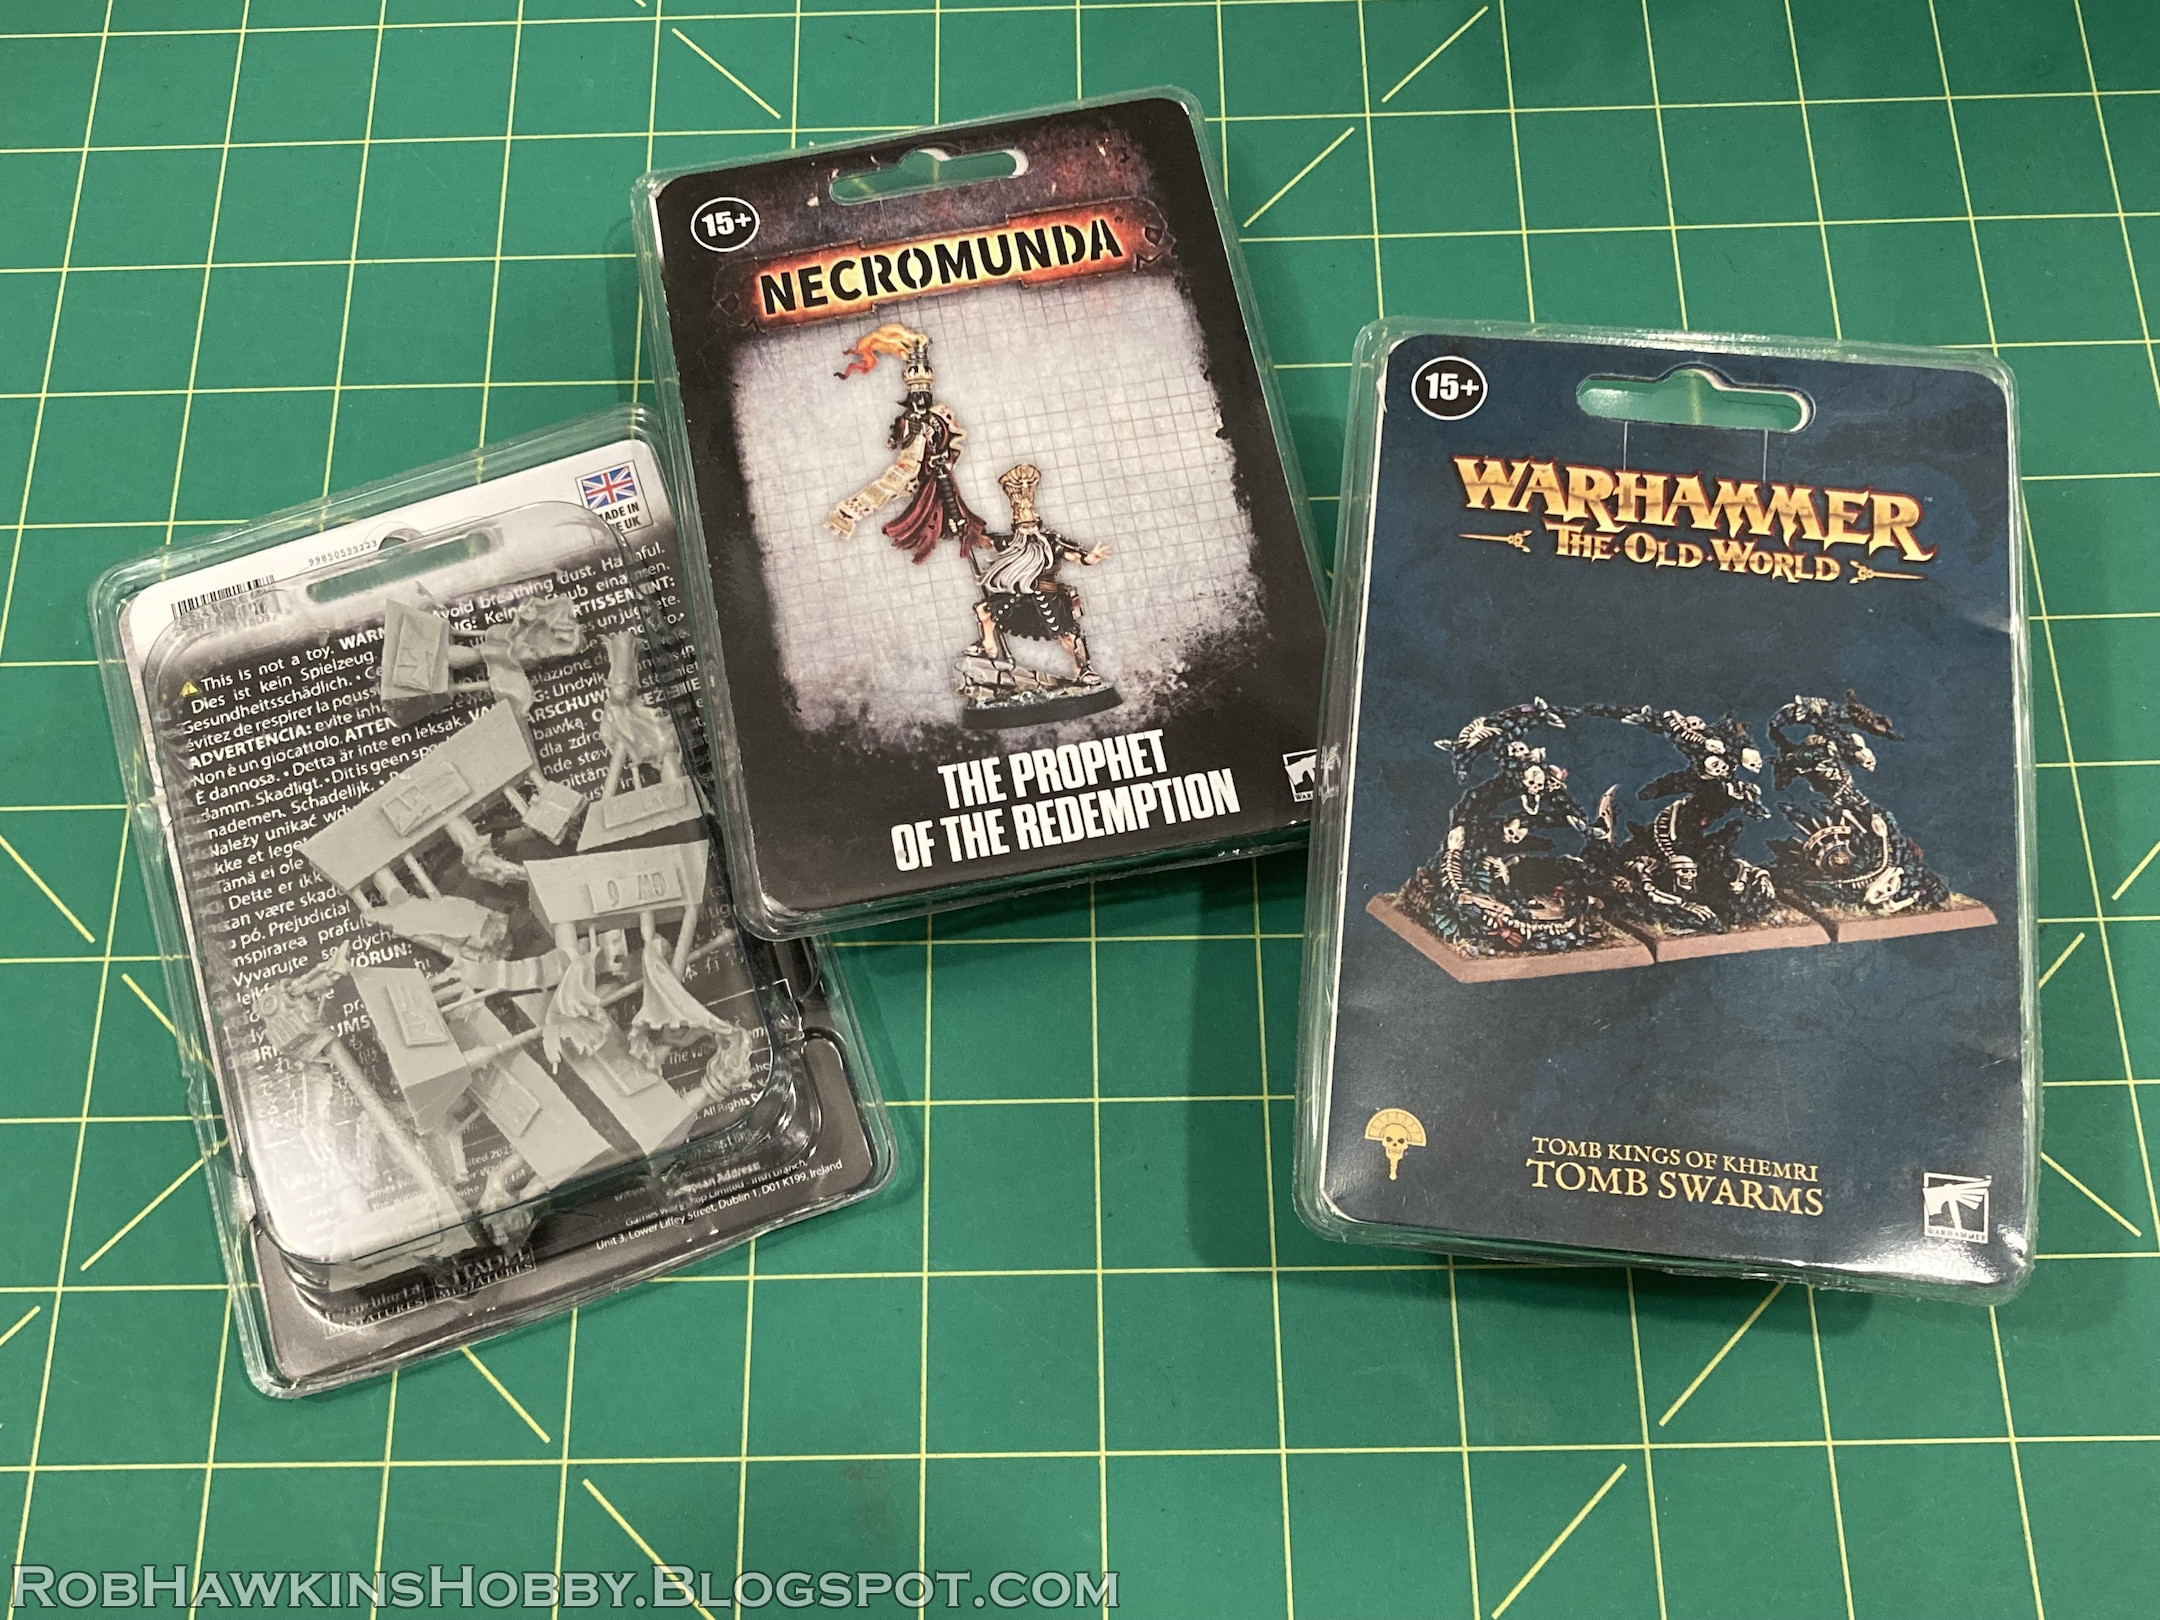
The Heavy Hitters are Coming
It's been a busy few weeks, but I've managed to get in some more progress on my elite units for The Old World.

Wednesday, April 23, 2025
Kitbashing Sepulchral Stalker Weapons
Here's a quick look at how I made some new halberds for my Sepulchral Stalkers...

Friday, April 11, 2025

Tuesday, April 8, 2025

Subscribe to:
Posts (Atom)