I've got a bunch of stuff to talk about this week– New resin bases for my Skull Forge Scenics range, a new base for the tomb scorpion, and standard bearers for my skeleton archers...
Skull Forge Scenics Industrial Bases
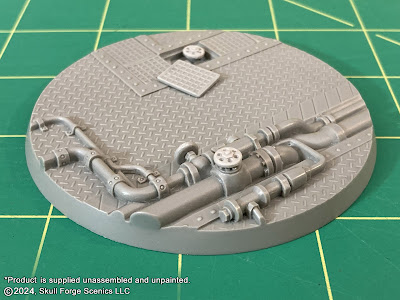
Customers have been asking me to add more sizes to my range of Industrial bases, even asking if I can simply "re-size" the files to print smaller or larger. Since my products are all hand-sculpted and resin cast (not 3D printed), that means it takes time to make new base sizes and molds. I've been able to streamline the process a little by building off some pipe components that I've already built and cast, and then sculpting more detail and connecting pipes.
A new 80mm Industrial Base, and a set of ten 28.5mm Industrial Bases are now available in my Skull Forge Scenics shop.
Tomb Scorpion's New Base
My Tomb Kings forces have been making slow but steady progress. The tomb scorpion was originally mounted on a 50mm base to match my Vampire Counts/ Undead Legions army.
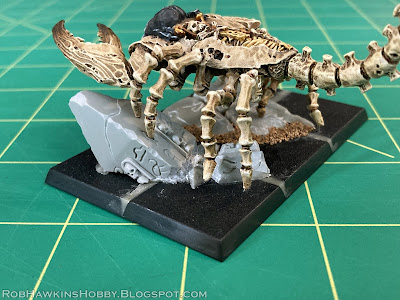
His feet were pinned into the scenic elements on the base with a fixed angle, so I needed to model a new base that matched the positioning.
I sculpted a small obelisk and some broken tiles, etched with hieroglyphics, and angled them to accommodate the scorpion's feet. Then I marked and drilled out corresponding holes for the pins its feet.
He fits perfectly!
The base was then textured with fine ballast and gravel, and I added skulls and bones.
Viola! A new base for the tomb scorpion:
Archer Standard Bearers
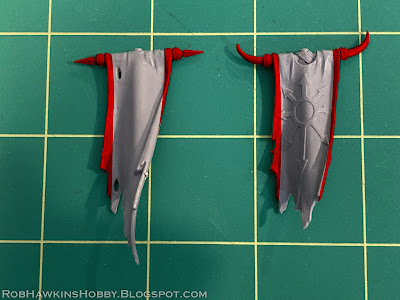
After making some adjustments to the starting 1000 point army list that I had mentioned in a prior post, I settled on two 15-man units of skeleton archers. I have them all converted and assembled except for the command models. I built the standard bearers the same way, and used the skeleton banner arm from the old command sprue (the one that comes with skeleton, night goblin, and skaven parts on the same frame).
His knife hand is made from the charioteer whip arm, with the whip cut out of the hand. I cut the hilt off of the scorpion sword scabbard, and made a blade by shaving down a larger, curved skeleton sword.
 |
| "They say he carved it himself... from a bigger spoon." |


Love seeing the progress with your tomb kings. I've never considered collecting them myself but the attention to detail you put in and the craftsmanship is a pleasure to follow! I love seeing people make miniatures their own, it's something I try to do and you're a big inspiration.
ReplyDeleteThank you! I really appreciate the kind words. Always great to hear about others being inspired by my work– That's what it's all about! :)
DeleteVery cool and your bases look much nicer than 3D printed stuff.
ReplyDeleteThanks! And no layer lines screwing up the texture on every surface, either! ;)
Delete