Project Log: Skaven Warp-Skryre Tower, Part 12
This week, I finished off the wooden construction around the base of the tower...
With the rock formations finished, I was left with a spot for the cave entrance.
To make the opening, I carved out an opening...
...and built a door frame out of parts from the Skaven Gnawhole a a few bits of styrene to cover the imperfections and attachment points.
Next, I painted the cavity in the foam with wood glue and black paint, and then formed some rocks around the opening with Aves Apoxie Sculpt.
I coated the back of the door frame with Chapstick to prevent it from sticking to the putty, and pressed it into the stones. To shape the stones, I used a sculpting tool and a coarse sanding stick to press some texture into the putty.
I removed the door frame so I could tidy up the stones and get at the interior of the opening, and then pressed the frame back in place and let the putty cure.
The wooden platform below the stairs needed some supports, so I used more of the Gnawhole timbers.
I built some metal strips with nuts and bolts to connect the supports at the top. I used styrene sheet, hex rod, and round rod to make the bits.
The "nuts and bolts" were attached to the strips by picking them up with the sharp tip of my knife, dipping them in a bit of super glue, and sticking them in place.
I glued the strips on the top of the posts so they fit around the platform's support beams, but left them unglued so I could take everything apart for painting.
The left support was glued into the base, so I added connecting beam to give it a little more stability.
The tower still needed a way to get up to these platforms from the ground. I built a taller ladder matching the style of this old GW metal siege ladder. I used 1/8-inch round plastic rod and some plastic strips. The rod was scraped along its length with a hobby saw to create some wood grain. I gave the plastic strips their wood grain by scoring them with my hooked clay sculpting tool. Then, I cut the strips to the size of the ladder rungs and glued the components together.
I finished off the ladder by adding some nail heads, cut from small styrene rod and glued in place.
This platform from the original Warscryer Citadel had a tab on the side which I had intended to trim off, but missed during the construction. But that was a happy accident because it turned out to be in the perfect spot to use as a bracket for attaching the ladder.
I used a round file to file grooves into the tab, spaced so the ladder posts could slot into them.
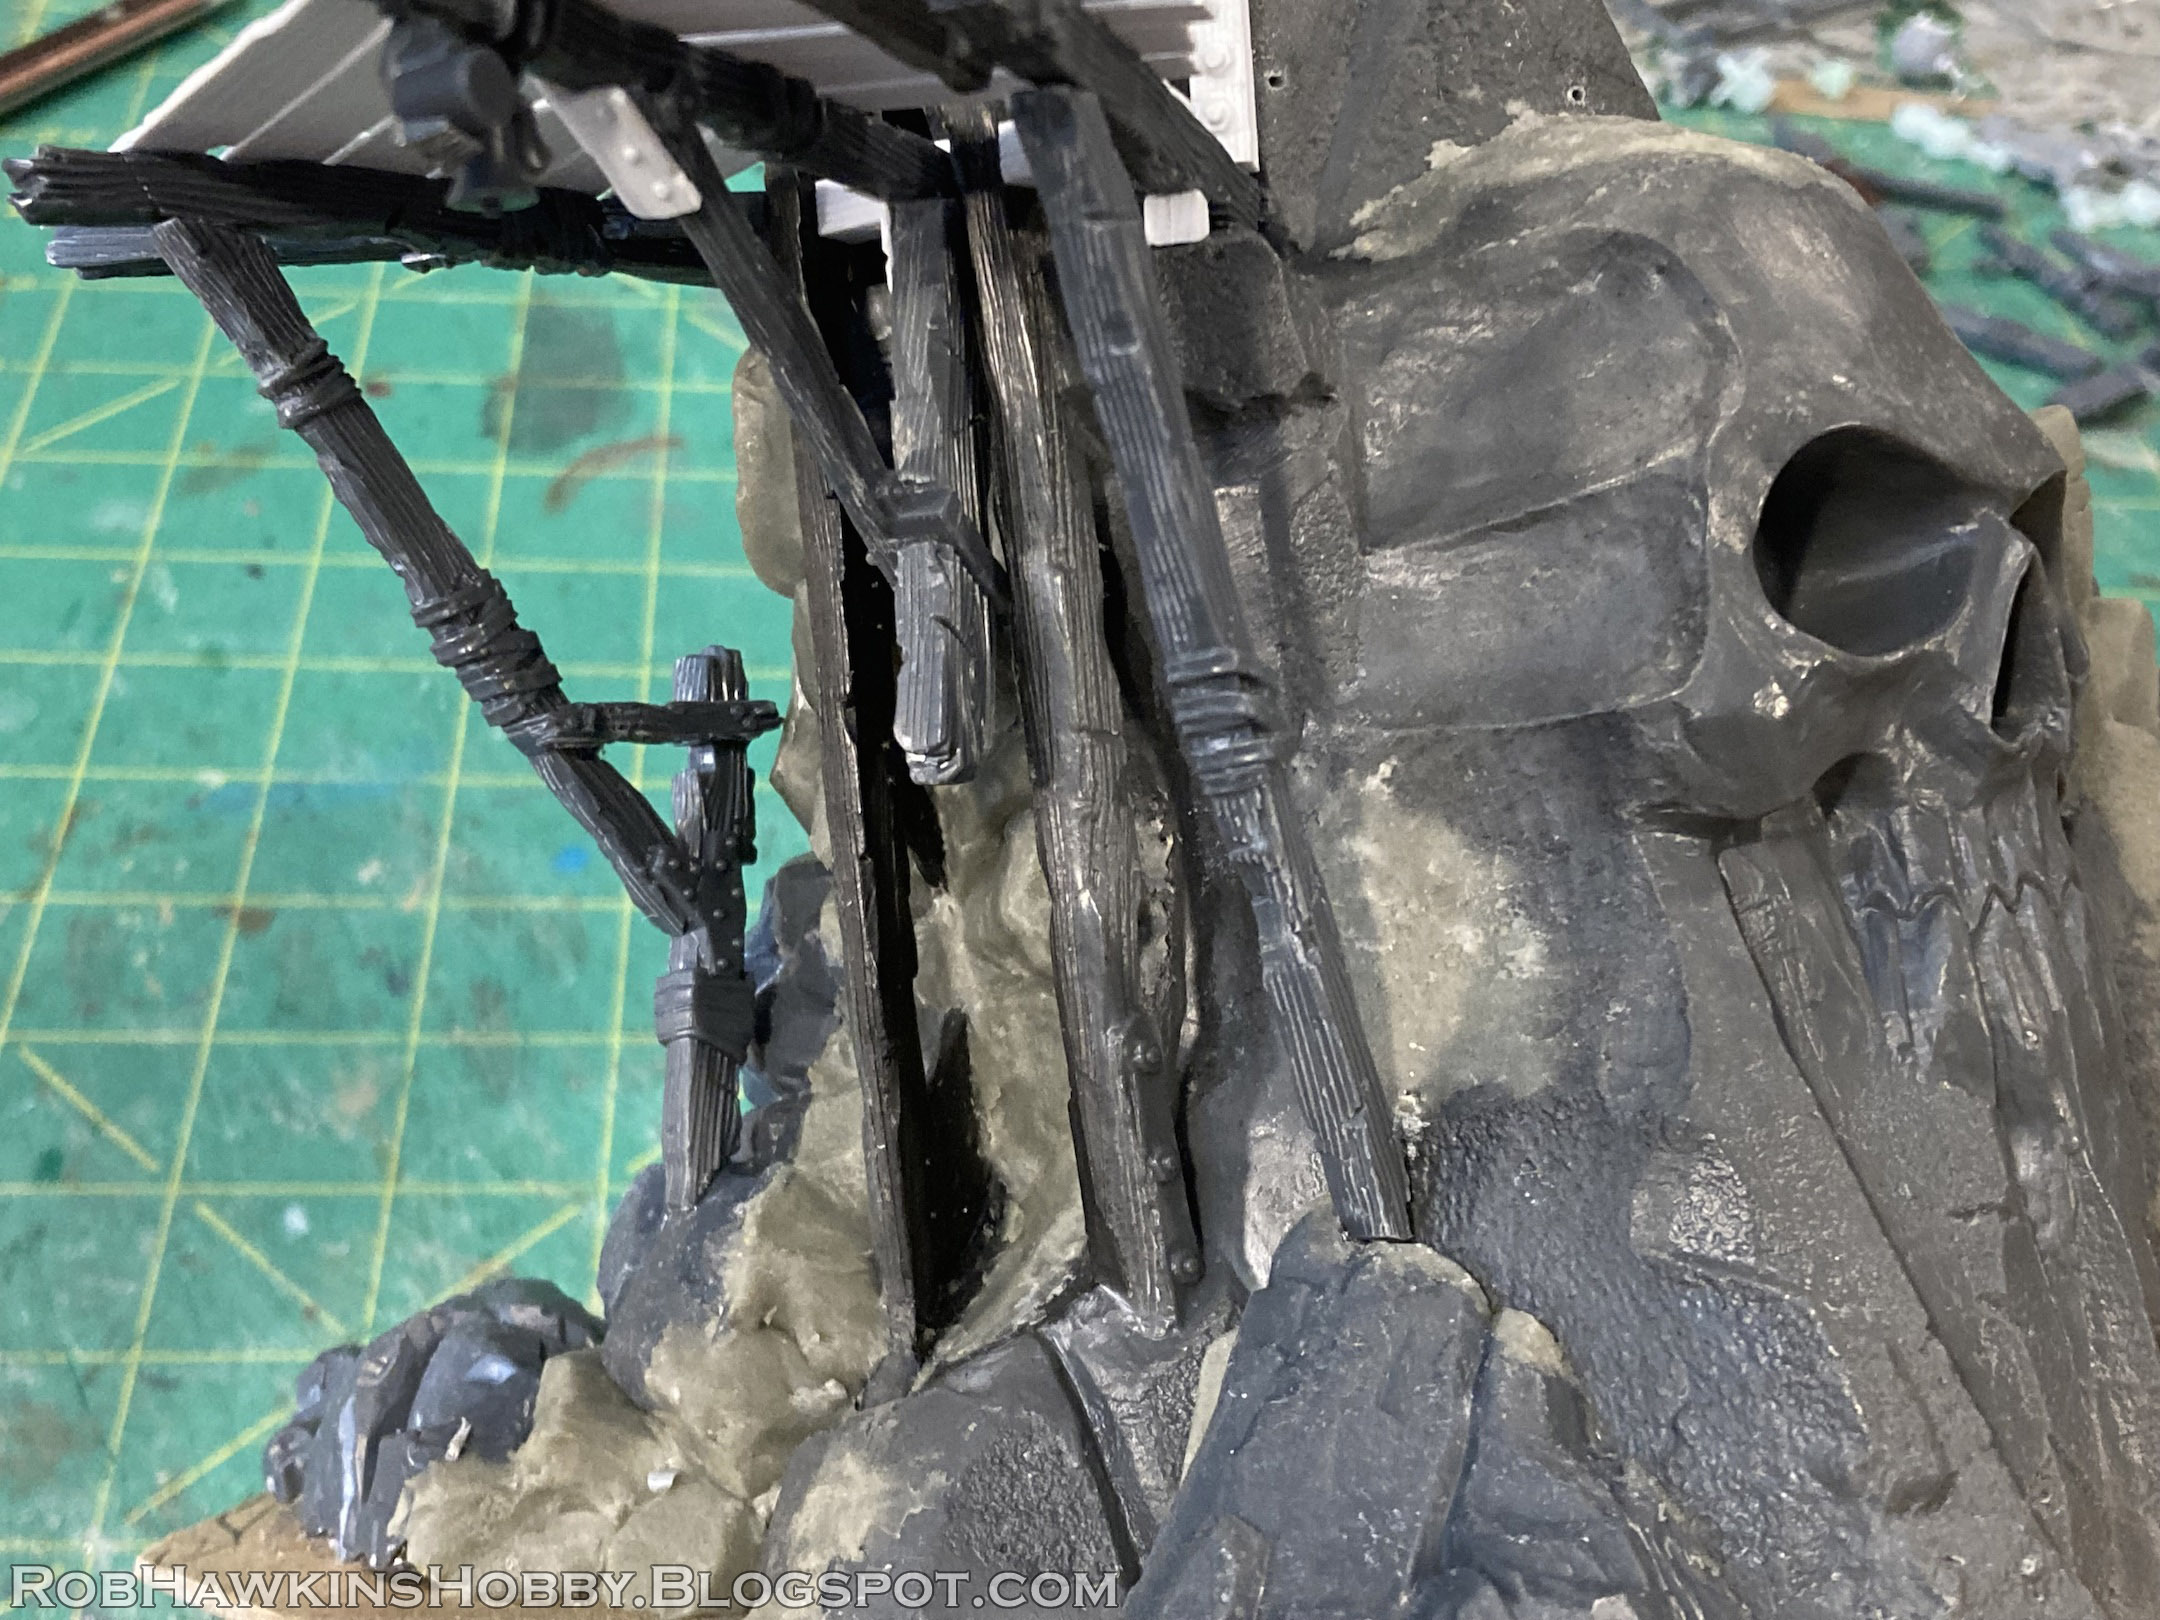
Below the large skull carved in the rock face, I built another wooden platform. I started with supports made from the thicker posts from the Gnawhole kit, and a central support beam, pinned into the rock.
I sketched on the base, a rough pattern of how the planks would fit over the supports.
I made the planks by etching wood grain into thick styrene strips with my sculpting tool.
Then, I trimmed and glued the planks in place. I drilled holes for the base of the ladder, and left a space for a small stairwell.
Because of the cramped space, I made a spiral staircase. The steps themselves were cut from the thickest wooden beams in the Gnawhole kit. I glued them together to match the style of steps from the Warscryer Citadel, which I used on the top of the tower.
They fit in place surprisingly well, and I finished off the steps with more wooden supports, bolts and nails.
I was determined to use every last piece from the Warscryer Citadel, and this seemed like the perfect place to put the observatory hatch. I back-filled the eye socket with putty and glued the hatch in place. Who knows what kind of experiments are going on inside this creepy Skaven hidey-hole?
Here's a look at how it all turned out. From here, I need to trim away the temporary cardboard base and attach it to a proper MDF base with sand and ballast.
'Till next time!


Great work! I love following your terrain projects. Very inspiring, to say the least.
ReplyDeleteThank you!
DeleteI'm awed by the sheer level of detail in this. I've been trying to put more detail onto my own terrain recently, but I think this is a whole new level. Great work!
ReplyDeleteThanks! Coming up with little details and easter eggs to hide in the terrain is the most fun!
Delete