Project Log: Skaven Warp-Skryre Tower, Part 11
This project has been a long haul, but the finish line is in sight:
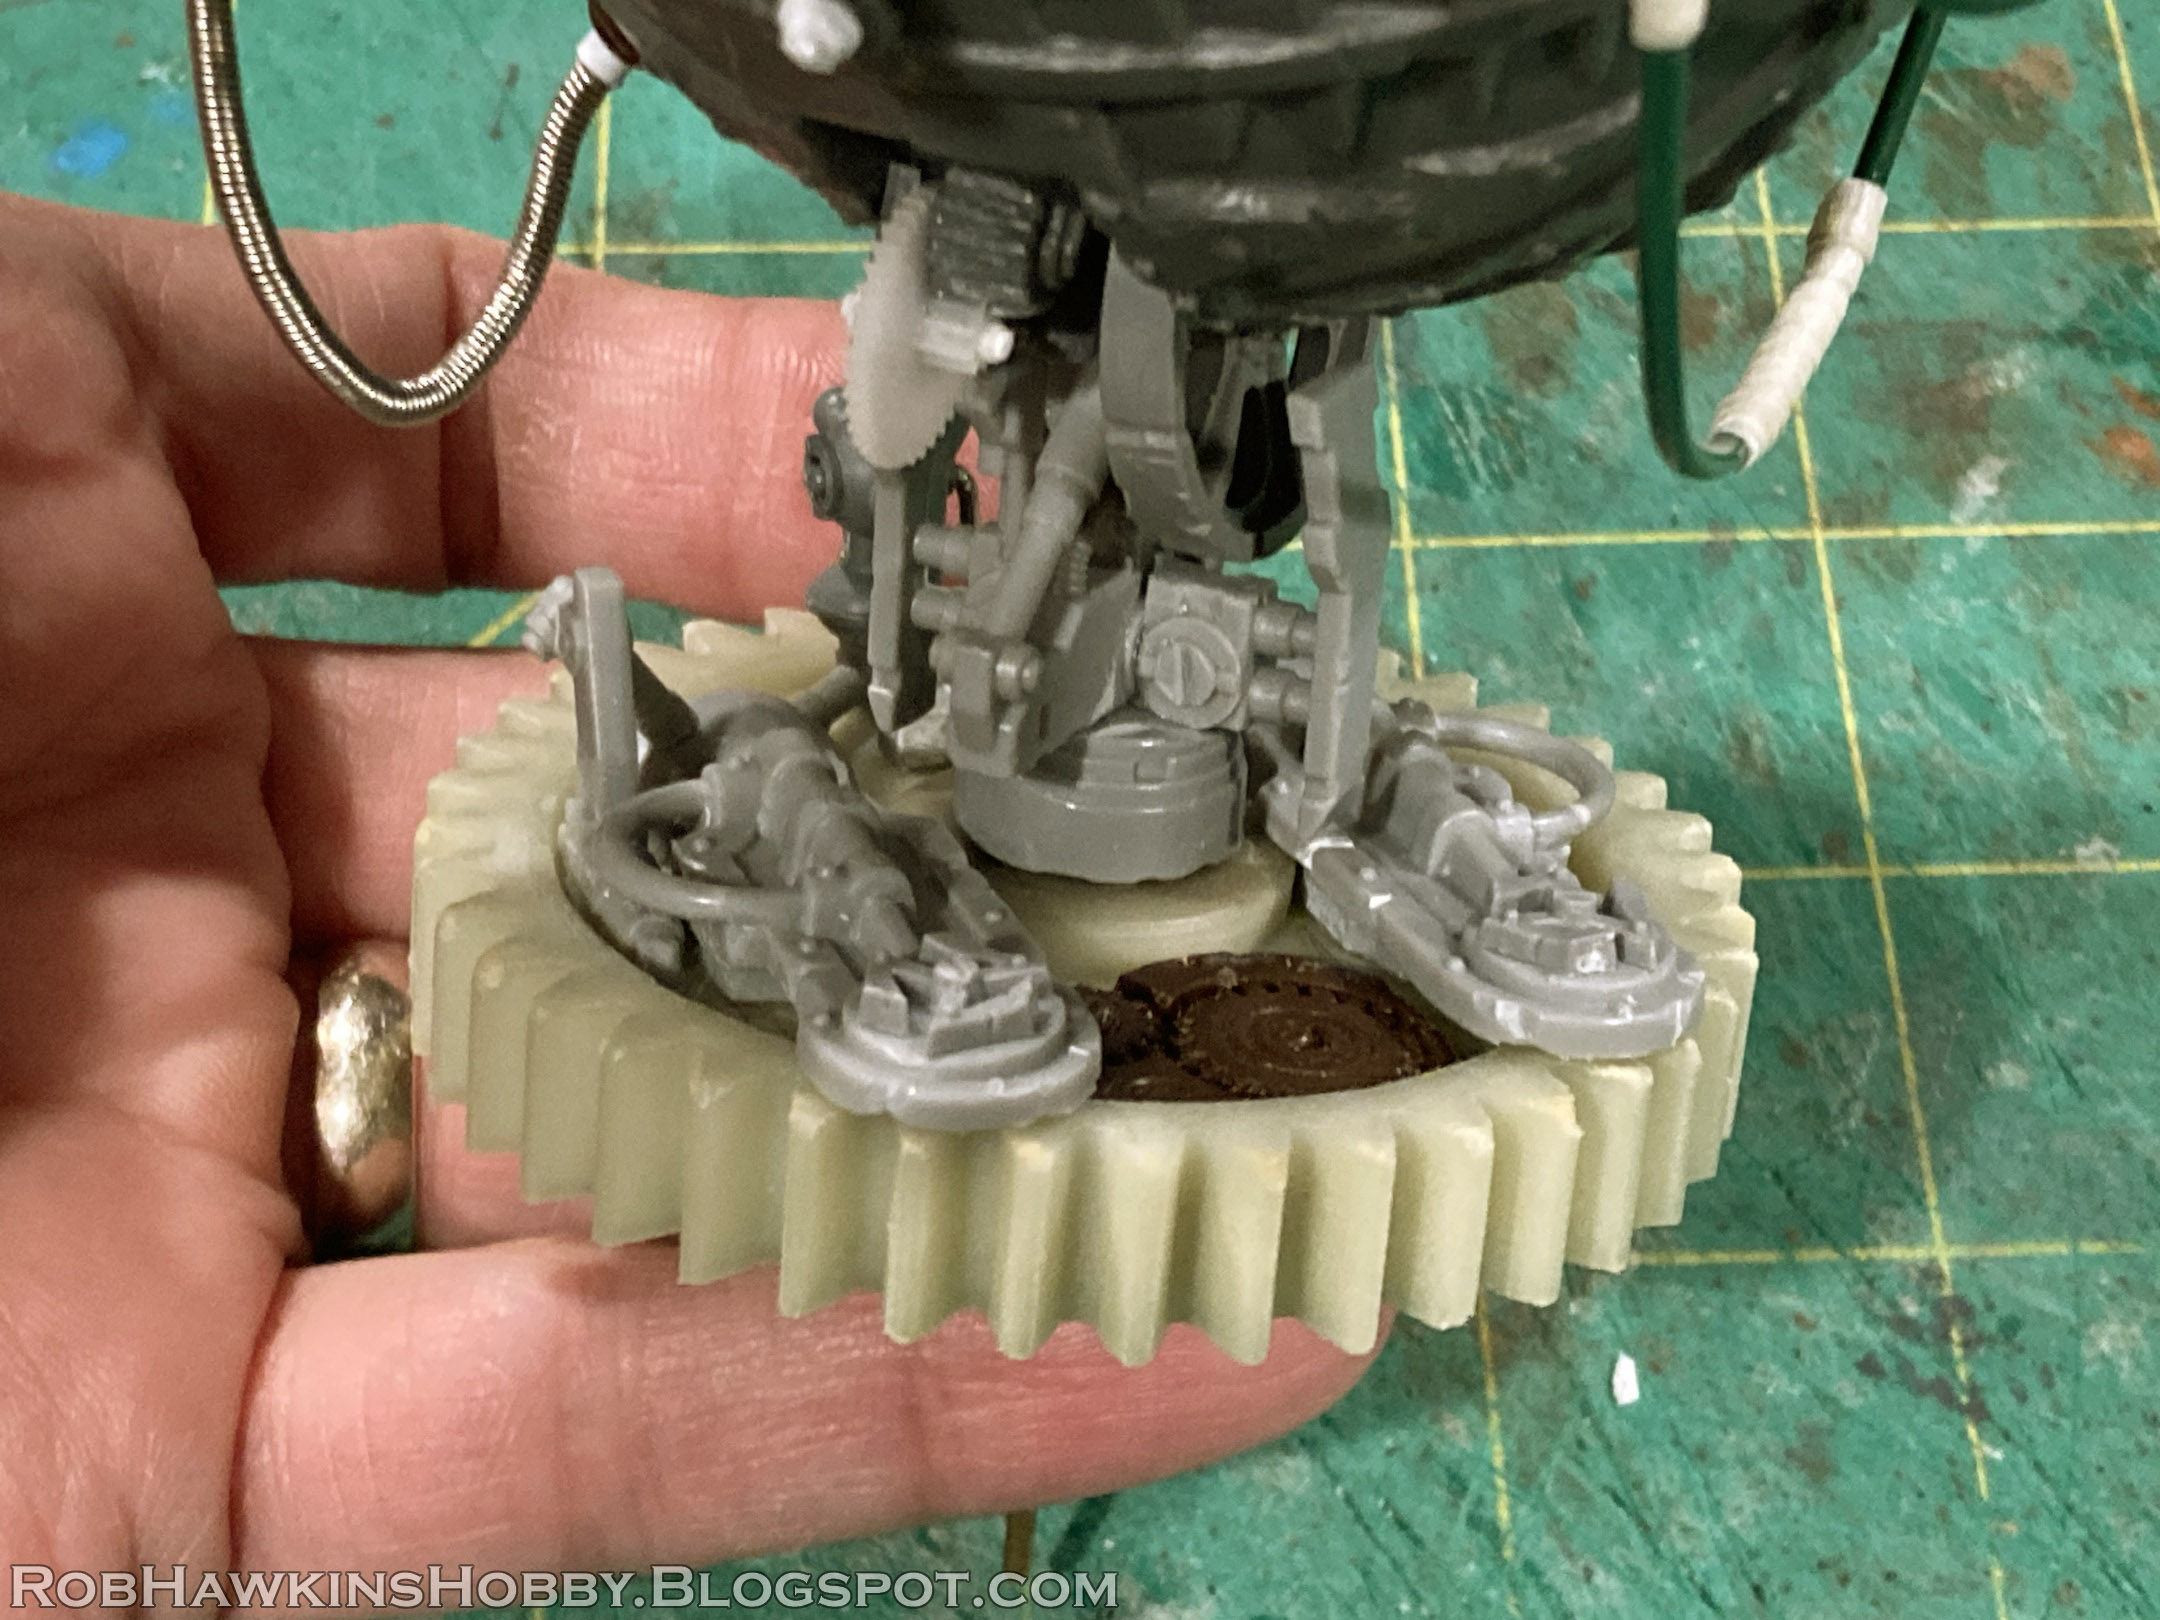
Before finishing up the rock face, I wanted to address the big gear that the warp-accumulator is mounted on. I had detailed it with some random components, but I was never satisfied with them.
The accumulator plugs into the gear and spins so I can position it. But the "in universe" premise is that the accumulator is fixed in position on the large gear, and the gear rotates to turn the accumulator. So, the tech on the gear should always be oriented in the same direction relative to the accumulator. On the model, however, the gear is going to be glued in place, its teeth locked with the other gears, and if the accumulator rotates, the tech will be misaligned. It's a minor nitpick, I know, but it still bugs me. Plus, the tech was rushed and doesn't look like it really does anything.
I decided to scrape it all off and add more symmetrical details that won't appear misaligned when the accumulator rotates. I pulled the wheel out of a white-out tape dispenser, and got a handful of small gears from some cheap wind-up toys.
By cutting out the center of the wheel and carefully scraping away some material on the inside, I was able to fit it over the hub in the middle of the gear.
I played around with the positioning of the small gears under the wheel. The idea was to arrange them symmetrically around the gear.
In the end, I just went with the blue wheel. The little gears were just cluttering it up, and didn't serve any purpose.
On to the base! I filled the opening with some insulation foam, and grabbed a selection of rocks from the Skaven Gnawhole kit.
After working out their positions like a jigsaw puzzle, I used a hot glue gun to set the rocks in place, building them up layer by layer, and considering how they align with the surrounding rock surface.
Next, I mixed a batch of Aves Apoxie Sculpt putty and used it to fill in the gaps and build up more rocks at the top.
I shaped the rocks and used a combination of a stiff round brush and a piece of 80-grit sandpaper to press a coarse texture into the surface.
In a few areas, I wet the putty significantly so I could smear it over the surface, and then pressed the texture, trying to match the grain of the plastic rocks. With a sharp tool, I made some cuts and carved a Skaven icon or two. Since the Gnawhole rocks are pretty smooth, I mixed up some Aves putty with a lot of water to create a clay-like "slip" that I could paint onto the surface. Using a stiff brush, I stippled the surface to give it a rough texture.
In my original concept for this project, I envisioned a Gnawhole portal incorporated into the base, but as everything came together, that idea wasn't really working. While fitting the rocks, however, I was left with this opening at the base, and its position looked right for a small tunnel opening.
These posts were taken from the Screaming Bell kit, and I've been saving them for some scenery. I'll use them to build a gate in front of the entrance.
I'll also build a wooden frame around the tunnel opening, and I need to make some vertical supports below the lower platforms. I've also got an idea for another platform and ladder on the side with the large skull. It's not over yet!
'Til next time!


Good work! Looks amazing!
ReplyDeleteThank you!
DeleteInteresting to see the detail you put into your projects
ReplyDeleteThanks!
Delete