Project Log: Skaven Warp-Skryre Tower, Part 10
With the addition of some power cables, and a few support beams, I think I can finally call the upper portion of the tower "finished."
The cables hanging from the warp-accumulator looked a little plain; Skaven cables tend to have ties, wrapping, stitching and other elements cobbling them together. I used masking tape to add some wrapping around the cables in a few places.
I put two layers of tape together to give it a little mote thickness, and cut it into thin strips. Then, I tightly wrapped the strips around the wire. After trimming the ends with my hobby knife, I coated the tape with a layer of super glue to permanently secure it.
Remember those holes I drilled in the telescope pedestal last time? To make power cables connecting to the main engine on the top platform, I used some left over cables from the Skaven Stormfiends.
I cut up the cables and glued them to the deck, inserting one end into the holes on the pedestal.
Then, I used some 16-gauge floral wire to to connect to the engine.
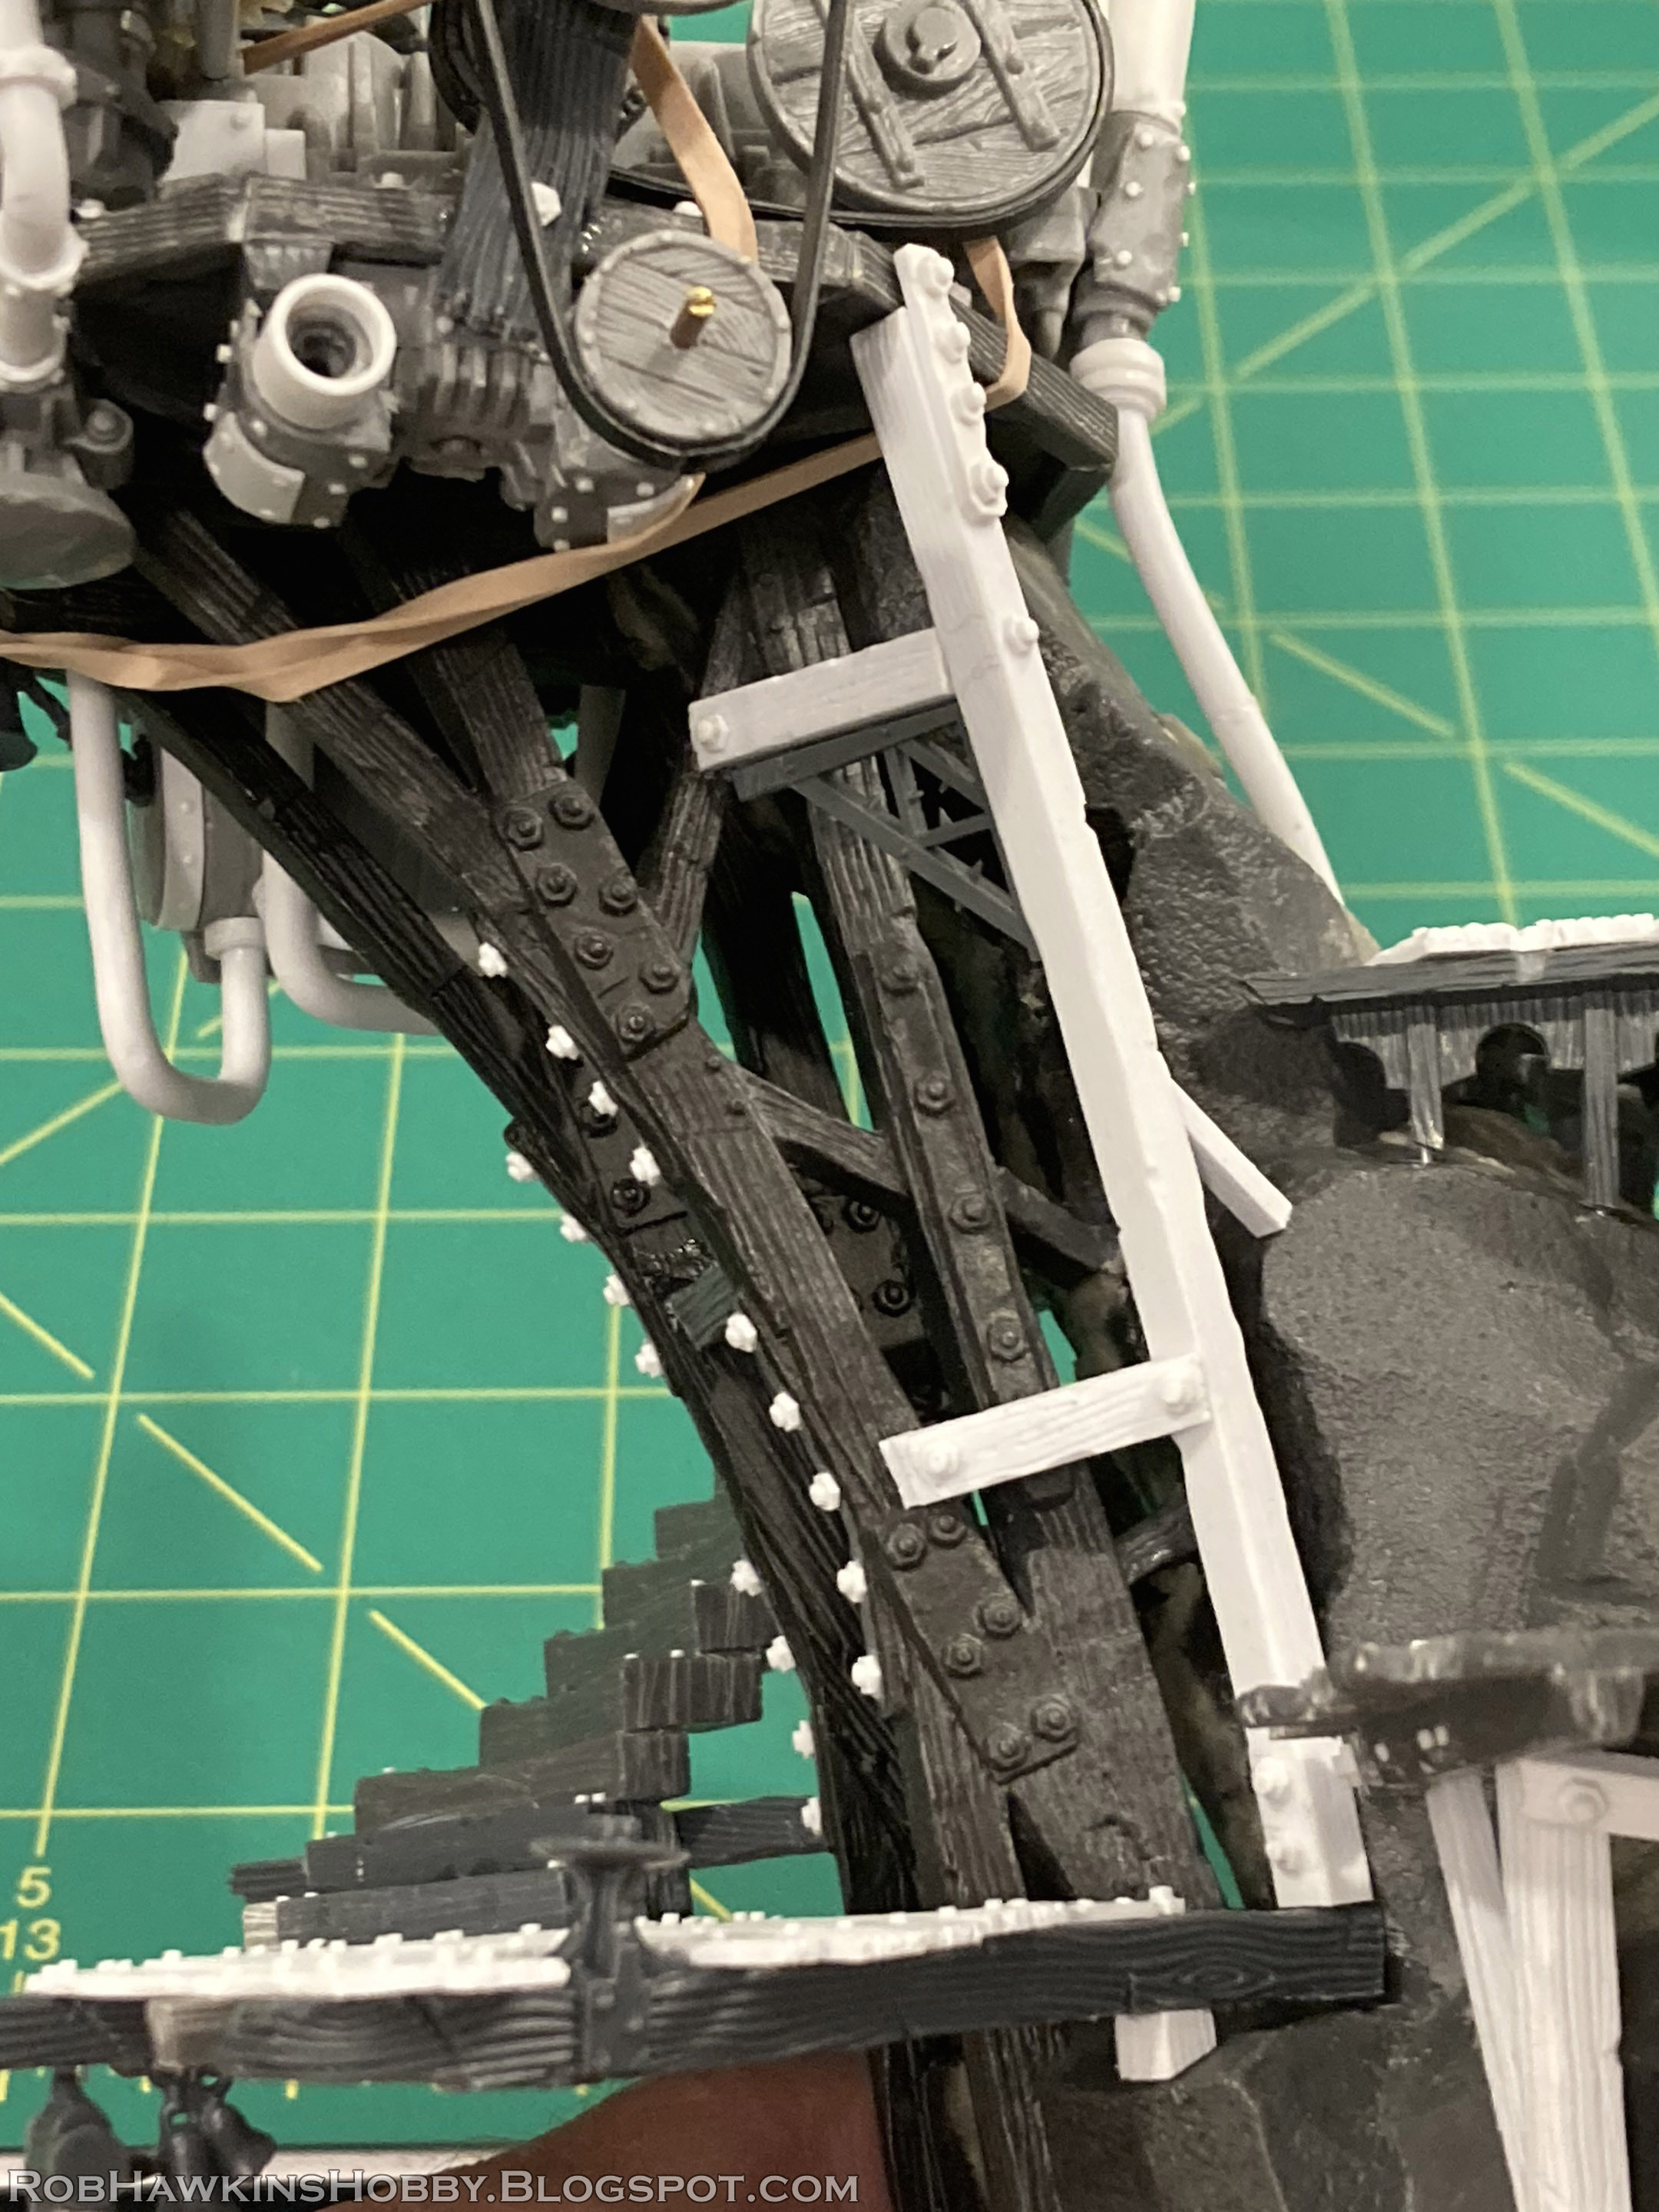
It was tricky to bend it so it looked like it was appropriately draped over the edge and connected to each end. That little plastic ball is also from the Stormfiend cable I added the pin so I could keep these parts separate for painting. The white coupling was made with two sizes of plastic tube, layered over each other with two rivets cut from thin styrene rod.
Even with smooth needle-nose pliers, the wire got chewed up a bit from making many adjustments to the shape. The exposed silver shows where I had to file it smooth once I was happy with the shape.
Here's a close-up of the layered styrene tubes. The cut-out portion on the bottom is to allow the coupling to sit flat on the deck so it lines up with the connecting cable.
The finished cables:
For the orrery motor under the deck, I wanted to create a thick hose like the grey hose in the image above. For this, I used 1/8-inch styrene rod, and bent it with a heat gun. It was difficult to form the plastic because too much heat causes it to stretch, and too little heat doesn't allow it to bend enough. I had to break the rod apart and do it in sections, and rather than heating the rod and softening it enough that I could drape it over the form, I had to soften it a little and bend it into shape.
In the end, I was pretty satisfied with the result.
I made more tube couplings to connect the sections. The tube extends past the end to create a socket that the other segment can plug into.
To create the appearance of stitched-together sections of hose, I first cut grooves around the styrene rod.
Then, I added the "stitches." These were strips of thin styrene that I trimmed into little bits, and then attached by picking them up with the sharp point of my knife, dipping them into super glue, and then sticking on the plastic rod (the same way individually cut rivets are applied). Once they were secure, I used a fine sanding stick to smooth over them and round off the edges.
With the cables in place, I can finally call it quits on the machinery. There's always the temptation to keep noodling with little bits and details here and there, but I have to stop and move on, or this will never get finished.
The stairs needed a few more support beams, so I made some with a few pieces from the Skaven Gnawhole kit and one of the cross beams from the Screaming Bell.
More hex rod was used to add bolts, along with some rivet-punched styrene card. I left the bit of sprue connecting the bells so I don't accidentally break them; it will be trimmed off just prior to painting.
This tall vertical support was added to break up the symmetry of the two main support beams. It was made with thick square styrene rod, scored with wood grain, and a triangular bracket from the screaming bell.
I can finally start working on the rocky base and filling in the giant hole on the back of the rock spire.
'Til next time!


Your attention to detail is incredible. Really enjoying reading the progress of this build. Thanks.
ReplyDeleteThanks Rob! I'm glad you like it! :)
DeleteReally incredible eye for detail! This has been really fun to follow. I like how you used a lot of 40k bitz, but they don’t stick out as 40k at all. Great work!
ReplyDeleteThank you Eamon! The 40K bits with pistons and gears make great machinery parts for kitbashing, and can be "downgraded" to a fantasy setting by roughing them up with chips and extra rivets to make them look a little less precise in their engineering.
DeleteThis comment has been removed by a blog administrator.
ReplyDeleteThis comment has been removed by a blog administrator.
ReplyDelete