Modeling the Krulghast Cruciator's Diorama Base
I've been making a lot of progress on the Cruciator, and I'm just about finished...
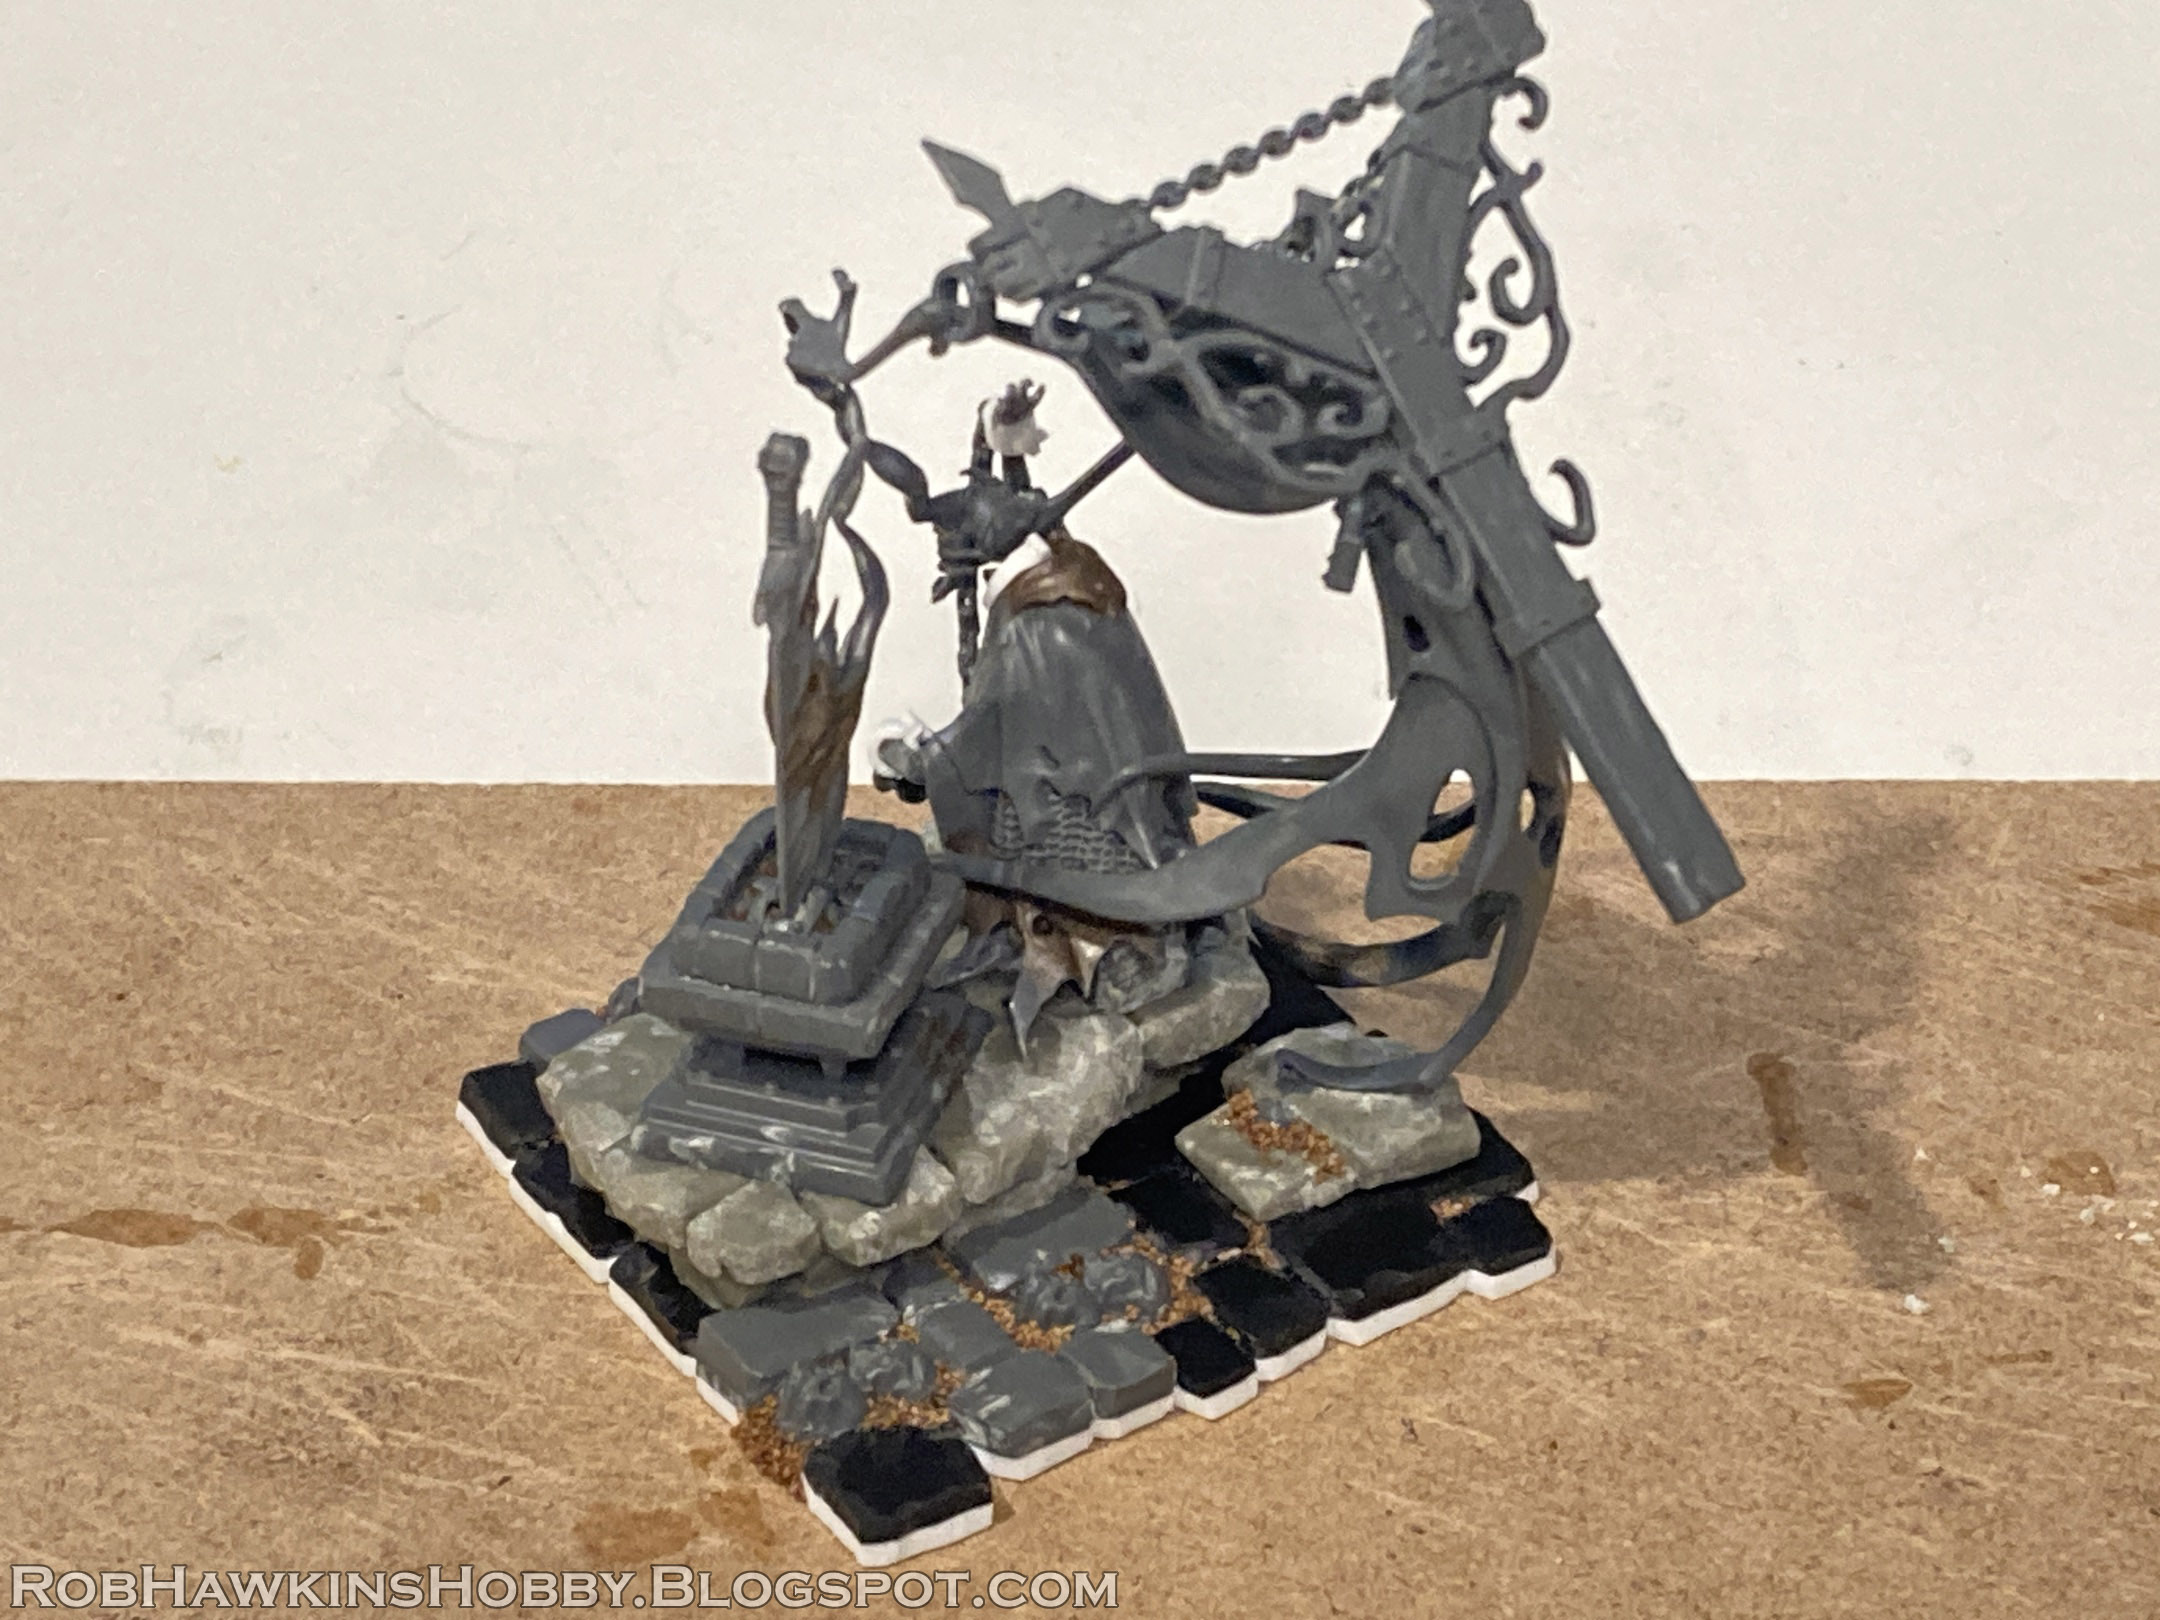
With the torture subject finished, it was time to work on the base. In order to get the height correct, so the neck lined up with the skull in the Cruciator's hand, I glued two inverted 20mm bases together to create a little step.
I also made a separate head that could pin in place so I can use the diorama base as a stand-alone scenery piece.
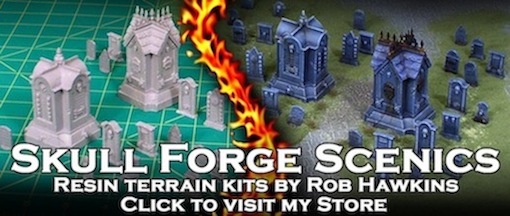
To make the base, I glued "stones" cut from thick styrene card onto another piece of card. I also filled out some spaces with stones and skulls cut from the base of the Sigmarite Mausoleum's statue.
The bottom card was trimmed and shaped to the form of the flagstones.
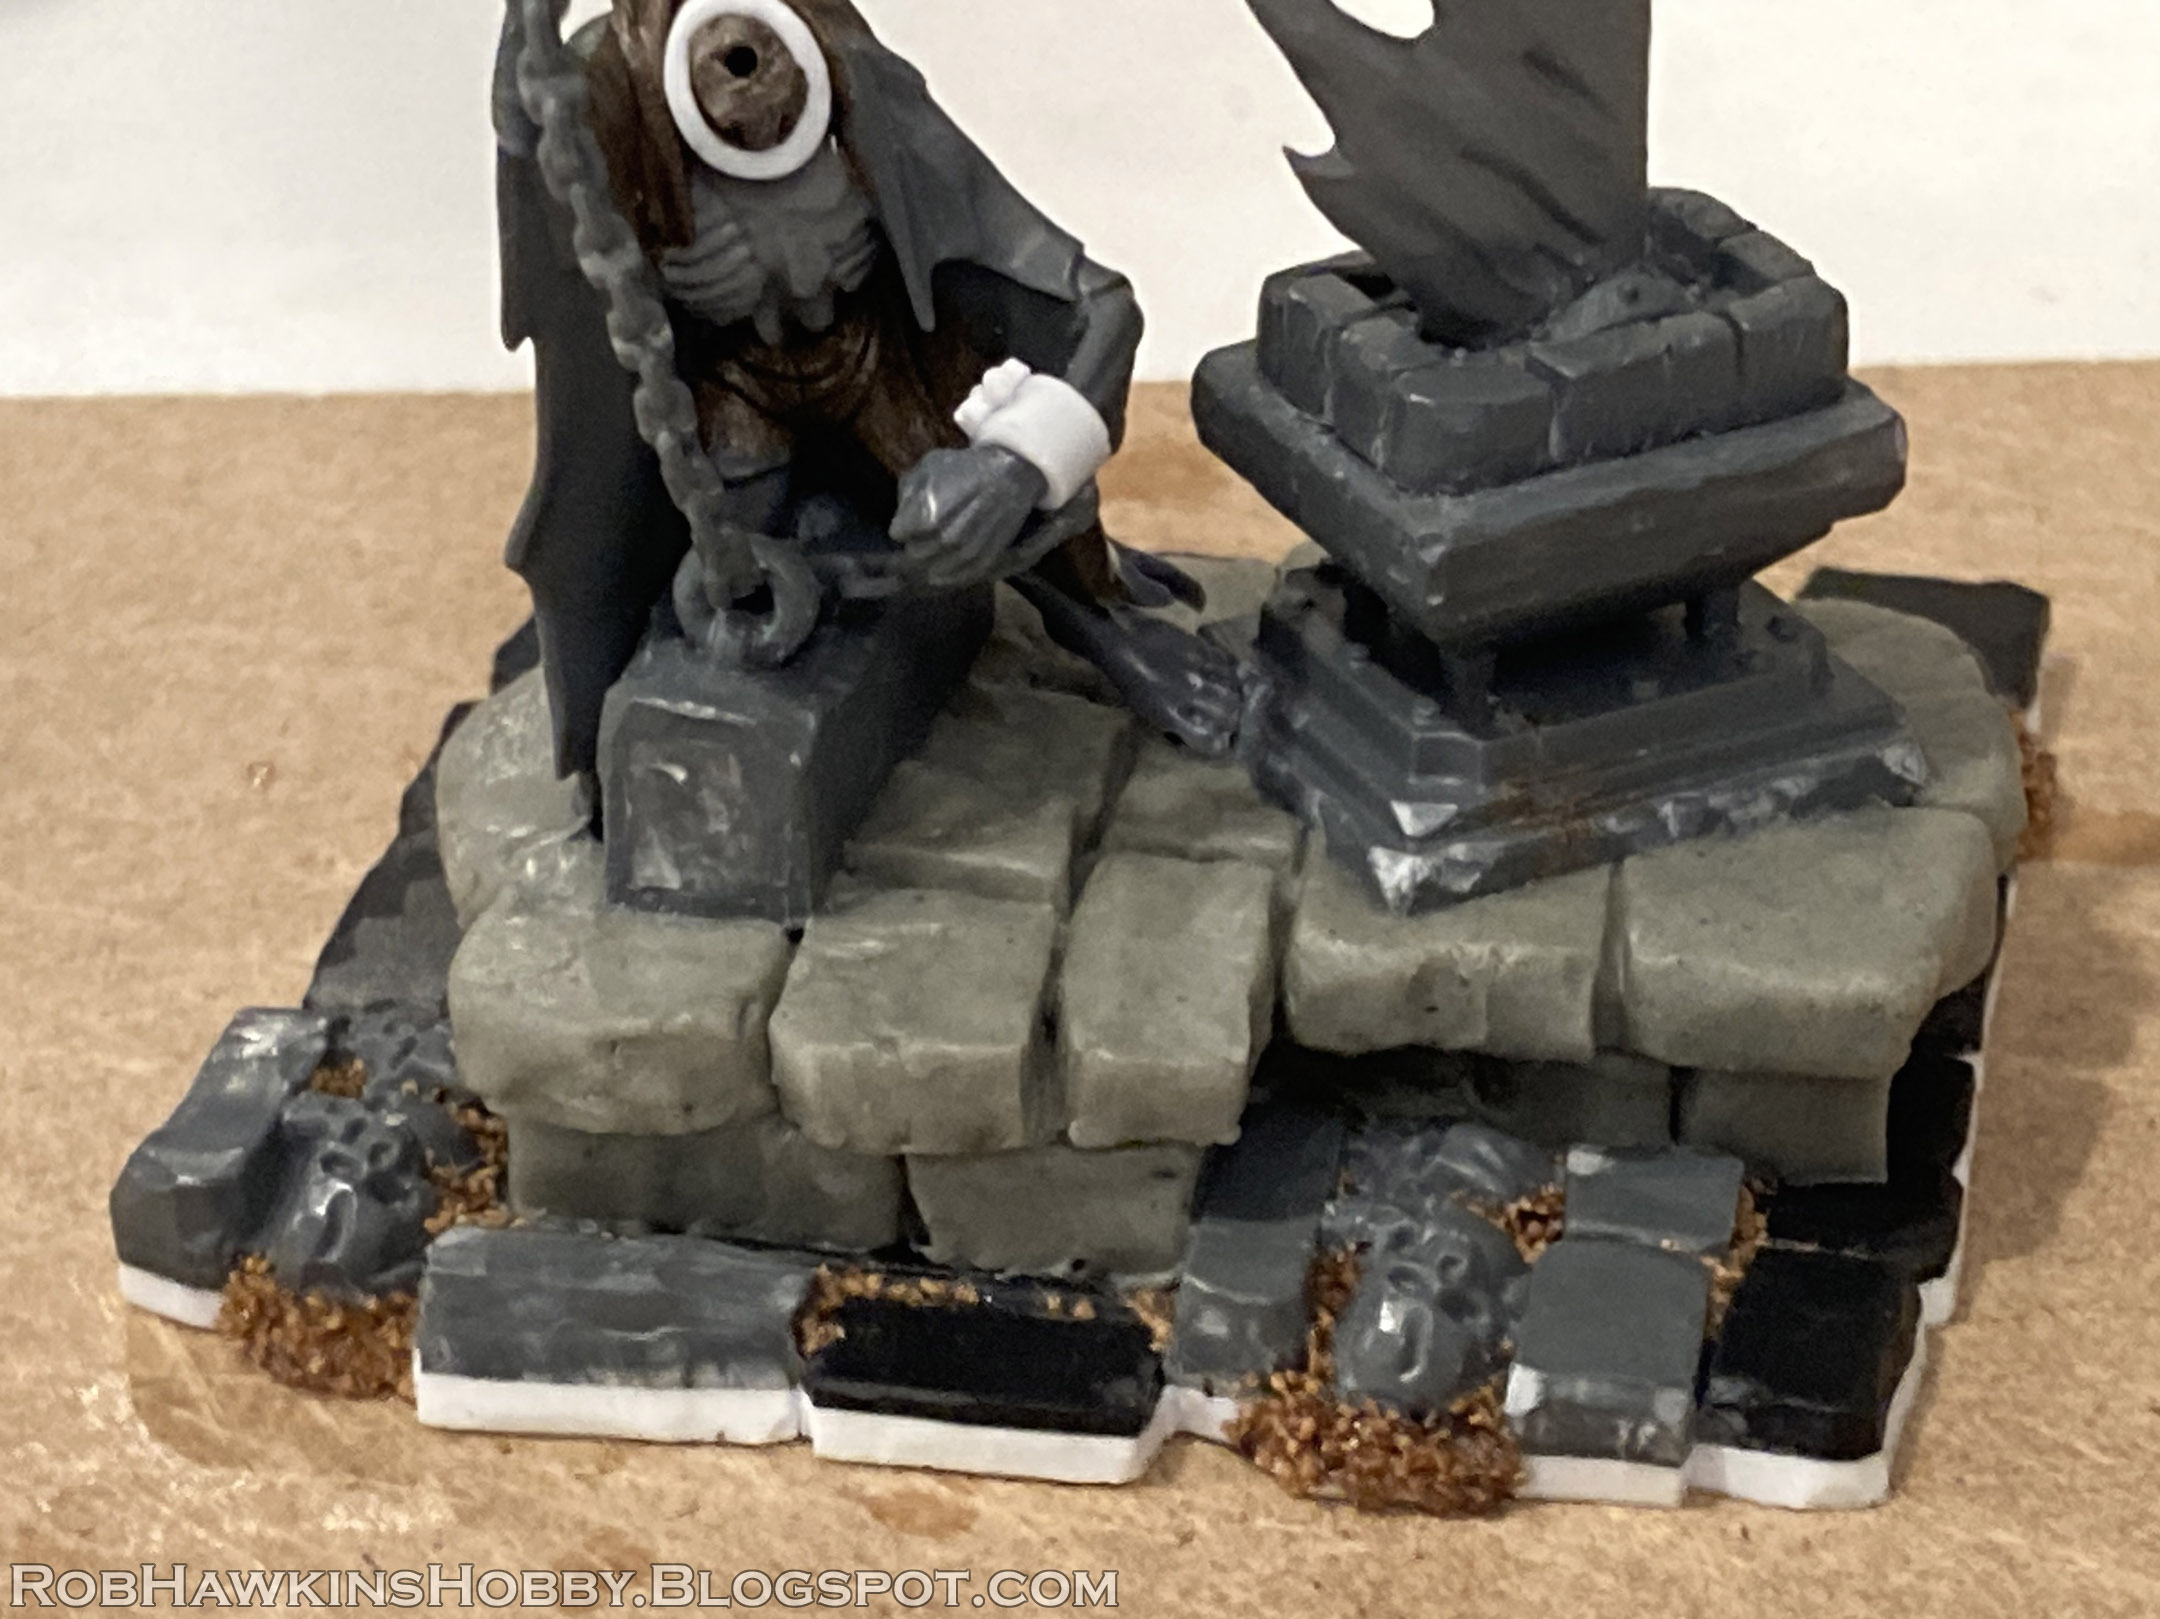
I glued the torture subject and the sword in place, taking care that their parts lined up with the Cruciator's hand, and then sculpted stonework over the elevated bases.
I added some fine ballast in the cracks and recesses, and carved the cured putty to get a better stone shape.
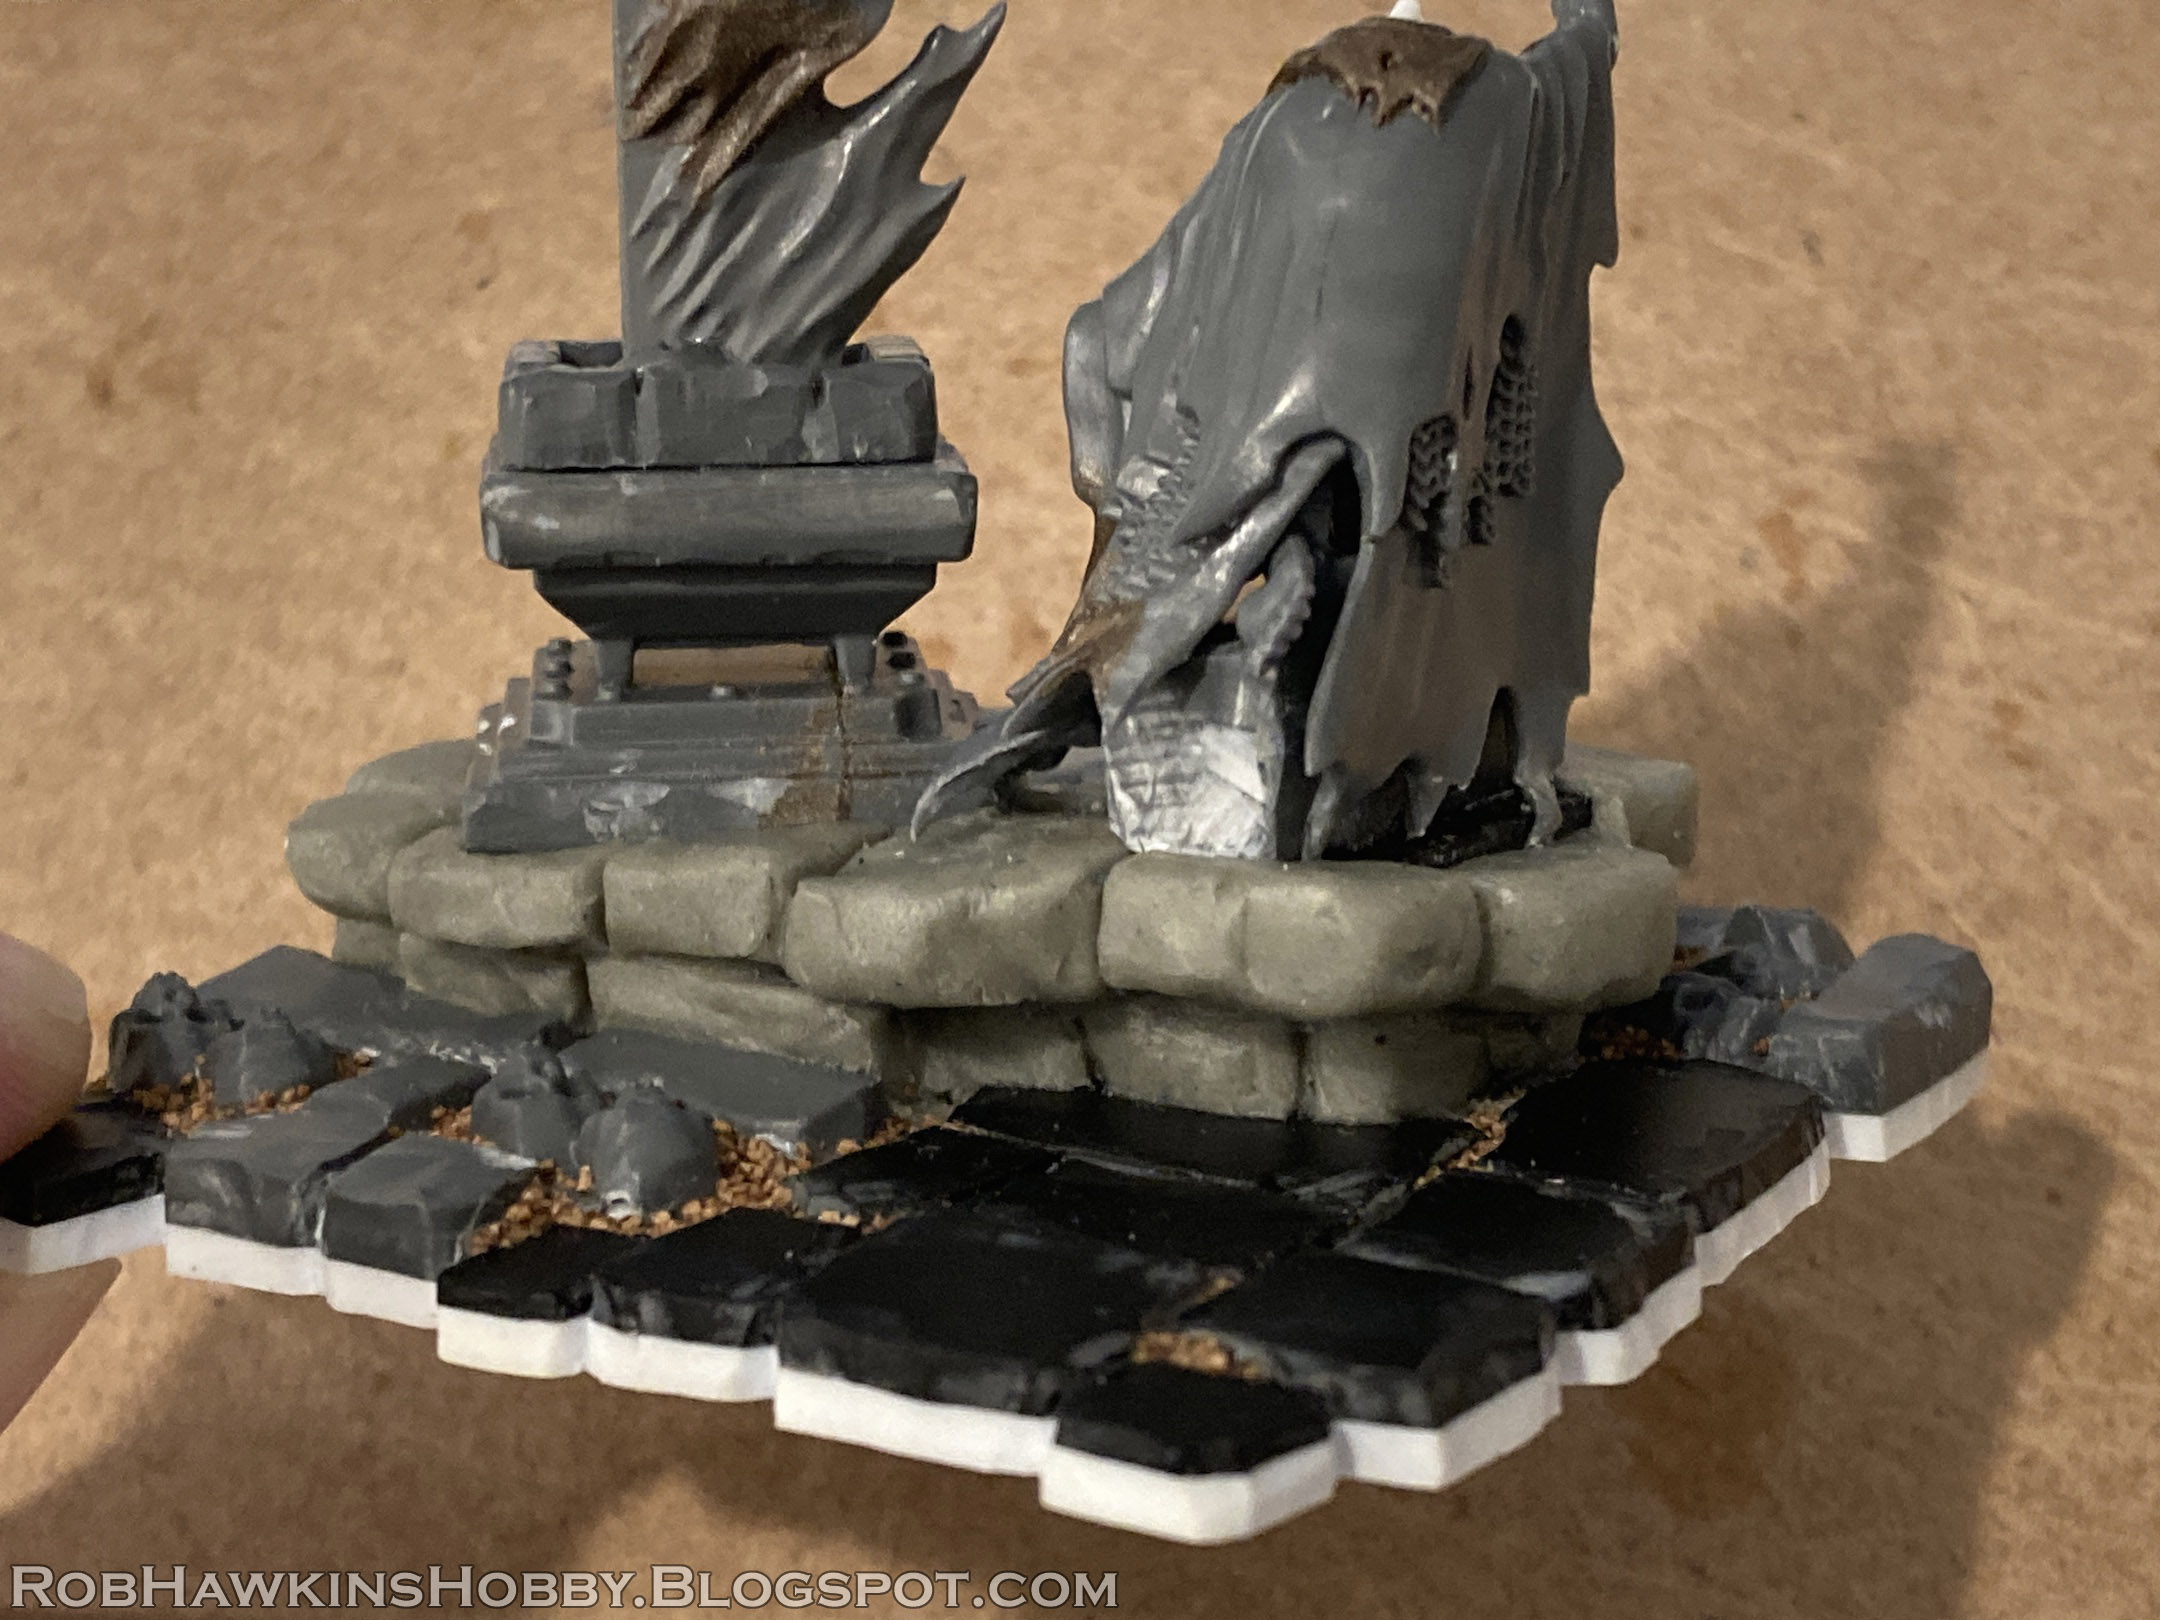
When it came time to attach the model, I had been planning to simply pin him to the base, but I couldn't get both of the stones on his bottom to sit flat, and have him line up with the torture subject. I ended up sculpting a new flagstone over his little basing rock, and removed the rock from his other bit of robe.
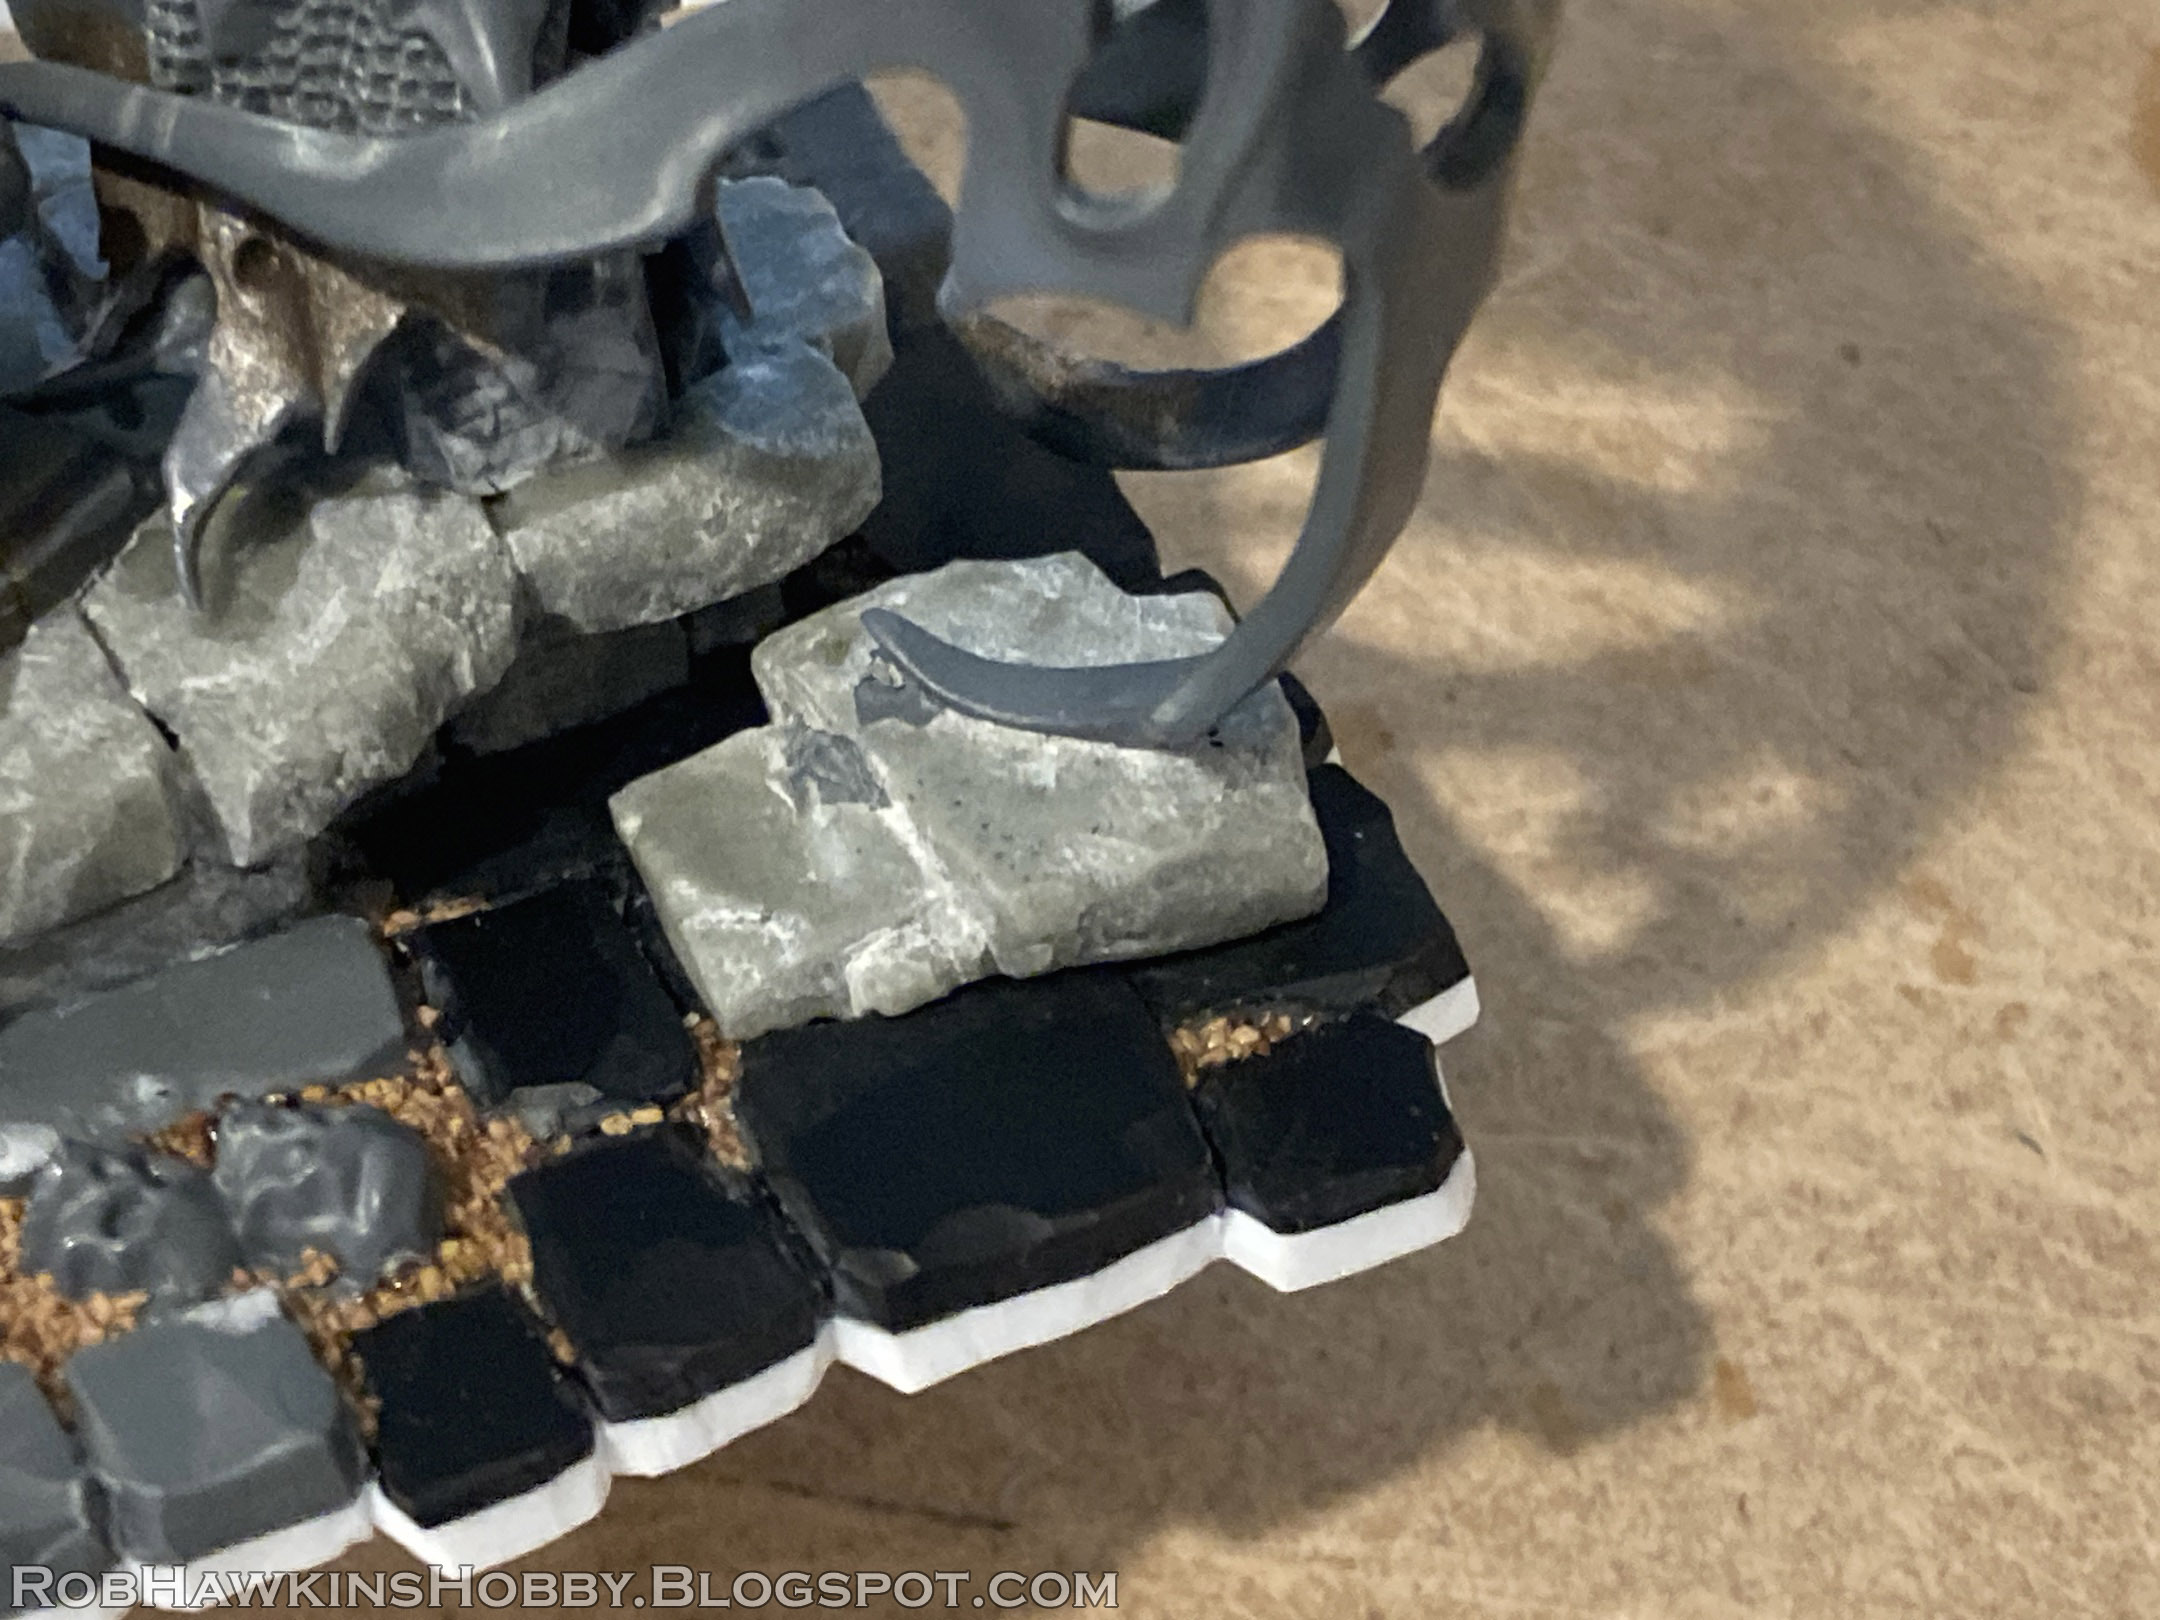
I cut away the first stone and sanded the "tail" of his robe smooth. For the remaining basing rock, I formed the putty around it and then pressed it onto the flagstones after greasing them with a little Chapstick. This allowed me to angle him exactly how I needed, and then let the model sit and cure. Once the putty had hardened, I carved it a bit into mostly square stones.
The Chapstick allowed me to get the putty off of the base without it sticking too badly. Before removing it, however, I drilled up from the bottom to mark the pin holes. (This shot already has the pins glued into the stone, but you get the idea.)
Before I glued the pins in, I added some putty to the model's normal 40mm base, and pressed the stone into it. I sculpted a few other paving stones and added the tombstone and a bit of fencing.
When everything had cured, I drilled the pin holes on the spots marked in the impression, and carved up the stones a bit. The model's basing stone fit perfectly!
Then, it was just a matter of adding some ballast, and the base was complete.
The Cruciator can now swap between his regular base and the diorama base where he's sucking the life out of his subject to imbue an artifact with magical energy.
'Til next time!


Wow! Really high quality work, the posing is well done.
ReplyDeleteThank you! This model was a real challenge to work with because everything is so spindly. even the arms for the victim. I'm really happy with how it's turning out.
DeleteI admire your work for many years now, but I think this piece is truely exceptionnal ! Thanks for all the tips you give to the community !
ReplyDeleteOnly downside of your work, you're not collecting/converting dwarfs... ;-)
Thank you so much! Of course, I'd never collect Dwarfs; they are the natural enemies of the Skaven! Just like Goblins, and Orcs, and Elves, and Men, and Ogres, and Skaven!! Lousy Skaven, they ruin everything!!!! :D
DeleteVery cool! I've done a couple of similar, but less ambitious projects myself, and this is a very impressive job you've done here!
ReplyDeleteThank you! A few more bits, and he'll be finished. (Hopefully this year!)
Delete