Project Log: The Tombs of Tithing, Part 10
Disaster!
But we'll get to that in a moment. First, I'll show you how I completed the construction before I RUINED everything!
Using some thick styrene card, I built a roof for the front of the tomb, and cut away some of the foam so the roof could slot into position.
I detailed the roof with some thin plastic strips, punched with rivets, and capped it off with a round rod and a tiny skull.
Before attaching the front entryway, I cut out more rocks on the side of the hill and used wood filler putty to smooth over some rough spots and joins between the layers of foam. Then, I finished off everything with sand and gravel.
I attached the entrance with Liquid Nails and hot glue...
And filled in the gap around the roof with pieces of foam and wood filler.
Once the wood filler had dried, it was just a matter of adding more sand and gravel, and a few graves.
The cages are from the Nighthaunt Spirit Torment kit, and the center grave is from the base of the Sigmarite Mausoleum entrance, extended with some styrene card. I used Skull Forge Scenics tombstones, with the small ones trimmed down from their original size.
Here's the finished tomb, ready to prime:
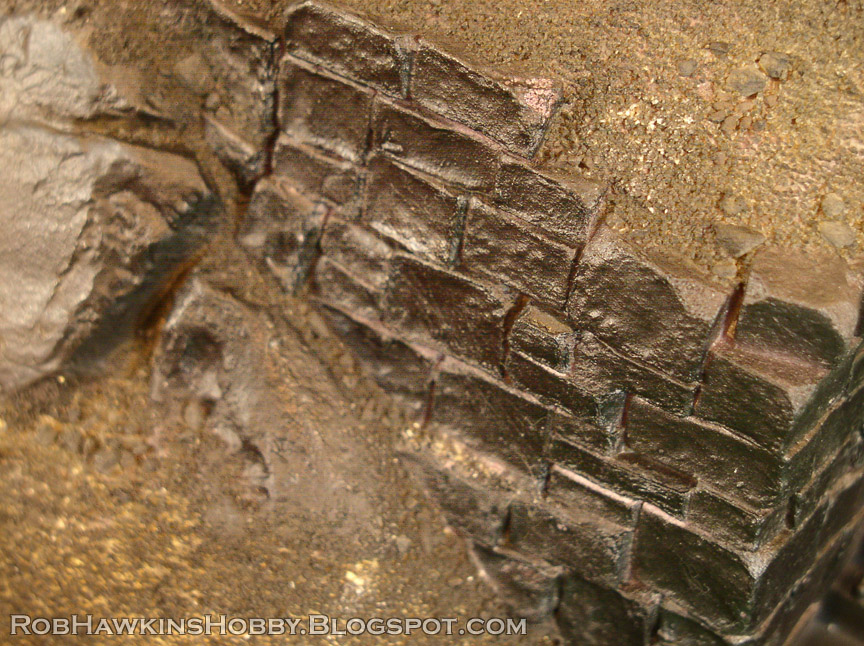
And that's where everything went horribly wrong– The primer melted the foam on some of the bricks and the steps. It's my own fault for not painting an extra layer of black paint over the foam bits before spraying them, but they WERE coated with Mod Podge, and had already held up to having sand super-glued to them, so I figured they were good to go. That's what I get for skipping a step. Maybe the cold weather had something to do with it, too.
But all is not lost. Now begins the arduous task of rebuilding the steps and touching up the stonework around the front of the tomb. I had to break off the gate to patch the steps, and I think I may leave it off for painting once everything is repaired.
The wood filler can patch over the caved-in parts of the foam blocks and recapture the sharp edges on the steps. The bottom stairs are a little worse for wear, and might need to be completely sculpted over with Aves Apoxie Sculpt. Looks like 2020 strikes again.
'Til next time.


Dude that sucks! Good luck with the repair.
ReplyDeleteThanks! I should be able to fix it, it's just going to be a pain in the ass. :/
DeleteHad this happened to me, I'd probably have gone with it and tried to paint it like it was worn stone or something like that. Good luck with the repair, it looks great anyway!
ReplyDeleteSometimes it makes the texture of the foam block warp a little, which can work... But other times, the surface sinks in while the corners stay raised, creating a curled lip on the edge, and that isn't really passable as any believable stonework. Thanks, repairs are underway. Dreading re-sculpting those lower steps...
Delete