Project Log: The Watchtower, Part 5
In this installment, I discuss the process I use for sculpting the missing stonework on the tower.

After finishing last week's post about the house at the top of the tower, I added one final detail on the roof– A row of spikes between the two larger spires. These were all pinned in place the same way that I attached the spikes on the ends of the roof framework. It looks more complete now, and matches the aesthetic of the rooftops on my other GW scenery kits.
To sculpt the bricks, I first mix up a batch of Aves Apoxie Sculpt modeling compound. I spread this over the wall, and around the corner up to the existing stones.
Next, I stipple the surface of the putty with a stiff brush to create some texture.
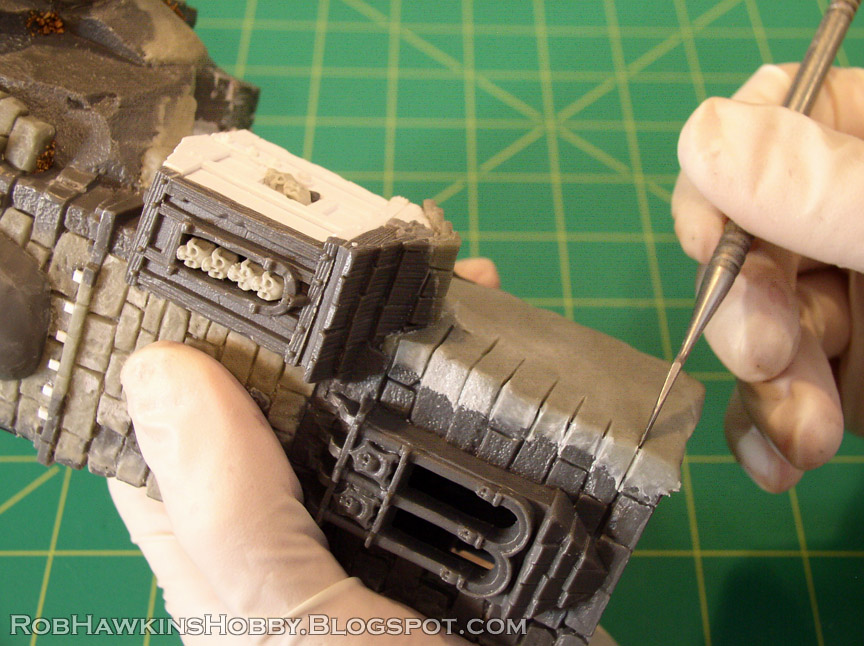
Using the existing stones as a guide, I press lines into the putty to mark out the stones.
I try to match the size and spacing of the existing stones on the plastic side, so my stone work doesn't stand out as different and, once painted, you won't be able to tell where the plastic ends and the putty begins.
I use a popsicle stick with its end trimmed down to press in some stones and add variety to the depth of the stones on the surface.
Before the putty begins to harden, I tidy up the edges and use a stone to press some extra texture in a few places.
Once everything has cured, I go back in with a hobby knife and carve into some of the stones to square off their edges a little more, and add scratches and chips.
Once one section is finished, I move on to another section of the tower. This way, I cover the tower little by little without accidentally ruining a sculpted area that hasn't cured yet.
At the base of the tower, where the stones and bricks become more irregular, I add more staggered levels of stone and angle some of them to look like they are in a state of collapse and disrepair. The final step is to finish off the stone work by gluing some fine and coarse ballast into the recesses around the crumbling area and the natural rocks at the base.
'Til next time!


No comments:
Post a Comment
All comments are moderated. Any comments containing links will not be approved and will be marked as spam.